

At its core, trad climbing is about adventure and complete self-reliance. Think of it as climbing a rock face from the ground up, placing your own protection into the natural features of the rock as you go. You build a safety system piece by piece on your way up, and then you take it all with you when you’re done, leaving the cliff exactly as you found it.
This leave-no-trace philosophy is the heart and soul of the sport.
What Is Trad Climbing and How Is It Different
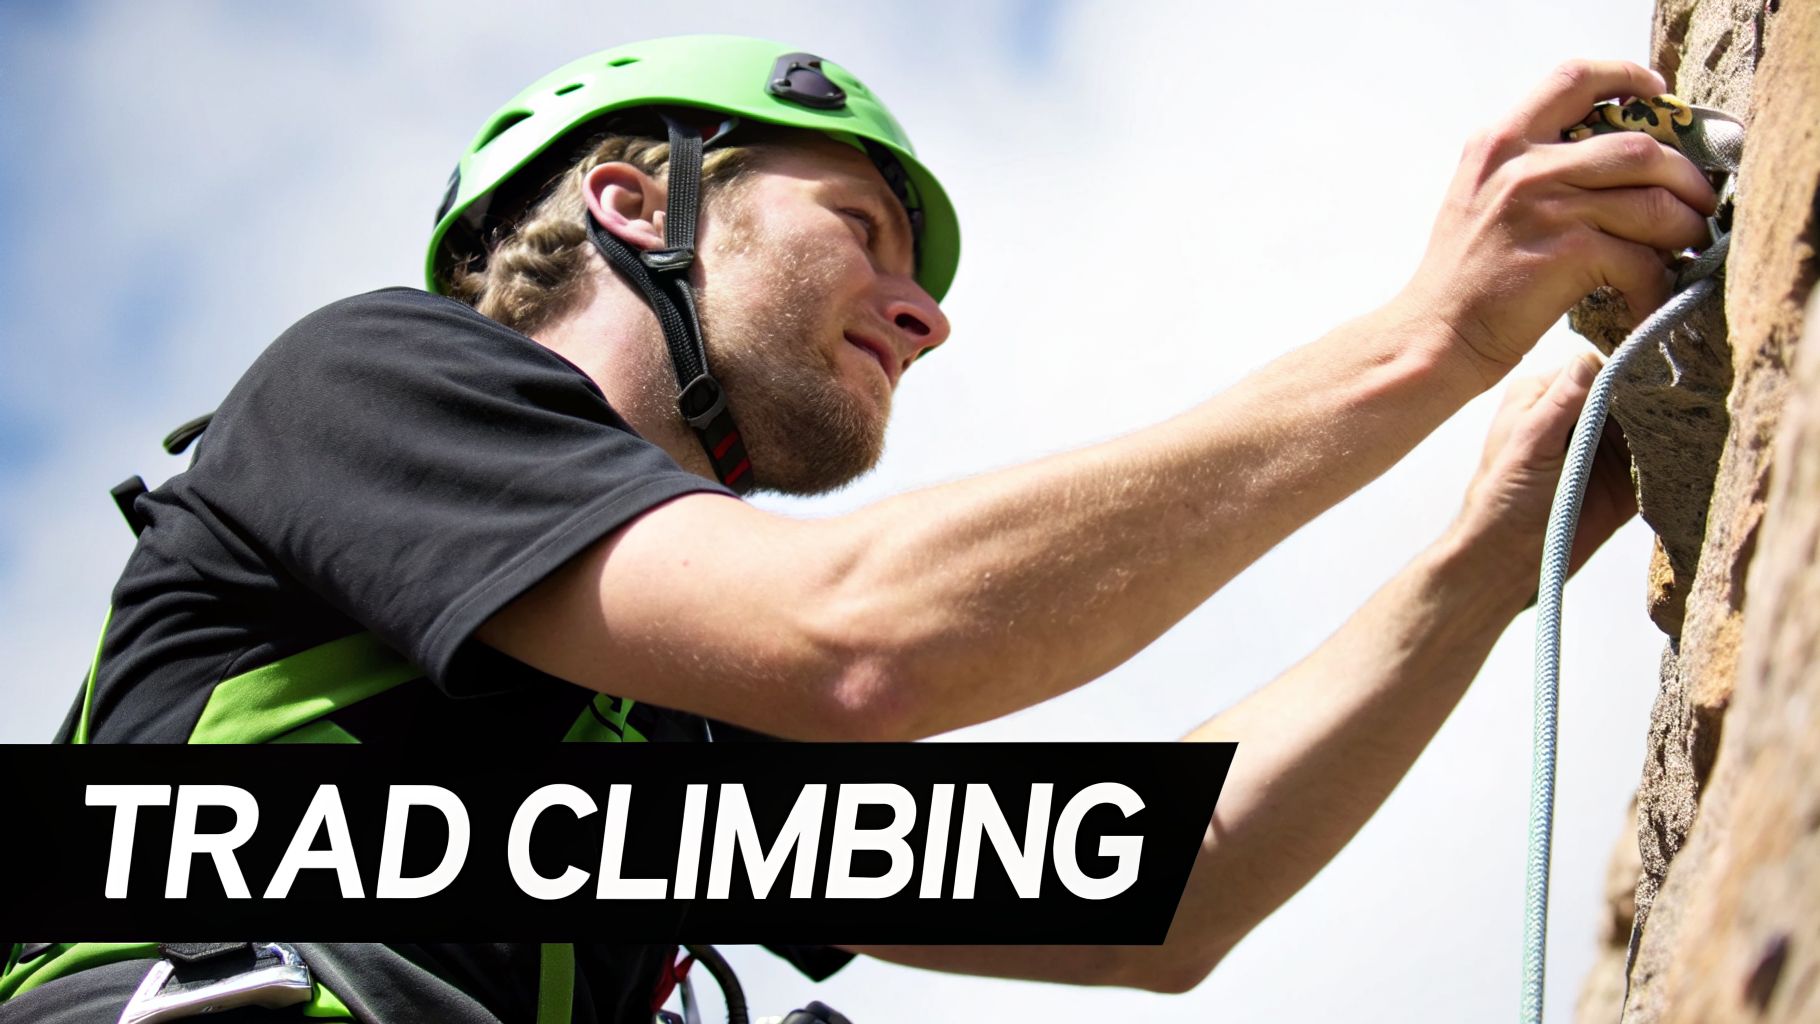
Simply put, trad climbing is a discipline where you are entirely responsible for your own safety. The lead climber moves up the wall, carefully slotting specialized gear into cracks, fissures, and other natural formations. The rope is then clipped to this gear, creating protection points that will catch the climber in the event of a fall.
This is a world away from sport climbing, which you’ve likely seen at the gym or local crag.
The Trad vs. Sport Mindset
Think of sport climbing like following a connect-the-dots puzzle that’s already laid out for you. The route has permanent, fixed bolts drilled into the rock every few feet. As a climber, your primary job is to clip your rope into these bolts as you ascend, allowing you to focus almost exclusively on the physical challenge and gymnastic movement.
Trad climbing, on the other hand, is a far more cerebral game. It’s a puzzle you solve in real-time. You’re not just an athlete; you become a rigger, an impromptu engineer, and a constant risk assessor. Before every move, you’re asking yourself a series of critical questions: What’s the right piece for this crack? Is the rock solid enough? Will this placement actually hold me if I fall?
The real difference isn’t just about the equipment you carry—it’s a fundamental shift in mindset. Sport climbing asks, “Can I physically make these moves?” Trad climbing asks, “Can I get myself up and down this cliff safely using only my gear and my judgment?”
Trad Climbing vs Sport Climbing At a Glance
The differing philosophies of trad and sport climbing create two very distinct experiences on the rock. Here’s a quick breakdown of how they compare.
| Aspect | Trad Climbing | Sport Climbing |
|---|---|---|
| Protection | Climber places removable gear (cams, nuts) into natural rock features. | Climber clips into permanent, fixed bolts drilled into the rock. |
| Gear | A large, heavy "rack" of various protection pieces, slings, and carabiners. | A rope and a dozen or so quickdraws. |
| Pacing | Slower and more methodical; placing gear takes time and careful thought. | Faster and more continuous, focused on physical performance. |
| Risk | Higher inherent risk; safety depends entirely on the climber's skill in placing gear. | Lower gear-related risk; safety relies on pre-installed, tested hardware. |
| Ethics | Leave No Trace is paramount; the goal is to leave the rock pristine. | Bolts are a permanent alteration to the rock, accepted for accessibility. |
As you can see, each discipline demands its own unique set of skills, equipment, and mental approach.
Key Distinctions Explained
These core differences shape everything about the climbing day.
- The Rack vs. Quickdraws: A sport climber might need 12-15 quickdraws. A trad climber carries a heavy and expensive "rack" of cams, nuts, and slings, often weighing 15-20 pounds or more.
- The Head Game: While all climbing has risks, trad climbing introduces far more variables. Your life is literally in your hands, dependent on every gear placement and anchor you build.
- The Pace: Sport routes are often about a single, intense effort. Trad routes are typically slower, more deliberate undertakings where careful planning and gear management are just as important as physical strength.
- The Ethic: The guiding principle of trad climbing is to leave the rock as you found it. This deep respect for the natural environment is a defining, non-negotiable part of the culture.
This blend of adventure, problem-solving, and personal responsibility is what draws so many to the world of trad. If you're ready to explore this path further, a great next step is to learn more about trad climbing basics to build a solid foundation.
The Soul of Trad: The History Behind the Adventure
To really get what trad climbing is all about, you have to look past the shiny gear and complex techniques. It’s not just a sport; it's a philosophy born from the earliest days of mountaineering, a story of self-sufficiency, exploration, and a profound respect for wild places.
The whole spirit of trad was forged by pioneers who looked at sheer cliffs not as barriers, but as massive puzzles. They were chasing the freedom of unclimbed lines, relying only on what they could carry up and—just as importantly—carry back down. This single idea, to leave the rock as untouched as they found it, became the very soul of the sport.
This ethos is what sets trad climbing apart from everything else. It’s about so much more than just reaching the top; it’s about the quality of the adventure and the integrity of your ascent. The real challenge is finding that balance between your ambition and the natural state of the rock.
The Birth of a Discipline
The story of trad climbing really begins in the late 19th and early 20th centuries in Europe. Mountaineers started seeking out steep rock as a challenge in its own right, not just as a means to a bigger summit. As early as the 1860s, climbers in places like Saxon Switzerland were already formalizing the sport, developing techniques and a code of ethics that put the rock’s preservation first.
By the early 1900s, things were picking up speed. Pioneers like Hans Dülfer introduced innovative rope systems that made climbing safer, while Willo Welzenbach came up with the Roman numeral grading scale in 1923—the foundation for modern systems like the UIAA scale we still see today. These milestones weren't just small steps; they marked the shift of rock climbing from a mountaineering necessity to a dedicated pursuit. The defining moment, however, came in 1968 when Tom Proctor led Our Father (E4 6b) in England, one of the hardest gear-protected routes of its time, cementing the focus on removable gear. You can dive deeper into these formative years by exploring the detailed history of rock climbing on Wikipedia.
An Ethic Forged in Stone
When you look at this history, you start to see why trad climbing feels the way it does. The physical and mental demands aren't an accident; they flow directly from these origins. The heavy rack, the mental puzzle of placing gear, and the full responsibility for building your own anchors—it all comes from one powerful idea: the adventure is yours to create and yours to clean up.
Trad climbing is like an agreement between you and the cliff. You agree to meet the rock on its own terms, using your skill and creativity to find a path. In return, you promise to leave it unmarked, preserving that same sense of discovery for the next person.
This "clean climbing" ethic is the thread connecting the sport’s past to its present. It's why trad climbers are so meticulous about cleaning their gear from a route, and it’s why they often see bolted sport climbs as a completely different, though equally valid, game. It's a commitment to preserving the wildness and the challenge for generations to come, making sure the soul of the adventure stays intact.
Building Your First Trad Rack: A Guide to Essential Gear

Ready to leave the world of pre-placed bolts behind? Your first big step is assembling a personal collection of specialized gear called a “trad rack.” This isn't just a random assortment of clanking metal; it's a carefully chosen safety system you'll be carrying up the cliff face. Every piece has a job, and your life depends on knowing what to do with it.
Think of your trad rack as a dynamic toolbox for solving the unique puzzles the rock throws at you. Just as a mechanic needs different wrenches for different bolts, you need a variety of protection for different cracks and features. At its core, all this gear boils down to two main families: passive and active protection.
Passive Protection: The Original Foundation
Passive protection, or "passive pro," is beautifully simple—it has no moving parts. Its holding power comes from being expertly wedged into a constriction in the rock, much like a keystone holding an ancient stone arch together. You find a crack that narrows, slot the piece in, and give it a firm tug to "set" it. That's it.
The absolute workhorse of passive pro is a set of nuts (also called stoppers). These are simple, tapered wedges of aluminum strung on a wire loop. They come in a whole range of sizes, from pieces barely bigger than a grain of rice to hefty chunks for wider fissures.
Key types of passive protection include:
- Nuts/Stoppers: The backbone of any starter rack. They're lightweight, affordable, and absolute magic in flared or tapering cracks where other gear might not work.
- Hexes: These six-sided, hollow pieces are a bit old-school but are brilliant for parallel-sided cracks. They're bigger than most nuts and make a classic, reassuringly loud clanging noise on your harness.
- Tricams: A quirky but incredibly versatile piece of gear. You can place it passively like a nut or engage its "active" camming mode in pockets and horizontal breaks where nothing else will fit.
The real beauty of passive gear is its simplicity. There are no springs to wear out or triggers to break. Its strength is all about smart geometry and solid rock.
Active Protection: Spring-Loaded Security
Where passive gear needs a perfectly shaped "keyhole" to slot into, active protection adapts to the rock. This gear has moving parts, allowing it to expand and press against the inside of a crack with consistent force.
The undisputed star of active pro is the spring-loaded camming device, or cam. Invented in the 1970s, cams completely revolutionized climbing by making it possible to safely protect perfectly parallel cracks—something that was previously a terrifying or impossible task.
A cam is a small mechanical marvel. You pull a trigger bar, which retracts its spring-loaded lobes. You then slide it smoothly into a crack and release the trigger. The lobes expand outward, gripping the rock walls with a constant force that holds it securely in place.
A standard cam has four lobes that rotate around a central axle. Placing one correctly is an art, but the science is simple: the cam must be placed within its operational range, typically somewhere between 25% and 75% retracted. If it's over-cammed (too closed) or under-cammed (too open), its holding power is seriously compromised.
While cams are amazing, they are by far the most expensive part of a trad rack. A single cam can easily cost between $60 and $120, and a full set to cover cracks from finger-width to fist-width represents a major investment. It's wise to build this part of your rack slowly. If you want to get into the nitty-gritty, our complete guide explains how to choose your first trad rack with smart, budget-friendly advice.
The Supporting Cast: What Else You Need
Your protection is the star of the show, but it can't do the job alone. Your rack also needs a supporting cast of gear to connect everything to your rope and manage the system as you climb.
- Carabiners: You'll need a lot of them—dozens, in fact. They're used for racking gear, connecting pro to the rope, building anchors, and rappelling.
- Slings/Runners: These are sewn loops of super-strong nylon or Dyneema webbing. Their main jobs are to extend gear placements to reduce rope drag and to help build anchors.
- Nut Tool: A simple metal hook that is absolutely essential for prying out and cleaning stubborn nuts placed by you or your partner. Don't leave the ground without it!
As you start your trad climbing journey, your rack will grow and change along with your experience. The classic path is to start with a solid set of nuts and just a few key cams. This lets you build confidence and skill on the rock without having to break the bank right away.
The Art of Placing Confident Protection
There's a huge difference between owning a shiny new rack and actually trusting your life to it hundreds of feet off the ground. This is where the real skill of trad climbing begins. Placing protection isn't just about plugging gear into a crack; it's an art form that mixes rock-reading, a little bit of physics, and a deep, instinctual feel for your equipment.
Think of every placement as a high-stakes puzzle. You’re evaluating the quality of the rock itself, the shape of the crack, and the forces of a potential fall. A bomber piece of gear gives you the confidence to push onward, while a sketchy one can gnaw at your focus and derail your entire lead. The goal is to make each piece so solid you can climb above it without a second thought.
Mastering Passive Pro Placements
Placing passive gear like nuts is all about geometry and friction. You're hunting for that perfect "keyhole" in the rock, a spot where the nut will wedge in securely. The best placements are found in cracks that get narrower as they go down, creating a natural constriction that will catch the nut and keep it from pulling out.
Your main objective is simple: get as much metal touching the rock as possible. The more surface contact you have, the more secure your placement will be.
- Look for V-shaped constrictions: These are your bread and butter—the most obvious and often the best spots for standard nuts.
- Check the rock quality: Give the rock around your potential placement a few firm taps. Does it sound solid or hollow like a drum? Always avoid placing gear in loose flakes or fragile, crumbly stone.
- "Set" the piece: After you've slotted the nut, give it a sharp tug in the direction it would be pulled in a fall. This action seats it firmly and gives you instant feedback. A good placement won't budge.
The single most important concept to master is the direction of pull. You have to think ahead about how a fall will load your gear. A nut that's bombproof against a downward pull might pop right out if your rope tugs it sideways or, even worse, upwards.
The Nuances of Placing Active Cams
Cams are incredible pieces of engineering, but they're not magic. To work correctly, their spring-loaded lobes need to be retracted to just the right degree. This is all based on the cam angle, and it’s the secret to every solid cam placement. Getting it right is a skill that takes precision and practice.
The ideal placement for most cams puts the lobes somewhere in the "sweet spot," retracted between 25% and 75%. A cam placed outside this range is significantly weaker and has a much higher chance of failing.
Common Cam Placement Pitfalls
- Over-cammed (Too Tight): The cam is almost completely cinched down. It will be a nightmare for your partner to clean and can get permanently stuck. More importantly, the lobes have no room to rotate in a fall, which can cause the placement to fail.
- Under-cammed (Too Open): This is what we call "tipped out." The cam is nearly at its maximum expansion, with the lobes barely gripping the rock. It's incredibly unstable and at high risk of "walking" or simply failing under even a small load.
- Walking: As you climb past a cam, the movement of your rope can cause it to shift or "walk" into a new, worse position. It might wiggle deeper into the crack and become over-cammed, or it could walk right out and fall. Using a longer sling (a runner) is the best way to prevent this.
Placing cams correctly takes time on the rock. Eventually, you’ll develop a gut feeling for picking the right size and knowing what a perfect retraction feels like. For a much deeper dive into the mechanics, check out our guide on how to place cams securely to really dial in your technique.
At the end of the day, confident gear placement is the foundation of safe and enjoyable trad climbing. It's a skill you build through mileage, mentored practice, and a real commitment to understanding why your gear works the way it does. Start on the ground. Practice placing pieces at waist level and have an experienced friend critique them. This hands-on learning is what truly turns a novice into a confident leader.
Building Bombproof Anchors for Trad Climbing
Placing solid gear is one thing, but connecting those pieces into a trustworthy anchor is where the real art of trad climbing comes in. Think of an anchor as your personal safety net on the side of a cliff. It's the critical point you use to belay your partner up, rappel back to the ground, or just hang out and enjoy the view on a long multi-pitch route. In trad climbing, you build these from the ground up, and your life literally depends on how well you do it.
To ensure every anchor is safe and reliable, climbers live by a set of non-negotiable principles. You'll often hear this referred to by the acronym SRENE or SERENE. This isn't just a helpful mnemonic; it's a mental checklist you should run through every single time. Internalizing these rules is a huge part of what trad climbing is all about.
The SRENE Principles Explained
When an anchor meets all these standards, climbers call it "bombproof." It’s a term that perfectly captures the absolute confidence you need to have in your system before you commit your weight to it.
- Solid: Every single piece of gear in your anchor must be completely bomber. If you wouldn't trust a piece by itself, it has no business being part of your anchor. This all starts with good judgment and placing gear in high-quality, solid rock.
- Redundant: Never, ever rely on a single point of failure. A proper trad anchor is always built from multiple, independent pieces of gear—ideally three or more. The idea is simple: if one piece were to unexpectedly pull out, the others are there to catch the load.
- Equalized: The whole point of using multiple pieces is to share the load. A well-built anchor distributes the force of a potential fall as evenly as possible across all the placements. Proper equalization makes the entire system exponentially stronger than any single piece within it.
- No Extension: This one is crucial. If one piece of the anchor fails, the system must not suddenly jolt downwards and extend. That sudden drop generates a massive shock load on the remaining pieces, which can trigger a catastrophic chain reaction.
The first step in building a SRENE anchor is placing the individual solid pieces. This follows a simple but vital process.
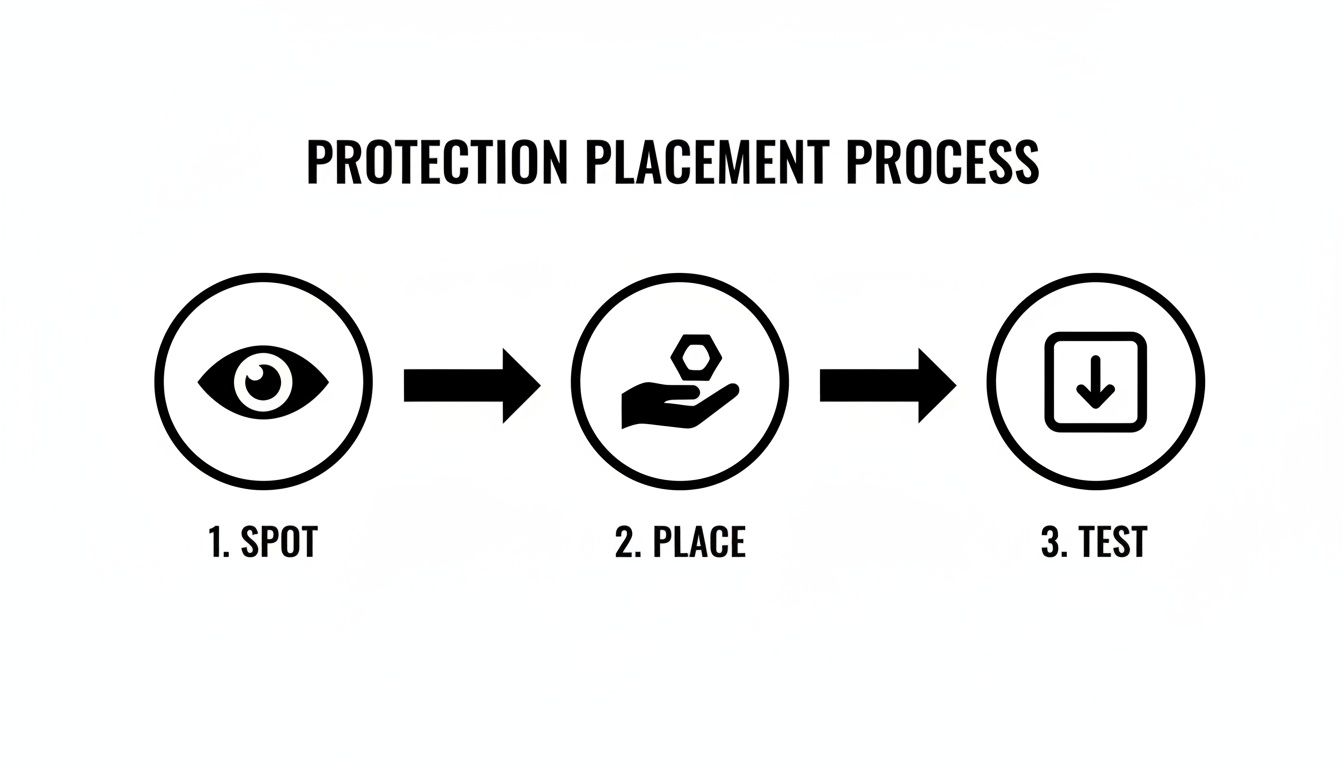
This Spot, Place, Test workflow is the building block for everything. Get this right for each placement, and you're well on your way to a redundant, bombproof anchor.
Methods for Building Anchors
Once you have a few solid pieces in the rock, you need to tie them all together. There are a few different ways to achieve equalization and redundancy, but they generally involve using either a dedicated cordelette or the climbing rope itself.
An anchor isn't just a collection of good placements; it's an interconnected system where the whole is far greater than the sum of its parts. Your job is to be the engineer who puts it all together correctly.
A cordelette is simply a long loop of accessory cord (usually 7-8mm thick) that you use to connect all your anchor pieces to a single "master point." This master point is the beefy, central spot where you'll clip in yourself and your belay device. For many climbers, especially those just starting out, a pre-tied cordelette is fast, simple, and easy to inspect.
The other common method is using the climbing rope to construct the anchor. This is a slick technique that's fast and efficient because it doesn't require you to carry any extra gear. However, it can be more complicated to learn and requires a solid grasp of knots and rope management. Most new leaders learn to build anchors with a cordelette first and then progress to using the rope.
No matter which material you use, the SRENE principles are the universal law. They are your ultimate guide to safety and security at every belay.
A Climber's Guide to Essential Crack Techniques
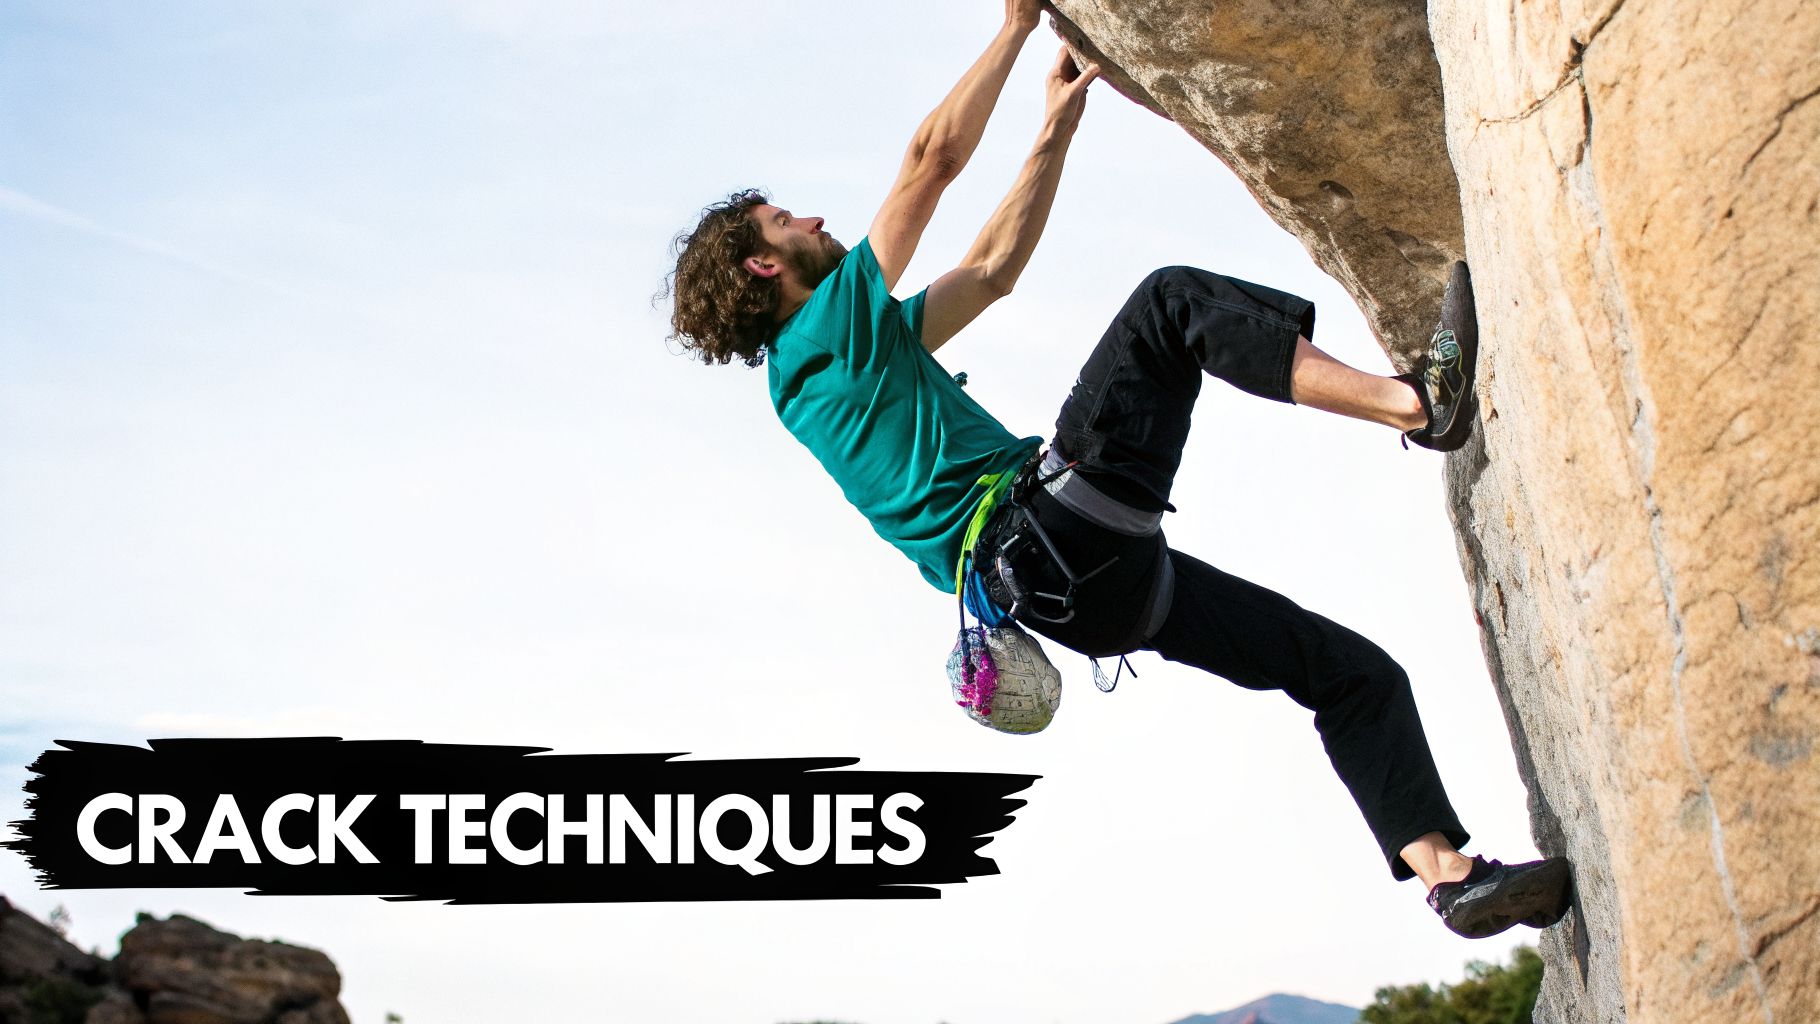
In trad climbing, cracks are your roadmap. They're the natural lines that guide you up a cliff, serving as both your handholds and the only place to put your protective gear. Learning how to move up these features is the difference between a desperate, flailing struggle and a smooth, confident ascent.
The secret? It's all about jamming. This is the art of slotting a body part—your fingers, hands, fists, or sometimes your whole body—into a crack and twisting or flexing it to lock yourself in. At first, it feels completely counterintuitive and insecure, but with a little practice, a good jam will feel more solid than the biggest jug you've ever grabbed in a gym.
Getting these movements dialed is a core skill for any aspiring trad climber. Good technique saves precious energy, gives you stable positions to place gear, and builds the confidence you need to keep moving upward.
Finger and Hand Jams
Most of the cracks you'll climb on will be sized for your fingers and hands. The technique changes slightly with the size of the crack, but the core idea of creating an opposing force inside the rock is always the same.
-
Finger Jams: Perfect for thin cracks. You slide your fingers in, then twist your hand as if you're turning a key, using the torque from your thumb to lock your fingers in place. It's the key to floating up those beautiful, thin splitters.
-
Hand Jams: This is your bread and butter. For "hand-sized" cracks, you slide your hand in (thumb up or tucked in), then make a fist or flex to expand it. The result is an incredibly secure hold. A perfect hand jam is one of the most reassuring and restful holds in all of climbing.
The trick to both is discovering the subtle shifts in position that make the jam stick. It’s far less about brute strength and much more about friction and body awareness.
The first time you truly trust a jam, something clicks. You realize that wedging yourself into the rock is often far more secure than pulling on its outside edges. It's a lesson in trust between you, your body, and the stone.
Fists and Wider Cracks
When cracks widen, the climbing becomes a lot more physical. You won't find these on every moderate route, but knowing how to tackle them makes you a much more capable climber.
For cracks that are about the size of your fist, the technique is similar to a hand jam. You’ll make a fist and cam it into the opening, using the expansion of your knuckles to create a wedge. Once the crack gets even bigger, you enter the world of stacking, where you might literally stack one hand on top of the other to fill the space and create a jam.
This whole progression, from delicate finger locks to burly hand stacks, is the language of trad climbing. Learning to read a crack and apply the right technique is a skill that unlocks a lifetime of classic climbs. It’s a hugely rewarding process that takes you from asking "what is trad climbing?" to truly understanding it with every move you make.
How to Start Trad Climbing A Safe Progression Plan
Making the jump into trad climbing is a huge step, and the way you learn has to reflect the seriousness of the craft. All the skills we've talked about—placing gear, building anchors, managing risk—simply can't be learned from an article or a video. The single most important thing you can do is find a professional to teach you, hands-on.
Let's be blunt: do not try to teach yourself trad climbing. The stakes are just too high. Your first move should be finding a certified guide or signing up for a course with a reputable group like the American Mountain Guides Association (AMGA) or a trusted local climbing school. Good mentorship is the foundation of a long and safe climbing life.
Start with Your Feet on the Ground
Long before you ever tie in to lead a route, your journey starts on the ground, with a rack of gear in your hands. A good instructor will have you spend hours just placing nuts and cams at waist level in a boulder field or at the base of a crag.
This is where you start to develop a feel for what a bomber placement is. You'll learn to see constrictions for nuts and parallel cracks for cams, getting instant feedback from an expert. It might feel tedious, but this is how you build the muscle memory you’ll rely on when you're pumped and 100 feet off the deck. This is also where you’ll build your first SRENE anchors, learning to equalize your pieces until it becomes second nature.
Your First Moves on the Rock
Once you’ve got a handle on placing gear on the ground, it's time to take it vertical with mock leading. This is the best way to get a feel for the real thing without any of the real consequences.
Mock leading is essentially practice-leading while protected by a toprope. Here’s the setup:
- You're on toprope: You climb on a secure toprope, so a fall is no big deal.
- You place gear: As you climb, you place your cams and nuts as if you were actually leading the pitch.
- You get instant feedback: An experienced climber, often your guide, will climb alongside you (on a separate rope) or follow you up to critique each and every placement.
- There's no real risk: Your gear is just for practice. The toprope is what's keeping you safe.
This is the critical bridge between theory and reality. It lets you experience the physical challenge of placing gear while climbing, but without the intense mental pressure of knowing your life depends on it. As you get into mock leading, you'll quickly find that endurance is everything, so you'll want to know how to improve grip strength for climbing.
A Sobering Look at the Risks
The numbers don't lie—trad climbing carries more inherent risk. A 2020 review of 30 years of accident data in North America showed that since 2010, trad climbers reported twice the number of incidents as sport climbers. Even more telling, instructor data from the US and UK suggests that up to 70% of trad accidents are caused by anchor failure or bad gear placements. This is exactly why a slow, mentored progression is non-negotiable. You can dig into more of these findings on climbing accident data to get a clearer picture.
The goal isn't to make trad climbing risk-free; that's impossible. The goal is to build the skill, knowledge, and good judgment to manage those risks intelligently. Your progression should always be slow, deliberate, and put safety way ahead of your ego.
When you commit to this safety-first approach—prioritizing mentorship and patient practice—you're setting yourself up for a lifetime of adventure. This responsible mindset is the real heart of what trad climbing is all about.
Recommended Products for Trad Climbing
These products can support safer climbing, belaying, rappelling, and emergency readiness.
Affiliate disclosure: As an Amazon Associate, TradClimbers may earn from qualifying purchases at no additional cost to you.
Keep exploring helpful trad climbing, gear, safety, and technique resources.
- A Climber’s Guide to Rock Climbing in Thailand
- A Trad Climber’s Guide to the Isle of Skye Ridge
- Hueco Tanks Rock Climbing: hueco tanks rock climbing Essentials
- A Climber’s Guide to The Nose of El Capitan
- The Top 8 Unforgettable Climbing Routes El Capitan Has to Offer in 2026
- Yoga for Climbers: Boost Strength, Flexibility, and Recovery | yoga for climbers