

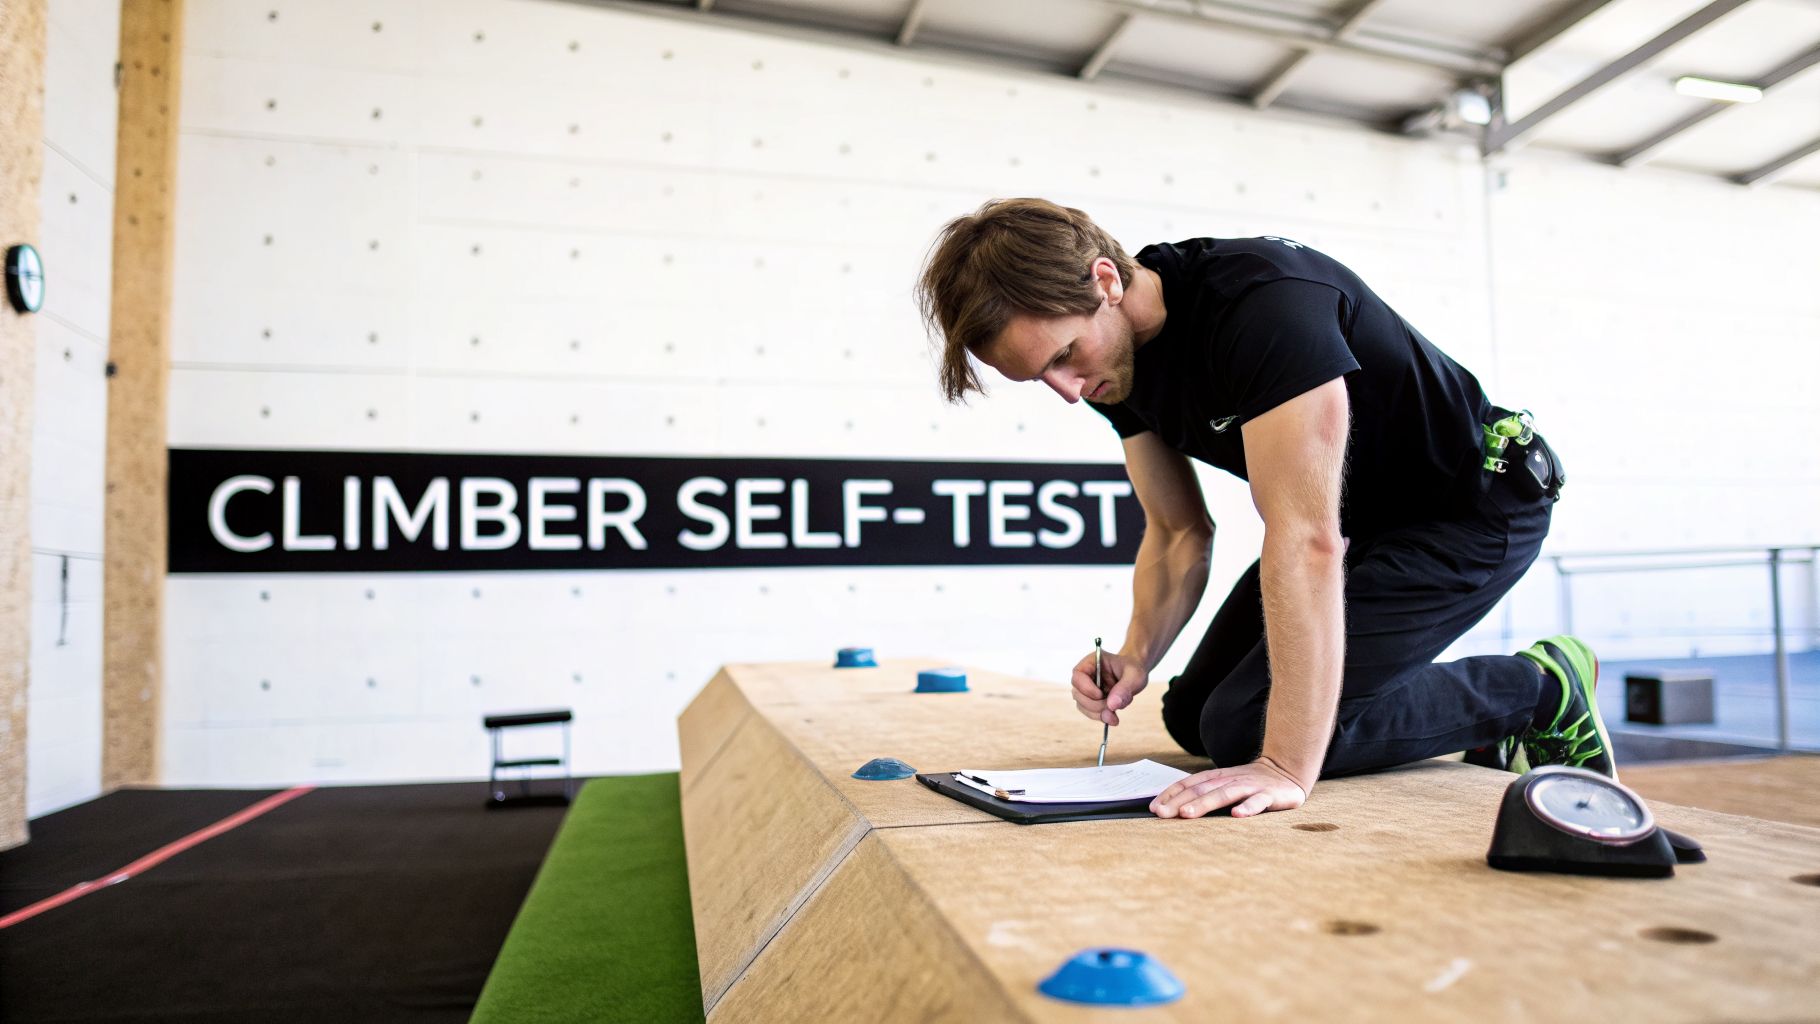
Before you even think about starting a new training plan, let’s get one thing straight: you can't build a solid program on guesswork. The first, most critical step is to take an honest look at where you are right now. This means establishing a clear baseline so you can pinpoint your weaknesses and set goals that actually matter.
Your Foundation: A Climber's Self-Assessment
 climbing training board, writing on a clipboard during a self-test." />
Forget about what your friends are climbing or what you see on Instagram. This initial assessment is all about creating your personal performance map. It’s the only way to figure out what's truly holding you back.
Are you constantly getting pumped out of your mind halfway up a route? Or can you hang on forever but get completely shut down by a single, powerful move? The answers to questions like these will shape every workout you do from here on out.
Establishing Your Baseline
To get started, we need some real data. A simple testing protocol gives you tangible numbers across the core pillars of climbing fitness. Just be sure to run these tests when you’re well-rested and fully warmed up—never the day after a hard session.
Below is a simple protocol I've used with climbers for years to establish a solid baseline. It covers the essentials and gives us a great starting point for both sport and trad climbing focus.
| Metric | Test Protocol | What It Measures | Trad Climbing Relevance |
|---|---|---|---|
| Max Finger Strength | 7-second max-weight hang on a 20mm edge. | Raw finger force; ability to use small holds. | Holding onto tiny crimps, locking off on gear placements. |
| Pulling Strength | Max consecutive pull-ups (to failure). | Upper body power for dynamic moves and steep terrain. | Pulling through roofs, managing heavy packs on approaches. |
| Core Strength | Max duration front lever or a strict plank hold. | Body tension and control, crucial for overhangs. | Preventing barn-dooring when placing gear, staying solid on traverses. |
| Endurance | Hangboard repeaters (e.g., 7 seconds on, 3 off for 6-8 reps). | Ability to recover on holds and resist pump. | Sustaining effort on long pitches, recovering at stances. |
These numbers aren't a final grade; they're a snapshot in time. The real value comes from tracking them over a season to see tangible proof that your hard work is paying off.
Crucial Insight: Don't chase numbers for their own sake. A huge max-hang score is worthless if your footwork is a mess. Your test results are simply tools to guide your training, not the end goal itself.
Identifying Your True Weaknesses
Okay, you have your data. Now it's time for some honest reflection. Think back to your recent projects or the last time a climb really spit you off. Where did it all go wrong?
- Did you lack the pure power to execute a crux move?
- Was it a long, sustained pitch where your grip just slowly faded?
- Did a high-step or awkward body position feel impossible because of poor flexibility?
- For the trad climbers: did you feel strong on the moves but get too pumped to confidently place gear?
This part of the process is just as important as the numbers. I've seen countless climbers who can crank out 15 pull-ups but constantly flail on slab routes. Their problem isn't a lack of pulling strength—it's a need to focus on technique, balance, and footwork.
More and more climbers are realizing the power of this structured approach. With a global community of over 25 million people and 9.5 million in the US alone, the demand for smart training is booming. Studies and real-world results show that climbers who follow a plan see massive gains, especially in finger strength, which is vital for everything from sport climbing cruxes to securely jamming nuts in tiny cracks. You can learn more about this trend from industry analysis on Straits Research.
The Core Components of Your Training Plan
Alright, you've got your baseline numbers. Now for the fun part: building the actual engine of your training program. A smart plan is about more than just yanking on plastic until you get stronger; it's about building yourself into a well-rounded climbing athlete.
Let's break down the key pillars of climbing fitness. I'll show you how to weave everything from raw power to delicate footwork into a weekly schedule that actually works without running you into the ground.
Strength and Power Development
In climbing, almost everything starts with strength. And when we talk about strength, we're mostly talking about finger strength—that raw ability to latch onto terrible holds and not let go. Power is its explosive cousin. It's the snap you need for a big dyno or that desperate lunge for a hold just out of reach.
For pure, unadulterated finger strength, nothing beats the hangboard. It’s a beautifully simple tool that lets you apply a controlled, measurable load to your fingers, forcing them to get stronger over time. There's no hiding on a hangboard.
When it's time to build power, your best friend is limit bouldering. This just means throwing yourself at problems that are right at, or even slightly above, your absolute max. We're talking short bursts of intense effort—maybe only one or two moves—followed by long, full-recovery rests. It’s all about teaching your body to generate force, fast.
A Personal Tip: I always tell people to think of hangboarding as lifting weights for your fingers and limit bouldering as sprint training. One builds the raw engine, and the other teaches you how to redline it. You really do need both.
Building Different Types of Endurance
Endurance isn't just one thing. The type of fitness you need for a short, punchy sport route is worlds away from the all-day stamina required for the 15th pitch of a big wall. You have to train for the specific demands of your goals.
Here's how I think about the different kinds of endurance:
Power-Endurance: This is your capacity to fight through a sustained, difficult sequence without getting hopelessly pumped. Think of a crux that's 10-15 moves of hard climbing in a row. The classic way to train this is with circuits like 4x4s (climbing four boulder problems back-to-back, resting, and repeating the whole set four times).
Long-Route Endurance: This is all about managing your energy over a long period of sub-maximal climbing. It’s the art of staying relaxed, recovering on stances, and just keeping going, pitch after pitch. The best training is simply high-volume climbing. Try traversing for long periods or linking multiple routes in the gym with almost no rest.
Aerobic Conditioning: Don't forget your basic cardio. A solid aerobic base, built through things like trail running or cycling, is what helps you recover faster between attempts and will make those long, uphill approaches feel a whole lot easier.
If you want to dive deeper into structuring these workouts, our guide on how trad climbers train for strength and endurance has a ton of specific examples.
Technique, Mobility, and Resilience
A strong climber with bad technique is like a powerful engine in a car with no steering. All that power is useless if you can't apply it efficiently. You absolutely must dedicate time to focused technique practice. This can be as simple as "silent feet" drills, where you concentrate on placing your feet perfectly, or picking routes that force you to work on your weaknesses, like slippery slopers or awkward heel hooks.
Mobility is what gives you access to that technique. If your hips are tight, you'll never be able to get your foot onto that high hold. If your shoulders are locked up, you'll struggle to get into efficient positions. A simple, consistent mobility routine focusing on the hips, shoulders, and mid-back will pay huge dividends.
Finally, you need to build a resilient body through antagonist training. Climbing is a sport of pulling, which can create muscle imbalances that often lead to injury. A few simple exercises that work the opposing "push" muscles are critical for long-term health.
My Go-To Antagonist Exercises:
- Push-ups: For chest and triceps strength.
- Reverse Wrist Curls: A must-do for balancing out your forearms.
- Shoulder Press: For building stable, resilient shoulders.
When you fold these three elements into your schedule, you transform a basic workout routine into a truly complete program.
Weaving It All Together: A Sample Week
So, how does this all fit together without turning into a full-time job? The key is balance and listening to your body. You can't train everything hard all at once. The goal is to touch on each component throughout the week while giving yourself enough time to recover.
Here’s what a typical week might look like for an intermediate climber:
| Day | Focus | Session Details |
|---|---|---|
| Monday | Strength & Power | Warm-up, then a 30-minute Hangboard session, followed by 60 minutes of Limit Bouldering. |
| Tuesday | Rest or Active Recovery | Light yoga, mobility work, or a brisk walk. |
| Wednesday | Power-Endurance | Warm-up, then 4×4 circuits or timed intervals. Finish with antagonist exercises. |
| Thursday | Rest | Complete rest. Don't underestimate this. This is when you get stronger. |
| Friday | Technique & Volume | Warm-up, then technique drills. Finish by climbing a high volume of routes/problems well below your limit. |
| Saturday | Outdoor Climbing or Conditioning | Get outside and put it all together! Or, a 45-60 minute aerobic workout (e.g., trail running). |
| Sunday | Rest or Active Recovery | Foam rolling, stretching, and mobility. |
Think of this as a template, not a prescription. The most important thing is consistency. If you feel tired, dial it back. If you feel great, maybe add a little more. Smart, consistent effort over time is what will truly push your climbing to the next level.
Periodization for Long-Term Climbing Goals
Ever feel like you’re just spinning your wheels at the gym? If you’re putting in the hours but not seeing the gains, the problem probably isn't a lack of effort—it's a lack of structure. The hard truth is that random training leads to random results. To break through plateaus and make consistent progress, you need to train like the pros do, using a system called periodization.
Don't let the technical name scare you. At its core, periodization is just a smart way to organize your training into specific blocks, each with a single-minded focus. You simply can't get stronger, more powerful, and have more endurance all at the same time. Trying to max out everything at once is a fast track to burnout and injury.
A properly periodized plan cycles through different phases. You might spend a few weeks building a solid base of fitness, then transition into a block dedicated entirely to finger strength, and follow that with a phase for developing explosive power. This deliberate structure ensures that all the pieces of the puzzle come together right when you need them most, whether that's for a big climbing trip or finally sending your project.
The Macrocycle: Your Long-Term Roadmap
Think of the macrocycle as the big-picture view of your training season. It’s the entire journey from where you are now to where you want to be, typically spanning several months to a full year. For most of us, a 16-week macrocycle is the sweet spot—it gives you enough time to build a real foundation and peak without losing focus.
This long-term plan is then broken down into smaller, more manageable phases, or "mesocycles."
Weeks 1-4: Base Fitness. The goal here is to build your capacity to handle harder work later on. Think high-volume, lower-intensity climbing, general conditioning, and plenty of antagonist work to keep your body balanced. You’re laying the groundwork.
Weeks 5-8: Strength. Now, the volume drops, but the intensity goes way up. This is when you hit the hangboard hard and focus on limit bouldering to build raw, foundational strength. Sessions are short, focused, and demand full recovery. If you're ready to get serious, our guide on campus board training can really help you maximize your gains.
Weeks 9-12: Power. With a solid strength base, it's time to teach your body to use it explosively. This phase is all about dynamic movement—think campus boards, systems walls, and powerful, short boulder problems. You’re translating that strength into actual climbing movement.
Weeks 13-16: Performance & Peaking. This is where it all comes together. Your training shifts to sport-specific power-endurance, mimicking the demands of your goal routes. The overall training load drops to ensure you're fully rested and ready to perform at your absolute best.
This image shows how you might structure a single week, balancing different types of training to maximize your efforts without overdoing it.
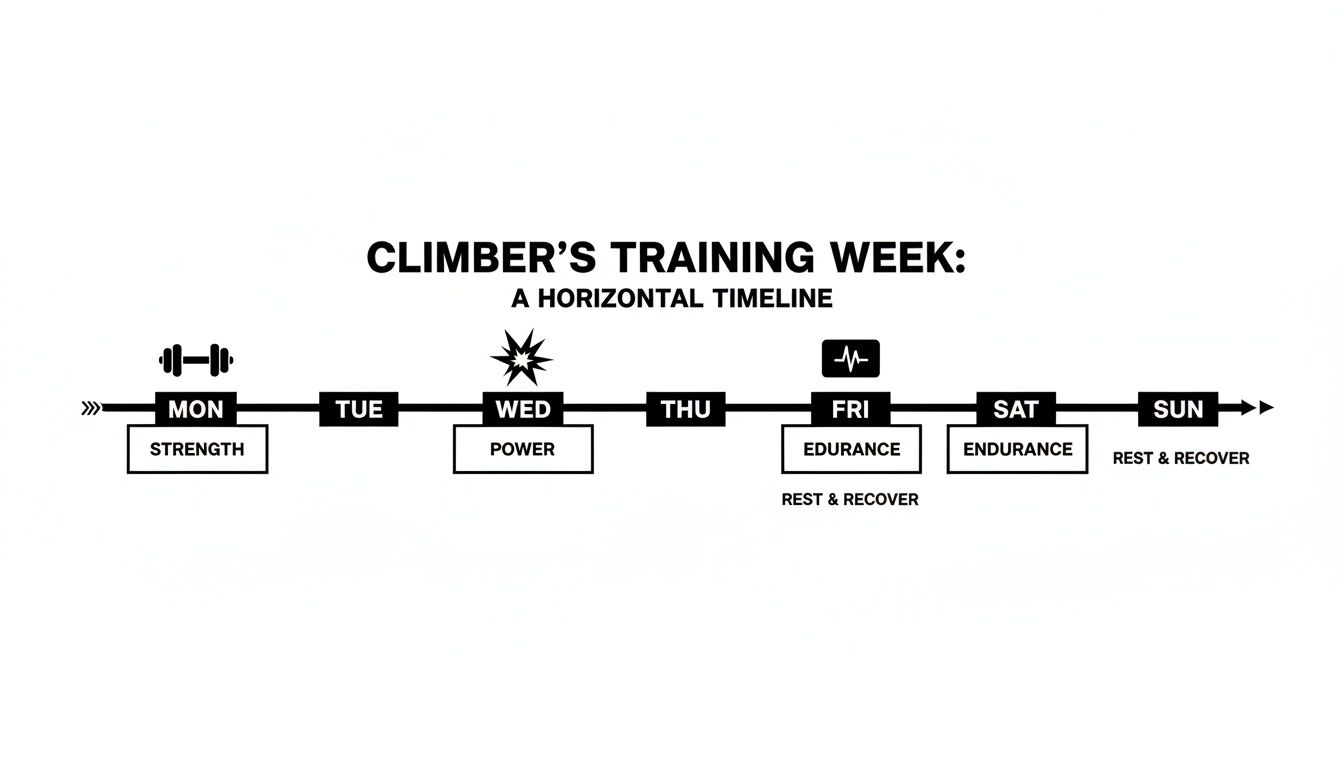
By dedicating specific days to different energy systems, you give your body the time it needs to adapt and get stronger, which is the whole point.
Why This Structured Approach Works
This phased approach does more than just make you stronger; it keeps your body from getting too comfortable. By constantly changing the training stimulus, you force it to adapt and improve. It also helps you manage fatigue and dramatically lowers your risk of nagging overuse injuries—a huge win for anyone who wants to climb for a long, long time.
A periodized plan is your best defense against burnout. It provides the structure to push hard when it matters and the discipline to rest and recover, ensuring you stay motivated and healthy for the long haul.
The effectiveness of structured training isn't just theory; it's backed by a growing mountain of evidence. After climbing’s Olympic debut, Japan saw a 25% jump in climbing memberships, and youth lead climbing in Europe grew by 18%, all driven by more systematic training. In the US alone, an estimated 9.5 million climbers are now engaged in some form of structured program.
For trad climbers, these plans often emphasize crucial antagonist work, like push-ups and scapular pulls, to balance out all the pulling we do. In fact, studies of over 500 climbers show that this kind of supplemental work can cut down on overuse injuries by 25-30%. You can dig into more of these interesting climbing trends and statistics over at Gitnux.org.
Trad and Alpine-Specific Training Modules
 traditional climbing readiness." />
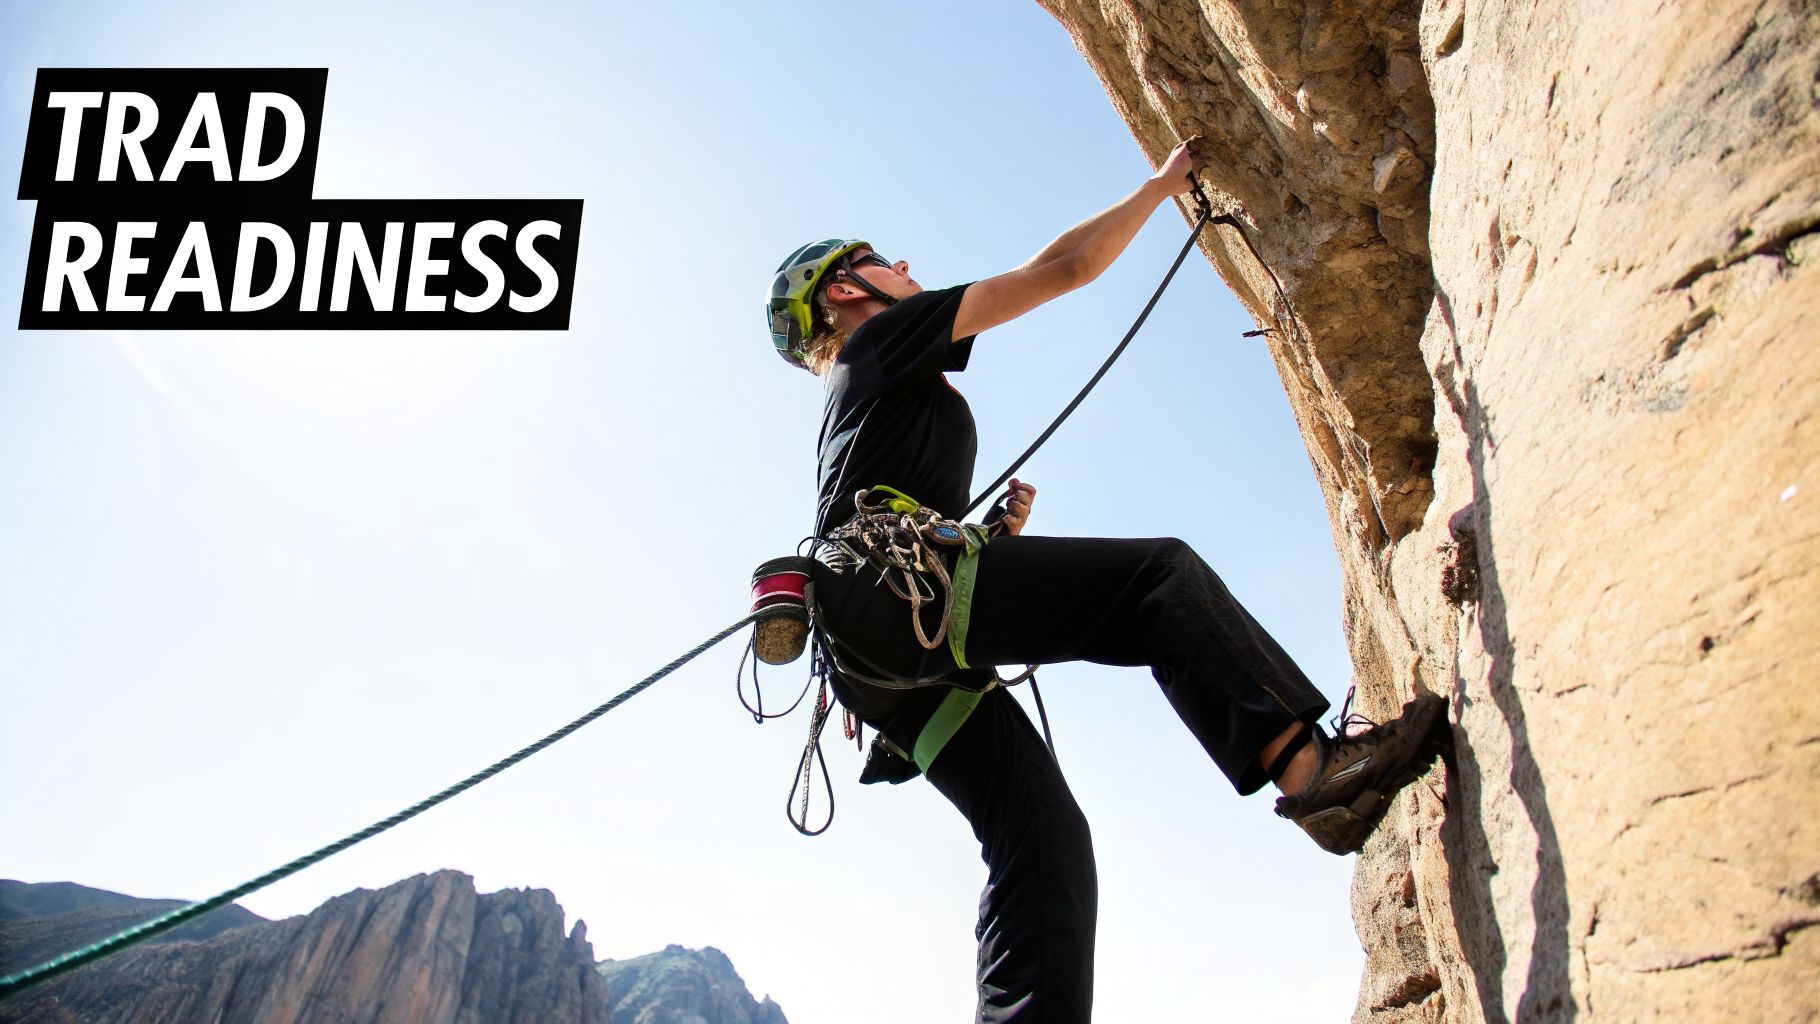
While the foundations of a strong climber are universal, trad and alpine pursuits throw a whole different set of challenges at you. It’s no longer just about pulling hard moves. We’re talking about all-day stamina, hauling heavy packs, and keeping a cool head when you’re a thousand feet up a cold rock face.
Think of these modules as specialized additions to your core training program for rock climbing. You wouldn’t use a sport climbing setup to protect a long splitter crack, right? In the same way, you can't rely on pure bouldering power to get you up a big alpine route. These drills are designed to bridge that critical gap between gym fitness and mountain competence.
Building Deep Endurance and Approach Fitness
Long routes require a specific kind of endurance that goes far beyond simply fighting off the pump. It's the ability to move efficiently hour after hour, and that day starts long before you ever tie in. Your fitness on the approach can honestly make or break the entire day.
If you’re gassed from a brutal hike with a full rack and rope on your back before you even touch the rock, you’re already behind the eight ball. Building this "pack-on" fitness isn't optional for any serious multi-pitch or alpine climber—it's essential.
Here are a few of my go-to methods for building that base:
- Weighted Step-Ups or Stair Climbs: Load a backpack with 20-30 pounds and get stepping. This is the most direct way to simulate gaining elevation with a heavy pack.
- Long, Slow Cardio: Once a week, commit to a long session of 90 minutes or more of Zone 2 cardio. Think easy-paced trail running, hiking, or cycling where you could hold a conversation. This builds the massive aerobic engine you need.
- "Systemic" Gym Circuits: To get used to climbing while already tired, try this: do a 15-minute cardio circuit and then, without resting, get on the wall for some easy, continuous climbing. It teaches your body to perform when it's already fatigued.
Treat your approach fitness just as seriously as your finger strength. An extra hour of hiking with a weighted pack each week pays off enormously when you’re faced with a long haul to a remote objective.
Replicating Real-World Scenarios
The real crux of training for trad climbing is learning to place gear quickly and calmly, especially when you're pumped out of your mind. We’ve all been there—fumbling with a cam, arms screaming, turning an easy pitch into a desperate fight. You have to practice this under duress.
One of the best ways to do this is with "pumped placement" drills. At the end of a hard circuit or 4×4, instead of just lowering, hang from one arm and simulate placing gear. Grab a piece from your harness, "place" it securely on a hold, and clip the rope. This simple drill builds the physical stamina and mental coolness needed to handle protection on the sharp end.
Of course, you also need to master crack climbing. If your gym is lucky enough to have a crack machine or system holds, make them your new best friend.
Essential Crack Technique Drills:
- Hand Jam Laps: Forget about just getting to the top. Focus on perfect, secure hand jams. Cycle up and down, concentrating on how your hand cams into the crack.
- Finger Lock Cycles: On thinner cracks, it's all about the finger locks. Practice hanging from a single solid lock and moving your feet up. This is a game-changer for thin-crack endurance.
- Dedicated Foot Jamming: A bomber foot jam can feel like a no-hands rest. Spend time just working on your foot technique. A good foot jam takes nearly all the weight off your arms.
Preparing for Big Wall and Simul-Climbing Demands
For the really big objectives, it's all about efficiency. Whether you're dreaming of a big wall in Yosemite or a fast-and-light alpine link-up, you have to be fluent in systems that go well beyond basic belaying.
Simul-climbing, where both climbers move together, is a fantastic way to cover ground fast. You can practice the rope management skills on a low-angle slab or even a long traverse in the gym. The goal is to get a rhythm, manage your coils, and move smoothly without ever yanking your partner.
Hauling is another beast entirely. You might not be able to replicate lugging a 100-pound haul bag up El Cap in your garage, but you can absolutely dial in the mechanics.
Basic Hauling Practice:
- Get familiar with setting up a 2:1 or 3:1 mechanical advantage system with your belay device and a progress-capture pulley.
- Use a heavy backpack (or a patient friend) as your "haul bag."
- Run through the entire sequence again and again: haul, reset the system, manage the rope.
Mastering these skills in a low-stakes setting builds the muscle memory you'll rely on when you're tired, cold, and thousands of feet off the ground. It’s what turns a simple training program for rock climbing into true preparation for real adventure.
Injury Prevention for Sustainable Progress

Let's be honest. The most effective training plan is one that doesn't get you hurt. All the periodization and hangboarding in the world won't do you any good if you're constantly sidelined with a tweaked pulley or a sore shoulder. Lasting progress comes from building a body that can handle the load, and that means treating injury prevention as a core part of your training—not just something you do when you start to feel pain.
Climbing hammers our "pulling" muscles. Over time, this creates significant muscle imbalances that are the root cause of most common climbing injuries, especially in the fingers, elbows, and shoulders. Simply ignoring this fact is a fast track to chronic issues. The real secret is building a resilient, balanced physique ready for the unique demands we place on it.
Warm-Ups and Cool-Downs
Think of your body like a car engine on a cold morning. You wouldn't redline it right out of the driveway. Your warm-up is about gradually raising your body temperature and getting blood flowing to the specific muscles and connective tissues you're about to abuse.
First, get your heart rate up with five to ten minutes of light cardio. A rowing machine or some simple jumping jacks will do the trick. Then, move into dynamic stretches—think big arm circles, leg swings, and gentle torso twists to open up your joints. Only then should you start climbing, beginning with a few very easy routes and slowly building the intensity.
Your cool-down is just as vital for kicking off the recovery process. Spend the final ten minutes of your session with some light, no-pump traversing or down-climbing. Follow it up with some static stretching for your lats, forearms, and chest to release the tension you've built up.
Antagonist Training and Prehab
To stay healthy as a climber, you have to train the opposing "push" muscles. This isn't optional; it's the single best thing you can do for your long-term shoulder and elbow health. Just a couple of dedicated sessions a week can make an enormous difference.
This simple table lays out some of the most effective exercises for balancing your body and keeping common climbing injuries at bay.
Antagonist and Prehab Exercise Guide
| Exercise | Target Muscle Group | Sets & Reps | Why It's Important for Climbers |
|---|---|---|---|
| Push-ups | Chest, Shoulders, Triceps | 3 sets to near failure | Directly opposes the pulling motion, stabilizing the shoulder girdle. |
| Reverse Wrist Curls | Forearm Extensors | 3 sets of 15-20 reps | Balances the powerful forearm flexors, helping prevent elbow tendinopathies. |
| Overhead Press | Shoulders (Deltoids) | 3 sets of 8-12 reps | Builds overhead stability, crucial for lock-offs and gaston moves. |
| External Rotations | Rotator Cuff | 3 sets of 15-20 reps | Strengthens the small, vital muscles that protect the shoulder joint. |
Adding these movements into your training program for rock climbing delivers a huge return on investment for your longevity in the sport. For a deeper dive into this topic, our trad climbing injury prevention guide has more detailed strategies.
Listen to Your Body
At the end of the day, the most important skill you can develop is the ability to listen to your body. Learning to tell the difference between the good ache of hard work and the sharp, angry signal of an impending injury is an art form you have to cultivate.
Don't be a hero. Pushing through sharp or persistent pain is never worth it. A single day of rest is always better than six weeks of forced recovery.
A huge part of staying healthy is knowing how to prevent sports injuries in the first place. This means getting enough sleep, managing your stress, and giving your body the right fuel to recover and adapt. This approach turns training from a rigid checklist into a sustainable, lifelong practice.
Frequently Asked Questions
When you're serious about getting stronger for climbing, a lot of questions come up. It's totally normal. Let's walk through some of the most common ones I hear from climbers who are just starting to train with a structured plan.
How Do I Know if I Am Ready to Start Hangboarding?
This is a big one, and for good reason. Jumping on a hangboard too soon is a classic mistake and a surefire way to injure a finger pulley. Your tendons need way more time to adapt than your muscles do, so you have to be patient.
As a general rule, you should have at least one full year of consistent climbing under your belt, meaning you're in the gym 2-3 times a week. A solid benchmark is feeling comfortable on V3-V4 boulder problems or leading 5.11 sport routes.
Once you meet that criteria, start slow. Focus on perfect form—shoulders engaged, a slight bend in your arms—and stick to the bigger holds with just your body weight. If you feel any sharp pain, stop. Immediately.
Can I Still Climb for Fun or Is the Plan Strict?
Of course! The whole point of a training plan is to make climbing more fun, not to turn it into a chore. Think of your program as a framework, not a prison. In fact, if you don't schedule time to just mess around and climb for the pure joy of it, you're setting yourself up for burnout.
A good balance is key. Maybe two sessions a week are dedicated to your structured workouts (hangboarding, circuits), and one or two are just for climbing with friends, projecting something for fun, or getting mileage in outside. Listen to your body and mind—if you're feeling fried, swapping a hard workout for a fun session is always the smart play.
How Can I Adapt This Program for a Bouldering-Only Gym?
No rope? No problem. You can absolutely build incredible endurance in a bouldering gym. You just have to get a little creative with how you build that pump.
- 4x4s: This is the bread and butter of bouldering endurance. Climb four different boulder problems back-to-back with zero rest. After the fourth problem, take a 4-5 minute rest, and then repeat the entire cycle three more times.
- Linked Circuits: Find a spray wall or system board and map out a long sequence of 30+ moves. The goal isn't to do anything desperately hard, but to stay on the wall and keep moving continuously.
- "Pump Simulators": This one really mimics the feeling of hitting a crux when you're already gassed on a sport route. Climb a hard boulder problem, and then, without stepping off the wall, immediately start traversing on jugs for another 2-3 minutes until you can't hold on anymore.
These drills are brutally effective at training the power-endurance you need for long routes.
Don't forget that recovery is just as important as the training itself. For climbers pushing their limits, therapies like massage can be a game-changer. Understanding How Sports Massage Helps Alleviate Chronic Pain And Muscle Tightness can give you powerful tools for managing the physical stress of training, helping you recover faster and prevent injuries.
For Trad Climbing What Is More Important Strength or Endurance?
Ah, the eternal trad climbing debate. The honest answer? You need both. The real question is about the balance between them, which depends entirely on what your goals are.
For hard, single-pitch trad, strength and power are often the name of the game. You need that raw power to pull a hard crux move while also fiddling in a piece of gear.
But for big multi-pitch routes in the mountains, endurance is king. Your success hinges on being able to climb efficiently, pitch after pitch, without getting completely wrecked by fatigue. A smart, periodized plan will build a base of both, then let you peak one or the other depending on your objective.
Recommended Climbing Training Equipment
These products can support climbing-specific strength, technique, and conditioning.
Affiliate disclosure: As an Amazon Associate, TradClimbers may earn from qualifying purchases at no additional cost to you.
Keep exploring helpful trad climbing, gear, safety, and technique resources.
- A Climber’s Guide to Rock Climbing in Thailand
- A Trad Climber’s Guide to the Isle of Skye Ridge
- Hueco Tanks Rock Climbing: hueco tanks rock climbing Essentials
- A Climber’s Guide to The Nose of El Capitan
- The Top 8 Unforgettable Climbing Routes El Capitan Has to Offer in 2026
- Yoga for Climbers: Boost Strength, Flexibility, and Recovery | yoga for climbers