
Training for Trad Climbing (Strength, Endurance, Flexibility)
Trad climbing asks more from you than just pulling harder. You’re placing gear, managing runouts, reading cracks, and thinking through anchors and belays while your forearms fade. Add route-finding, long days, pack weight, and awkward stances for pro, and it’s easy to see why trad often feels harder than sport at the same grade.
Training for trad climbing should match that reality. You need strength for jams, lock-offs, and stable positions, endurance for long pitches and full days, and flexibility for high steps, stems, and calm gear placements. You also need a head that stays steady when the next rest isn’t obvious.
This post lays out a simple plan built around those three pillars, with just enough skill practice to make it carry over to the rock. Expect practical sessions you can do in a gym, on a hangboard, or at the crag, plus a few habits that reduce wasted time at the placements. The goal isn’t to feel tough, it’s to move well, place solid gear, and keep making safe choices when you’re tired.
What Trad Climbing Demands: Strength, Endurance, Flexibility, and Nerves
Trad rewards climbers who can stay calm and useful when the wall stops being comfortable. You might be on easier moves, but you’re hanging around to place gear, fiddling with stoppers, or waiting out a pump at a shaky stance. Training for trad climbing works best when it targets the positions and pace you actually face, not just big pulls in perfect gym movement.
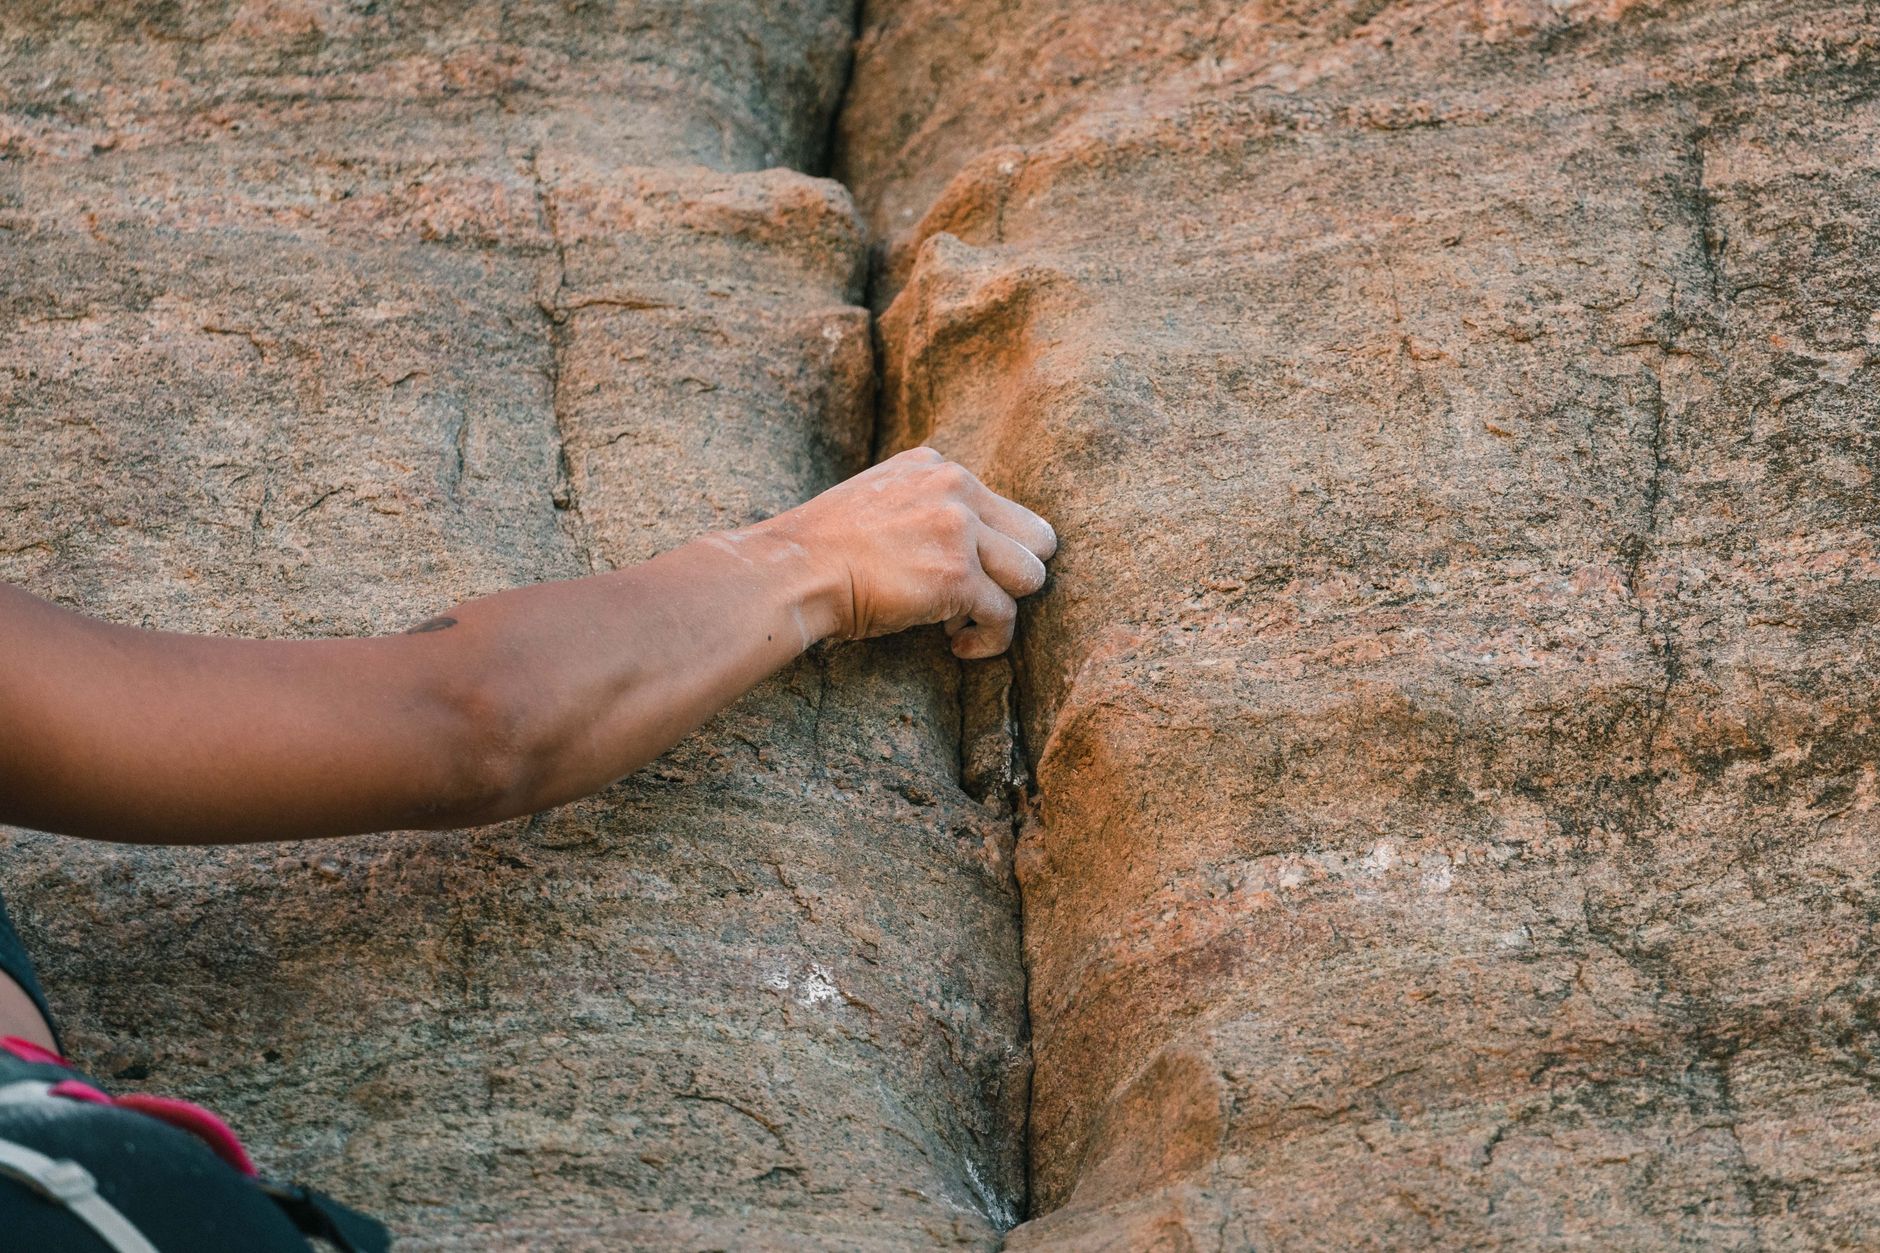
Photo by Liam Moore
Strength for trad: body tension, crack positions, and stable shoulders
Trad strength is often positional strength. Think of it like bracing a ladder while you work, you’re not just pulling, you’re holding your shape so you can act.
The most useful qualities tend to be:
- Finger strength that’s adaptable: You still need fingers for edges, seams, and tiny feet, but cracks add a twist. Jams and “crack bites” reward hands and fingers that can squeeze, oppose, and relax on command. For crack-specific ideas, Get Better At Crack Climbing: Practice And Train At Home is a solid reference.
- Pulling strength for short cruxes: Even on moderate routes, a bulge, a thin section, or a flared jam can force a brief fight. Being able to lock off, bump a hand, and finish the move matters more than a single max pull.
- Core strength for body tension: Your core keeps you close to the wall while placing gear. If your hips sag, every placement feels harder, and every shake-out costs more.
Trad also asks for shoulder and scapular control, especially when you’re twisting into jams, hanging one-armed to slot a piece, or standing in balance on a small stance. Stable shoulders reduce tweaks and keep you confident when the position is awkward.
Endurance for long pitches and long days
Trad endurance is two systems working together: what keeps you from getting pumped on the pitch, and what keeps you moving well for the whole day. These are trad climbing basics but critically important.
- Forearm and grip endurance (pump control): You need the ability to keep climbing while you’re slightly pumped, then recover on imperfect rests. Trad adds extra gripping time because you’re often holding on while you place and test gear.
- Aerobic endurance (all-day engine): This is approach hikes, pack weight, steady energy, and faster recovery between pitches. Good aerobic fitness also helps you calm down after stressful sections because your breathing settles quicker.
On a sport route, you clip and go. On trad, you stop, assess, place, maybe re-place, then move again. That extra “time under tension” is why pitches can feel longer than the grade suggests. For a good breakdown of how trad changes training priorities, see Lattice Training | How to: Train for Trad Climbing.
Flexibility and mobility for efficient movement in cracks and corners
Mobility is your energy saver. The more easily your body fits the wall, the less you muscle through.
Focus on three areas:
- Hips: Better hip rotation makes stemming in corners smoother and helps you turn a jam into a rest instead of a fight.
- Ankles: Ankle range helps you keep feet flat on smears, stand higher in cracks, and trust high steps into pods without peeling.
- Thoracic spine: Upper back mobility helps you stay tall in corners, look for gear, and keep your ribs stacked over your hips when you’re stemming or reaching.
A quick rule: mobility plus strength beats stretching alone. Range you can’t control is where tweaks happen, especially in wide cracks, high steps, and knee-bar style positions.
Finally, a note on nerves: trad doesn’t require fearlessness, it requires steady decisions while tired. Physical training supports that by keeping your breathing, grip, and posture under control when you need to place one more good piece. Remember, there are also many trad climbing destinations around the world. So, the possibilities of this sport are endless.
Build Trad-Specific Strength Without Wrecking Your Fingers
The best strength work for trad is the kind that makes you feel more stable on rock, not smoked for your next climbing day. Think of it as building a stronger “tripod” (hands, feet, core) so you can hang in there while placing gear, swapping hands, and standing tall in weird stances.
For most people, 2 strength sessions per week is the sweet spot for training for trad climbing. Put them on nonconsecutive days, keep the reps clean, and stop sets with 1 to 2 reps left in the tank so you stay fresh enough to climb.
A simple weekly flow looks like this:
| Day | Focus |
|---|---|
| Mon | Climb (volume or skills) |
| Tue | Strength Session A (45 to 60 minutes) |
| Wed | Rest or easy cardio and mobility |
| Thu | Climb (harder or longer) |
| Fri | Strength Session B (45 to 60 minutes) |
| Sat | Outside or longer easy climbing |
| Sun | Rest |
Pulling and pushing basics that carry over to trad
These staples cover most of what trad asks for: pulling to move, pushing to stabilize, and carrying strength for long days with a pack. Keep it simple and repeatable.
- Pull-ups (or assisted pull-ups): 3 to 5 sets of 3 to 8 reps.
This is your “lock-off insurance” for short cruxes, plus it builds the back and shoulder strength that helps when you’re hanging on one hand to start a placement. If you can’t hit 3 reps, use a band or an assisted machine and own the full range. - Rows (cable, dumbbell, or ring rows): 3 to 4 sets of 6 to 10 reps.
Rows train scap control and pulling strength without always loading your fingers. That matters on trad when you’re in a semi-rest, keeping your chest close to the wall while you look down and pick the right piece. - Push-ups (or dumbbell bench press): 3 to 4 sets of 6 to 12 reps.
Pushing keeps shoulders balanced and helps with mantels, pressy laybacks, and stabilizing when the wall forces you open. Use push-ups if you want joint-friendly volume, use dumbbells if you want a smooth range and easy loading. - Overhead press (light): 2 to 3 sets of 5 to 8 reps.
Keep this controlled and modest. It builds shoulder strength for awkward reaches and helps you stay solid when you’re high stepping and your torso wants to tip. - Farmer carries: 4 to 8 carries of 20 to 40 seconds.
Carries are trad-specific in a sneaky way. They train your trunk, grip, and posture all at once, like standing at a stance with gear and a pack while trying not to sag or twist.
If you want a climber-focused overview of strength work, Eric Hörst’s piece on maximum strength training for climbers is a solid reference.

Photo by Allan Mas
Core and hips for less sag and better gear stances
Trad stances punish sloppy body position. If your hips drift out, every shake-out costs more, and every placement feels rushed. Train your core to resist motion, not create it.
- Dead bug (anti-extension): 3 sets of 6 to 10 reps per side.
Keep your low back gently pressed down. This is the same “ribs down” control you need when you’re bridging in a corner. - Side plank (anti-rotation): 3 sets of 20 to 40 seconds per side.
Side planks teach you to stay stacked when one hand is off the wall placing a cam. - Pallof press (anti-rotation): 3 sets of 8 to 12 reps per side.
Press out slow, don’t let the band twist you. This carries over directly to stable stances where the wall wants to spin your hips. - Step-ups: 3 sets of 6 to 10 reps per leg.
Drive through the whole foot and stand tall at the top. Step-ups build the “stand up to place gear” pattern. - Split squats: 3 sets of 6 to 10 reps per leg.
Great for high steps, stemming, and controlling knee tracking when you’re tired on pitch three.
Finger and grip training for trad, including crack-friendly options
The safest path is simple: prioritize climbing volume first, then add finger work only if you’re recovering well (sleep is solid, elbows feel normal, fingers aren’t sore day to day). Too much hangboarding plus an uptick in crack climbing is one of the fastest ways to get tendon pain.
Crack-friendly grip options that don’t force tiny edges:
- Towel hangs: 4 to 6 sets of 10 to 20 seconds, easy effort.
- Fat-grip holds (bar or dumbbells): 3 to 5 sets of 15 to 30 seconds.
- Forearm extensor work (rubber band finger opens): 2 to 3 sets of 20 to 30 reps.
- Easy repeaters on a big hold: 5 to 7 seconds on, 3 seconds off, repeat 6 times, rest 2 to 3 minutes, do 2 to 3 rounds.
Clear rule: stop if you feel sharp pain in fingers or elbows. Sharp pain is a stop sign, not “training feedback.”
Also plan for skin and tendon adaptation. Jamming loads tissues in new angles, and it can chew skin fast. Build crack volume slowly, tape early, and expect a few weeks before hands feel “seasoned.”
Shoulder and elbow prehab that pays off on multi-pitch days
Keep this routine short so you’ll actually do it. Aim for 6 to 10 minutes as a warm-up or after climbing and strength sessions.
- Scapular pull-ups: 2 sets of 6 to 10 reps (small motion, strict control)
- Band face pulls: 2 sets of 12 to 20 reps
- External rotations (band or light dumbbell): 2 sets of 10 to 15 reps per side
- Wrist extensor curls: 2 sets of 12 to 20 reps
- Gentle forearm massage: 1 to 2 minutes per side
If elbows start to grumble, don’t add more gripping. Reduce hangboarding, ease off hard crack sessions, and keep the prehab consistent until things settle.
Train Endurance for Trad: Forearms, Aerobic Base, and All-Day Energy
Trad endurance is not just “more fitness.” It’s the ability to keep moving with a mild pump, pause to place gear without panic gripping, then recover enough to climb well again. The best plan builds three things at once: forearm endurance for time on the wall, an aerobic base for long days and faster recovery, and pacing habits that stop small fatigue from turning into a full-on meltdown.
Forearm endurance workouts that mimic placing gear while tired
On trad, the pump often comes from time under tension, not one hard move. You’re hanging around, testing a cam, re-racking, and moving again. Train that rhythm.
1) Longer easy laps (ARC-style volume)
Pick terrain you can climb with good footwork and calm breathing. Stay on the wall long enough that your forearms feel warm, not fried. If you need a framework for this style of “local endurance,” Melting Off Holds? Then Train Local Endurance lays out the idea well.
2) Intervals on moderate routes
Choose a route or circuit that feels “steady but real.” Climb it, rest briefly, then go again. This teaches you to keep technique while your forearms are already loaded.
3) Stance drills (place-gear simulation)
This is the closest gym proxy to trad. On a jug or a decent stance, stop for 10 to 30 seconds. Shake out, look “down” like you’re choosing gear, take two slow breaths, then keep climbing.
A simple, repeatable session (gym or easy outdoor routes):
- Warm up well, then pick a grade you can finish with control.
- Do 4 to 8 long climbs (or long laps), aiming for 2 to 6 minutes of climbing each.
- Rest 2 to 5 minutes, or until breathing is normal and you can grip without panic.
- Keep the rule: if your form falls apart, lower the grade before you add more volume.
Two cues that matter more than any exact protocol:
- Relax your grip (open hand when you can, avoid death crimping).
- Breathe on purpose (exhale during moves, inhale when you settle at stances).
If you need endurance ideas when you can’t get on a wall, the discussion in Endurance (forearm) training without access to a wall has practical options you can adapt, but climbing-specific volume still wins when you can get it.
Aerobic fitness for approaches and quick recovery between pitches
If the approach feels like a workout, you start pitch one already behind. A basic aerobic base makes you feel less smoked at belays, helps your breathing settle faster after a stressful section, and keeps your focus sharp late in the day.
Practical options (pick what you’ll actually do):
- Brisk hiking with a pack (best carryover for trad days).
- Easy running on soft ground.
- Biking (joint-friendly volume).
- Incline treadmill if time or weather is tight.
A simple weekly target that fits most climbing schedules:
- 2 to 3 easy sessions per week
- 30 to 60 minutes each
- Effort should feel conversational, you can talk in full sentences.
Keep it boring on purpose. You’re building an engine, not trying to win intervals. If you want a clear explanation of what “aerobic base” means in mountain terms, Aerobic Base Training for Mountaineering Success is a solid read.
Multi-pitch stamina: practice long sessions, not just hard moves
Multi-pitch fatigue is sneaky. It’s not the crux, it’s the third hour. You need practice doing lots of moderate climbing while staying organized.
Three ways to simulate long trad days:
Back-to-back moderate routes (best option outside)
Climb two to four pitches or routes in a row at a grade where you can still place gear carefully. Aim to finish feeling “worked,” not wrecked.
Long gym sessions with easy volume
Set a timer for 60 to 90 minutes. Spend most of it on easy laps and moderate intervals. Keep rests short and frequent, like real belays.
Rope skills when tired
When you’re a bit pumped, practice the boring stuff: clean anchor transitions, neat racking, quick stacking, and smooth belay changeovers. Sloppy systems waste time and energy.
Basic fuel and water rules that prevent late-day crashes:
- Carbs: eat small amounts often (every 45 to 60 minutes is a good start).
- Salt: if you sweat a lot, bring salty snacks or an electrolyte mix.
- Water: sip steadily; don’t wait until you’re thirsty and behind.
Pacing and rest tactics that keep you from pumping out
Endurance training helps, but pacing is what saves pitches. The goal is to stay below the redline so you can still place good gear.
Simple rules that work on most trad routes:
- Choose a speed you can hold, even if you feel fresh early.
- Use straight arms whenever the holds allow it.
- Shake out early, before you feel desperate.
- Place gear from stable positions, then move on, don’t hang around fiddling.
A quick on-route checklist:
- Feet first: can you step higher or widen a stem to get weight off your hands?
- Stacked posture: ribs over hips, hips close to the wall, don’t sag.
- One calm breath: inhale through the nose if you can, long exhale to drop the heart rate.
- One decision at a time: find stance, rest, place, test, climb.
Treat rests like small deposits in a bank. If you only “cash in” when you’re already pumped, you’re late, and the interest rate is brutal.
Flexibility and Mobility for Crack Climbing: Move Better, Waste Less Energy
Crack climbing in trad routes demands positions that twist your body into corners, pods, and laybacks. Tight hips or stiff ankles force you to muscle through stems and high steps, burning energy fast. Good mobility lets you settle into rests, place gear calmly, and move with control. Build it through targeted drills that pair range with strength, so you own those end positions on rock. This fits right into your training for trad climbing by making every pitch feel easier.
Photo by cottonbro studio
Hips and ankles for stemming, high steps, and stable feet
Loose hips and ankles turn awkward cracks into stable platforms. Hip external rotation and hip flexor length let you open wide for stemming in corners or drop a knee into a pod. Strong hamstrings and calves keep you planted on slabby approaches or lieback starts. Ankle dorsiflexion smears feet high without heel hooks that sap power.
Start with these drills to gain control at full range:
- Deep squat holds: Sit into a squat with feet flat, elbows inside knees. Hold 30 to 60 seconds, 3 sets. Push knees out gently; this builds hip rotation strength for corner stems.
- 90-90 switches: Sit with one shin forward, other leg bent back at 90 degrees. Switch sides 8 to 10 times per leg, 2 sets. Feel the hip flexor stretch while keeping your torso tall, like prepping for high steps in finger cracks.
- Calf stretches: Face a wall, one foot back, heel down. Lean forward 20 to 30 seconds per side, 3 sets. Pair with slow raises to strengthen calves for edging on flared cracks.
- Step-downs: Stand on a box, lower one foot slow to touch ground, then step up. 8 reps per leg, 3 sets. This owns ankle range for slabby crack entries.
Practice these, and you’ll stem corners without barn-dooring or trust high feet on offwidth approaches. For more on hip openers, check Hooper’s Beta on high feet and hip mobility. Ankle work shines in this Hooper’s Beta guide.
Thoracic spine and shoulders for wide cracks and overhead jams
Wide cracks pull your torso open, and overhead jams stack hands high. A mobile thoracic spine keeps your ribs stacked over hips, so you reach without wrenching shoulders. This sets safer positions for hand stacks or twisting into chicken wings.
Key drills focus on gentle rotation and scapular glide:
- Open books: Lie on your side, knees bent, top arm open across body. Rotate 10 reps per side, 2 sets. Breathe into the twist; it frees your upper back for layback reaches.
- Wall slides: Stand against a wall, slide arms up into a Y, thumbs back. 10 reps, 2 sets. Keep ribs down to train shoulder control in wide jams.
- Band dislocates: Hold a light band wide, rotate it overhead and behind slow. 8 to 10 reps, 2 sets. Stay pain-free; this builds thoracic extension for overhead stacks.
These keep shoulders from hiking up in fatigue, cutting injury risk on multi-pitch cracks. See The Climbing Doctor on thoracic mobility for climber-specific tips.
A simple 10-minute routine you can repeat all season
Stick to this no-fuss sequence before and after sessions. Do the dynamic “before climbing” version to wake up joints. Save the slower “after climbing” holds to build end-range strength. Total time stays under 10 minutes, so it fits any day.
Before climbing (dynamic, 5 minutes):
- 90-90 switches, 1 minute per leg.
- Deep squat holds with switches, 90 seconds.
- Open books and wall slides, 1 minute each.
- Band dislocates, 1 minute.
Move steady through reps; add breath to stay loose.
After climbing (slower holds, 5 minutes):
- Calf stretches with step-downs, 90 seconds per side.
- Deep squat hold, 2 minutes.
- Open books hold top position, 1 minute per side.
Control the end range; no bouncing. Repeat 3 to 5 days a week. You’ll notice smoother jams and less fatigue on cracks within weeks.
Put It Together: A 4-Week Trad Climbing Training Plan and Progress Checks
You now have the pieces for effective training for trad climbing: strength for stable stances, endurance for long pitches, and mobility for efficient cracks. This section combines them into a four-week plan. It balances two to four training days per week with climbing sessions, plus daily mobility habits. Track progress through feel, not just grades, like smoother gear placements with less pump or quicker belay changeovers. Repeat the cycle as needed, adjusting for outdoor trips.

Photo by Allan Mas
Weekly schedule template (2 to 4 training days plus climbing)
Build your week around two strength sessions, one endurance session, daily short mobility (5 to 10 minutes), and at least one technique-focused climbing day. Add a second climb if you recover well. Rest fully one or two days. Shift sessions to fit outdoor days; for example, climb outside on Saturday, then do strength Monday.
Here’s a sample for three training days and two climbs:
| Day | Activity |
|---|---|
| Monday | Strength A (45 min) + mobility |
| Tuesday | Rest or easy hike (20-30 min) + mobility |
| Wednesday | Endurance (45-60 min on wall) + mobility |
| Thursday | Technique climb (gym or crag, 60-90 min) + mobility |
| Friday | Strength B (45 min) + mobility |
| Saturday | Outdoor climb or long volume (if fresh) + mobility |
| Sunday | Full rest + mobility |
For busier weeks, drop to two training days: strength Monday and Friday, endurance on a climb day. Always warm up with 10 minutes easy movement. Cool down with mobility. For a full climbing training plan template, check the Rock Climber’s Training Manual approach.
Trad skill practice that makes training transfer to the rock
Skills stick when you practice them tired but safe. Focus on top-rope gear placements, mock leading, anchor building, and hanging at stances. These drills build trust in your placements through controlled reps, not surprise falls.
Start on top rope. Climb easy terrain, pause at stances, and place gear (nuts, cams) as if leading. Clip the rope through each piece; back it up with the top rope. Test pulls gently. For mock leads, add a slack second rope clipped to placements; practice clipping while top roped. Build anchors at the top: equalize two or three pieces, clip belay loops.
Do hanging drills: lock off one hand at a good hold, shake the other, simulate racking or clipping for 10-20 seconds. Repeat 5-10 times per climb. Safety first: inspect every piece, use a spotter for ground-up practice, and never push beyond backup protection.
These transfer directly. You’ll place faster on lead with calm hands. See safe practice tips in this Stack Exchange discussion on trad drills.
How to progress each week without overtraining
Progress simply: add 10-20% more volume or intensity each week, then deload in week 4. Week 1: base reps/sets. Week 2: add one set or 10% weight/time. Week 3: bump intensity (harder climbs, heavier carries). Week 4: cut volume 30-50%, focus on recovery.
Watch for red flags: poor sleep, finger pain, elbow soreness, or lost stoke. If they hit, skip a session or deload early. Deload every fourth week with light climbs and mobility only. Plan seasonally: build three to six weeks before trips, maintain with one strength and one climb day weekly.
Stay fresh. Small gains compound without burnout.
Quick self-tests to track trad readiness
Use these six checks every two weeks. They’re guides, not pass-fail. Test rested, after a warm-up.
- Pull-ups or rows: 3 clean pull-ups or 8-10 rows. Measures lock-off strength for gear work.
- Timed plank: Hold 90 seconds without sagging. Checks core for stances.
- Forearm circuit: 4 hangs (10 sec each on jugs, shake between) plus 20 finger opens. Finish without shake.
- Hike test: 30 minutes brisk pace with 10-lb pack. Breathing stays easy.
- Mobility squat: Deep squat, flat feet, 60 seconds comfy. Ensures hip/ankle range.
- On-wall pause: Climb moderate route, pause mid-height 20 seconds to “place” (mime cam), no pump spike.
Better numbers or ease mean progress. Feel calmer on runouts? That’s the real win.
More Articles Focused on Training for Trad Climbing You May Be Interested In
Trad climbing beginner progression
Best first trad climbs near me
What gear to start trad climbing
Trad climbing partner finding tips
How to train for trad climbing
Trad climbing gym to outdoor transition
Trad climbing class vs self teach
Learning trad anchors step by step
Trad climbing mentor search tips
Trad climbing grades explained
Trad climbing practice routine
Trad climbing approach planning
Trad climbing mindset beginner tips
Trad climbing next level skills
Trad climbing safe lead practice
Trad climbing gear buying plan
Trad climbing first outdoor lead
Trad climbing local crag scouting
Conclusion
Trad climbing training builds on strength for stable stances, endurance for long pitches, and flexibility for smooth cracks. Pair these with safe skill practice like top-rope placements and mock leads. This mix lets you place gear fast, stay calm on runouts, and finish days strong.
Start simple. Pick the four-week plan and stick to it for consistency. Track how you feel on self-tests and adjust based on recovery or trips ahead. Small habits add up to big gains on rock.
Commit this week: Do one strength session, one endurance workout, and the 10-minute mobility routine. You’ll move better and climb safer. Share your first session results in the comments.
Recommended Products for Trad Climbing
These products can support safer climbing, belaying, rappelling, and emergency readiness.
Affiliate disclosure: As an Amazon Associate, TradClimbers may earn from qualifying purchases at no additional cost to you.