

If you want to get better at bouldering, just showing up and climbing hard isn’t enough. That's a great way to have fun, but it's not a plan. Real improvement comes from taking a step back, figuring out your specific weaknesses, and then hitting them head-on with focused, intentional training.
Building Your Personal Bouldering Training Plan
We've all been there. You show up, you climb, but the progress stalls. That project you’ve been working on for weeks still feels impossible, and you start to wonder if you’ve hit your natural limit. This is the classic plateau, and it’s where most climbers get stuck.
The way out isn't just "trying harder." It's about shifting your mindset from simply climbing to deliberately training. This means walking into the gym with a purpose for every single session, armed with a plan that’s built for you and you alone. It doesn't need to be some complicated spreadsheet, just a clear, intentional approach to turn your gym time into measurable gains.
First, Get Real About Your Weaknesses
Before you can build a smart plan, you have to know what you’re working with. It's easy to just say, "I need to get stronger," but the real reason you're falling is almost always more specific than that. It’s time for an honest self-assessment.
Think about your last few sessions. Where do you consistently fail?
- Getting spat off steep overhangs? Your core tension or lock-off strength might be the culprit.
- Feet constantly popping off tiny holds? This screams for better footwork and body positioning.
- Can't stick big, powerful moves? You’re likely missing some explosive power.
- Peeling off the very last move of a long problem? That’s a classic sign of low power-endurance.
Look for the patterns. Do you crush static, techy climbs but fall apart the second you have to do a dyno? Can you pull on jugs all day but feel weak on crimps? Be brutally honest here. This isn’t about beating yourself up; it’s about collecting the data you need to get stronger.
Your biggest weakness is often hidden in the style of climbing you avoid. If you absolutely hate slopers, that's a giant sign telling you exactly what to train. The goal is to become a well-rounded climber, not just to get better at what you already do well.
Set Goals Beyond the Grade
Once you’ve identified your weaknesses, you can set goals that actually mean something. Chasing a specific grade—like your first V5—is a great motivator, but it shouldn't be your only target. Progress isn't always linear, and tying your success solely to a number is a recipe for frustration.
Instead, focus on performance-based goals. These are the tangible skills and strength markers that are completely within your control and directly lead to sending harder grades.
Think in terms of goals like these:
- Stick three dynamic moves in one session.
- Hold a front lever for 5 seconds.
- Climb an entire session using "silent feet" to master your footwork.
- Send two V4 slab problems this month (especially if slabs are your anti-style).
These smaller wins build real confidence because they directly address your weak points. They give you a clear way to see progress, even on days when you don't send your main project. At its core, a solid bouldering plan is built on developing multi-joint, practical functional strength that translates directly to the wall.
The Climber's Warm-Up for Peak Performance
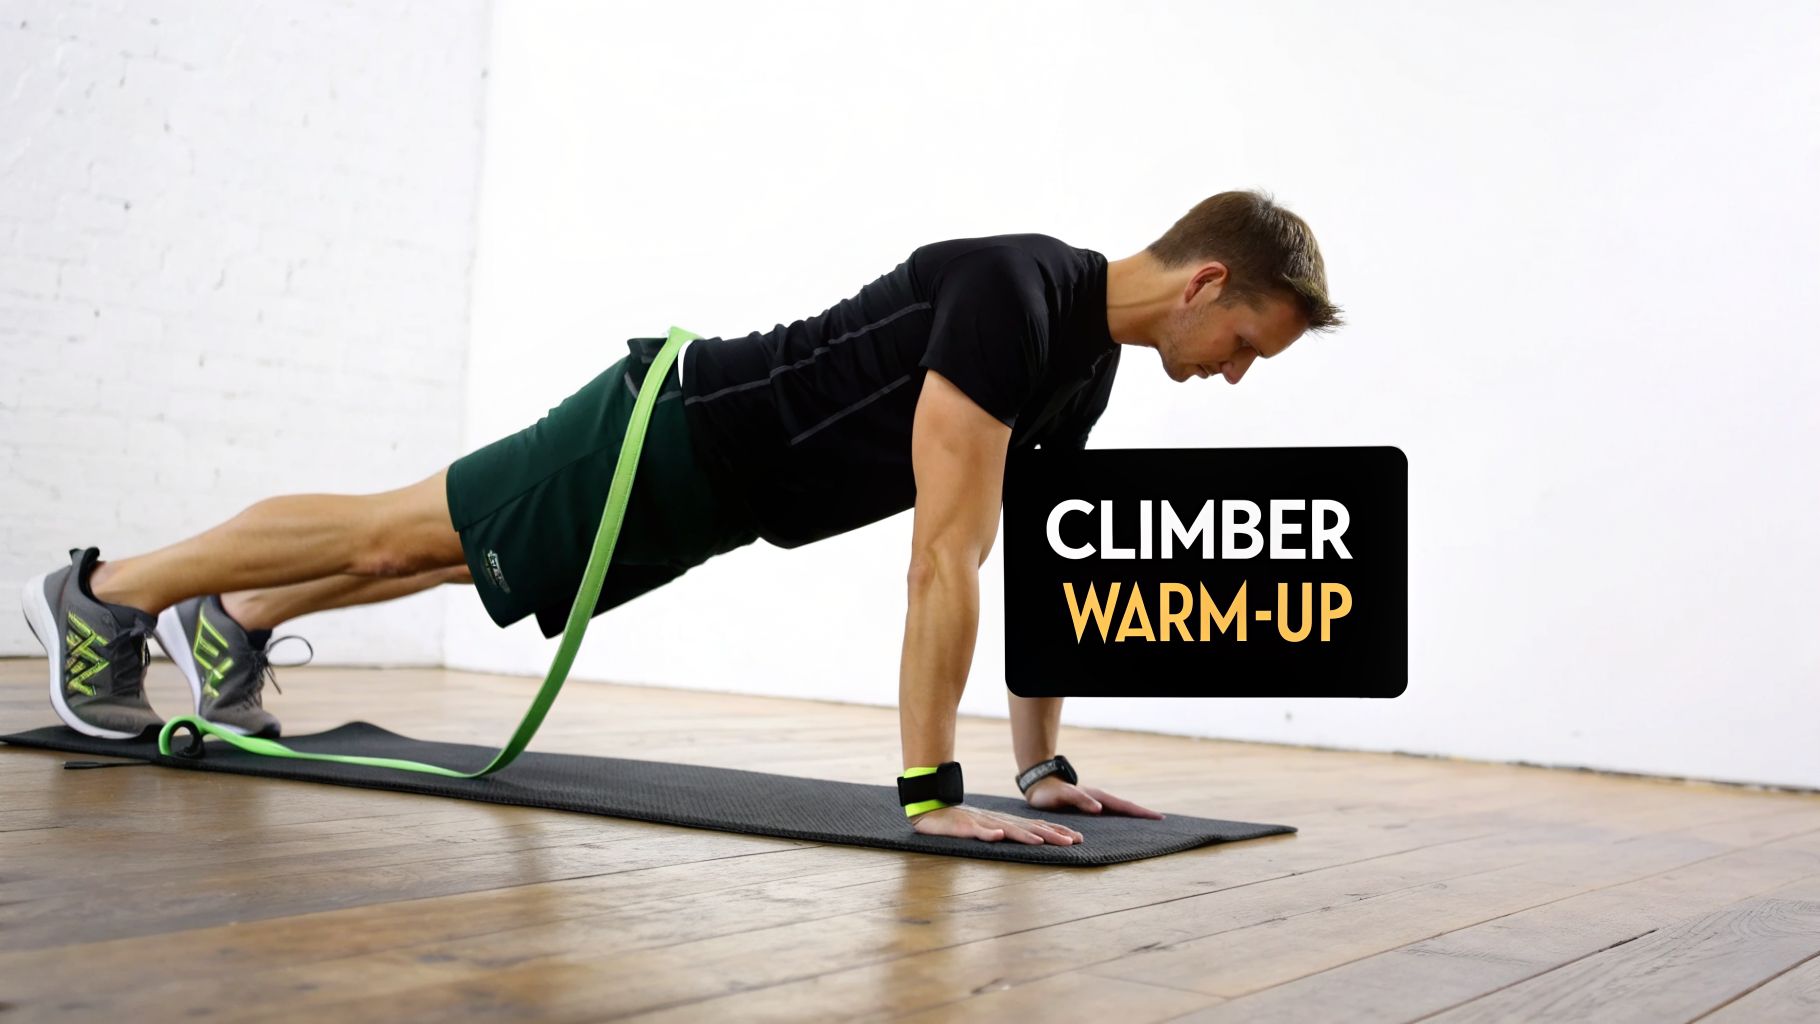
I can’t tell you how many climbers I see walk into the gym, do a few half-hearted arm circles, and then immediately start yanking on their project. It’s the fastest way to have a terrible session and, eventually, get injured.
A real warm-up is a non-negotiable part of serious training for bouldering. This isn't just about injury prevention; it's about systematically priming your body and mind to perform at their absolute peak from the very first move. My goal is to feel powerful, activated, and mentally locked in before I even think about trying hard.
Getting the Blood Pumping and Joints Moving
The first thing I do is spend a solid 5-10 minutes just getting my core temperature up. You’re not trying to get a workout in, just gently raising your pulse until you feel a light sweat. Think of it as waking your system up.
Some simple but effective ways to do this are:
- Jumping Jacks: A classic for a reason. They get the heart rate up fast.
- Rowing Machine: This is a great full-body option that warms up your legs, core, and pulling muscles all at once.
- Light Traversing: I'll often just spend five minutes cruising around on the biggest jugs in the gym. The key is smooth, continuous movement—no pausing or hard moves.
Once I feel warm, I immediately shift to dynamic mobility. This means actively moving my joints through their full range of motion. We're not talking about old-school static stretching, which can actually make you feel weaker before a session. Dynamic drills improve your mobility while keeping your muscles ready to fire.
A few of my go-tos include leg swings (forward, backward, and side-to-side), deep torso twists, and cat-cow stretches to get the spine moving. The aim is to feel fluid and unrestricted before you ever touch a small hold.
Activating Your Climbing Muscles
Now that your body is warm and mobile, it’s time to wake up the specific muscles that do the heavy lifting in climbing. This is all about establishing that mind-muscle connection. For this part, a few light resistance bands are your best friend.
I focus on these key areas:
- Shoulder Rotators: Use a very light band for external and internal rotations. This is crucial for preparing your rotator cuffs for the strain of powerful lock-offs and gastons.
- Scapular Pull-Ups: Hang from a pull-up bar and, without bending your arms, focus on pulling your shoulder blades down and back. This fires up the big, stabilizing muscles in your upper back.
- Glute Bridges: Your glutes are a huge source of power for maintaining body tension. Lie on your back, drive your hips up, and give your glutes a good squeeze at the top.
A proper warm-up sends a clear signal to your nervous system: "We are about to do something difficult." This preparation can be the difference between sticking a desperate move and sustaining a pulley tweak.
Finally, it’s time to get on the wall. I spend at least 15-20 minutes working my way through the easiest problems in the gym, usually V0s and V1s. I’m not just climbing them; I’m focusing intensely on perfect technique. I think about placing my feet silently, keeping my core tight, and breathing through the moves.
This isn't about sending—it's about rehearsing perfect movement. By the time I finally walk over to my first project of the day, my body is 100% ready for the demands of high-intensity bouldering.
How to Build Real Finger Strength and Power
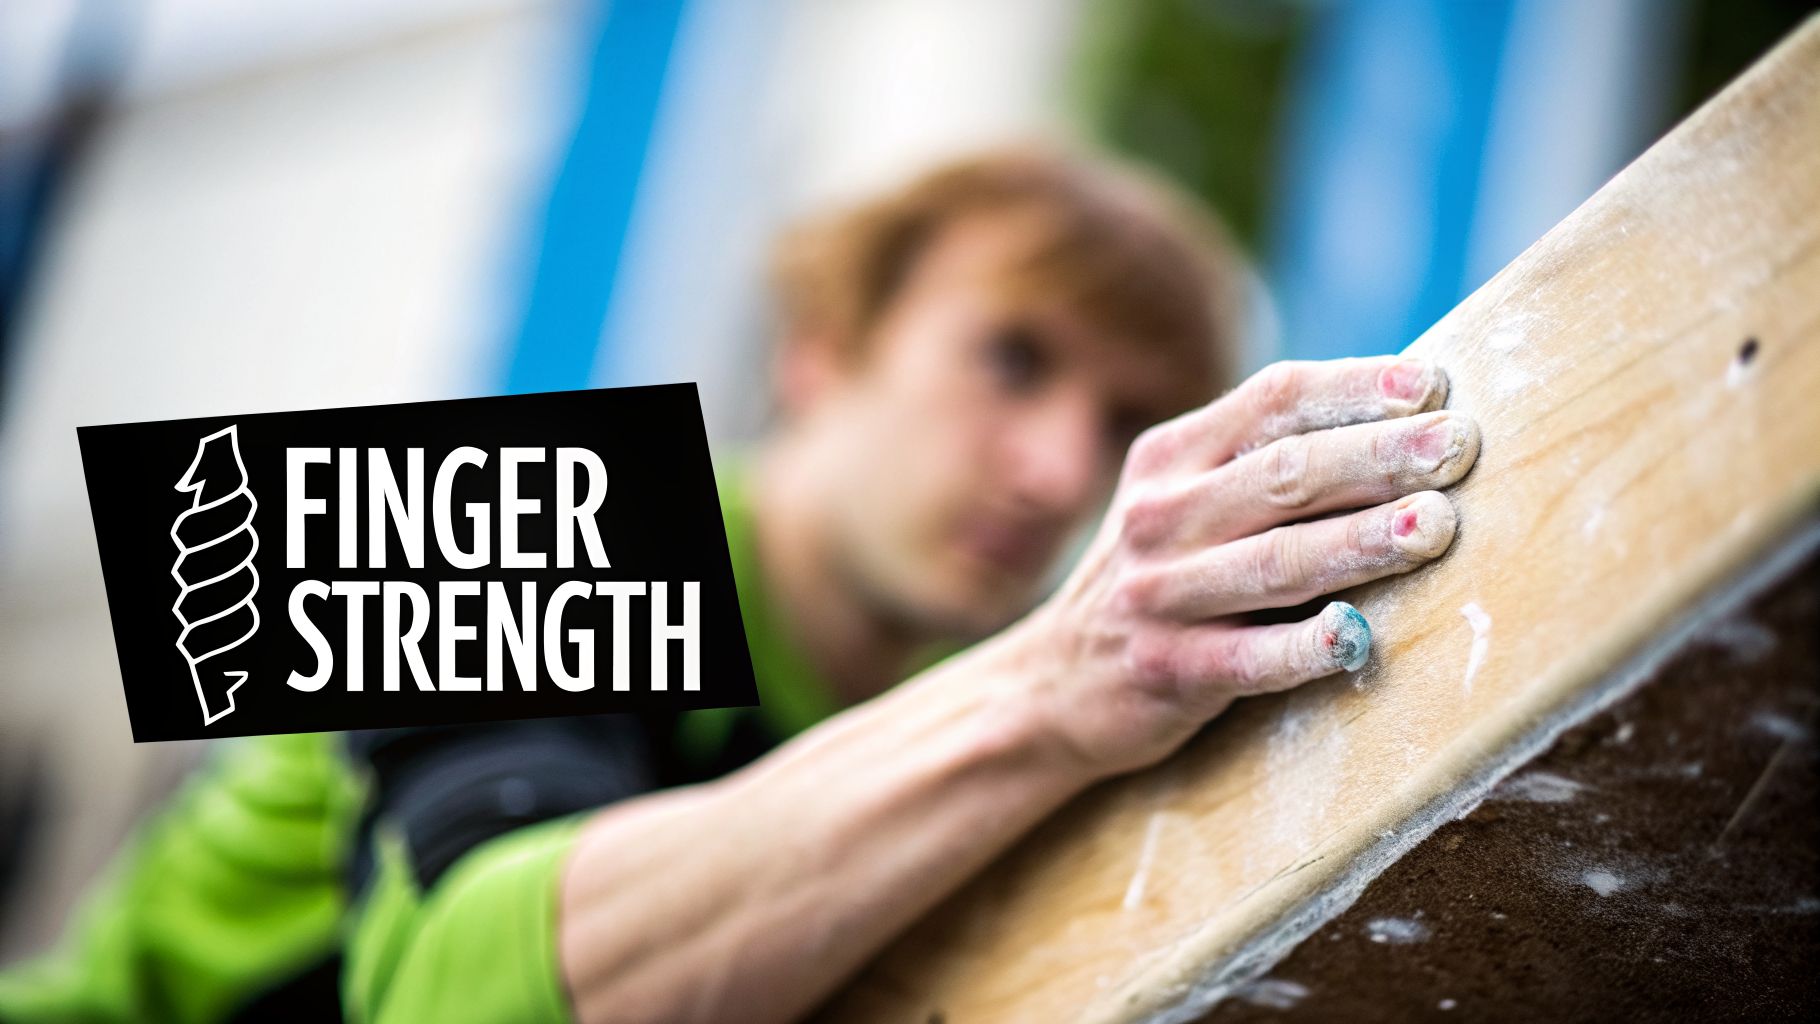
We've all been there: staring up at a crux move, knowing exactly what to do but lacking the raw physical oomph to make it happen. While good technique will get you far, some moves simply demand pure strength. This is where we stop just climbing and start training—building powerful fingers and an explosive upper body.
This isn't about throwing yourself at a wall until you're exhausted. This is targeted, systematic work designed to build the physical hardware you need to pull moves that feel impossible right now. We're turning weaknesses into strengths, one powerful session at a time.
The Hangboard: Your Best Friend for Finger Strength
When it comes to building pure, unadulterated finger strength, nothing beats the hangboard. It's the most direct way to isolate your forearm flexors and apply a controlled, measurable overload. But it's also a tool that demands respect; misuse it, and you’re on the fast track to injury.
First things first, find the right hold for you. You're looking for an edge you can hang from with perfect form for roughly 13-15 seconds before your grip gives out. For many, a 20mm edge is a great place to start and a common benchmark for measuring progress.
Your form is everything. Actively engage your shoulders, pulling them down and away from your ears. Keep a slight, soft bend in your elbows. This isn't a passive hang; it's an active, engaged posture that protects your joints and ensures you're training the right muscles.
A good hangboard session fires up your nervous system but shouldn't leave your fingers feeling wrecked. If you're dealing with sharp pain or can't make a fist the next day, you went too hard. The goal is to stimulate growth, not annihilate your tendons.
A simple and brutally effective protocol is a "max hangs" routine. It’s all about short, intense efforts followed by lots of rest.
- Start with a 7-10 second hang on your chosen edge, giving it your all.
- After the hang, rest for a full 2-3 minutes. Don't rush this; your muscles and nervous system need it.
- Repeat this hang-and-rest cycle 3-5 times. That completes one set.
- Take another long rest, about 5 minutes, before starting your next set. Aim for 1-3 sets total.
That’s it. The whole workout can take less than 20 minutes, but it delivers a powerful stimulus for strength gains without tacking on a ton of fatigue, leaving you fresh enough to have a great climbing session later.
Unlocking Power with Limit Bouldering
Hangboarding gives you static strength—the ability to latch a hold. Power is about applying that strength fast. That's where limit bouldering enters the picture. It’s the practice of working on moves at or just beyond your absolute maximum.
The mindset here is a total shift: quality over quantity. Instead of spending an hour flailing on your project, you might dedicate a whole session to trying just 1-3 ridiculously hard moves. You might only do the move once, but that one successful execution does more to build power than a dozen sends of easier problems.
Think about that V6 project with the big, low-percentage dyno you just can't seem to stick. A limit bouldering session to tackle it would look less like climbing and more like practice.
You’d start by forgetting the rest of the problem and just focusing on the dyno itself. To learn the movement, you could even make it a little easier at first by using a bigger foothold or a better starting hand.
Then, you give it 3-5 all-out attempts, focusing every bit of your energy on exploding through the move. After each attempt, you take a serious rest—a full 3-5 minutes—to let your nervous system completely recover before you go again.
This kind of training teaches your body to generate maximum force in an instant. It’s not about endurance; it’s about programming your central nervous system to fire on all cylinders. This can be combined with other tools like a system board or, for more advanced climbers, a campus board. If you're ready for more structured power work, check out our guide on safe and effective campus board training.
Building real strength is a game of patience. Consistent, high-quality work with max hangs and focused limit bouldering will get you much further than simply trying hard all the time. You’re laying a foundation of power that will support your climbing for years.
Mastering Movement and On-The-Wall Technique
All the off-the-wall strength in the world won't do you much good if you can't apply it with precision. Great bouldering is a dance, a conversation between your body and the rock—it's not about just yanking yourself up with brute force. This is where we shift our focus from raw physical output to deliberate, on-the-wall practice that makes you a smarter, smoother, and more intuitive climber.
This isn't about mindlessly throwing yourself at your project until you stick a move. Far from it. This is about dedicating entire sessions to sharpening one single aspect of your technique. The idea is to build such a deep library of movements that you start seeing creative, elegant solutions to problems, not just powerful, burly ones.
The Foundation of Good Movement: Silent Feet
The single most impactful drill for any climber, from beginner to advanced, is practicing with silent feet. The rule is deceptively simple: your feet are not allowed to make any sound when they touch the holds. No scrapes, no bangs, and definitely no frantic readjustments. You have to look at the foothold, place your foot perfectly the first time, and then trust it.
This little constraint forces you to slow down and climb with incredible intention. It builds pinpoint precision, improves your aim, and makes you engage your core to control your body while placing your feet. You'll quickly discover how humbling and challenging it can be. Try dedicating 15-20 minutes during your warm-up to climbing easy problems with this rule; the change in your footwork will be dramatic.
Deliberate practice is about isolating a weakness and attacking it with focused repetition. It’s not about sending grades; it’s about mastering skills. The sends will naturally follow.
Drills to Build Your Movement Library
Once you start developing that foundational footwork, you can begin layering in more advanced drills. Don't try to cram them all into one session. Instead, pick one or two to really focus on during your training for bouldering.
- Straight-Arm Climbing: Find some juggy, slightly overhanging terrain and climb it while keeping your arms as straight as possible. This drill forces you to generate movement from your hips and feet, twisting your body to reach the next hold. It's a masterclass in using your core and legs instead of just doing one pull-up after another.
- Hover Hands: This one builds incredible control. Before you grab the next hold, make yourself hover your hand over it for a full two seconds. This simple act eliminates sloppy, desperate lunges and trains you to maintain body tension until the very last moment of a move.
- Flagging Focus: Pick a problem and climb it multiple times. On each attempt, use a different type of flag—inside, outside, and rear. This helps you develop a gut feeling for how flagging controls your center of gravity and stops you from swinging wildly off the wall. You'll build the intuition to know exactly which flag a move calls for.
Structuring a Technique Session
So, how does this look in practice? A dedicated technique session should feel completely different from a performance or limit-bouldering day. The goal isn't to climb hard; it's to climb perfectly. If you're looking for more ways to organize your gym time, our guide of indoor bouldering tips has some great ideas on session planning.
Here’s what a session focused on dynamic movement might look like:
Start with your usual warm-up, but make sure to include 10-15 minutes of silent-feet climbing on easy problems.
Next, pick your drill. Let's say you're working on momentum. Choose a moderately difficult boulder problem—something around 70% of your max grade. Climb it three times, focusing entirely on generating power from your hips and letting the momentum carry you.
Finally, apply the skill. Find 2-3 problems in the gym that specifically demand dynamic movement. Work the moves, but don't get sucked into "send mode." Your only goal is to execute the powerful moves with perfect form. Make sure you rest for 3-5 minutes between attempts to keep the quality of your effort high.
This focused, skill-first approach is how you turn clumsy, inefficient habits into fluid, powerful technique. It's a slower process, for sure, but it’s the real key to unlocking your true potential on the wall.
Planning Your Training With Periodization
Alright, you've got a solid warm-up, a plan for building finger strength, and drills to lock in your technique. So, what’s next? The big question is how to stitch all these pieces together into a coherent plan that actually works, without just grinding yourself into dust.
This is where periodization comes in. At its heart, the idea is pretty straightforward: instead of trying to get stronger, more powerful, and improve your endurance all at once, you focus on just one or two of those things for a set block of time. This allows your body to make real, focused adaptations.
Think of it like building a house. You have to pour the foundation (your base strength) before you can frame the walls (power) and then add the detailed finishings (technique under pressure).
Trying to do max hangs, limit bouldering, and 4×4 endurance circuits all in the same week is a classic recipe for burnout and injury. Periodization is simply a smarter, more sustainable way to approach long-term progress in your bouldering.
Understanding Training Blocks or Phases
A typical training cycle is broken down into distinct blocks, each with a crystal-clear goal. For example, you might spend a few weeks focused purely on building raw strength, then transition into a power phase where you learn to apply that strength explosively.
A common, effective structure looks something like this:
- Strength Phase: This is all about building raw force production. Your key sessions will be things like hangboarding and heavy, low-rep work on a system board or with weights.
- Power Phase: Now it’s time to teach your body to use that strength quickly. This is where limit bouldering, campus board sessions, and explosive, dynamic moves become the priority.
- Power-Endurance Phase: Here's where you learn to sustain that power over longer sequences. Think hard boulder circuits or linking multiple problems with very little rest.
- Performance Phase: Time to back off the intense training and let your body peak. You'll drop the volume way down and focus on sending your projects, using all the fitness you’ve painstakingly built.
After a full cycle, a deload week is absolutely crucial. This isn't laziness; it’s a strategic part of getting stronger. This is when your body finally gets to recover, repair, and consolidate all the gains you've been working for.
Periodization isn't some rigid, do-or-die schedule. It’s a flexible framework. You have to adapt it to your life, your energy levels, and whatever your specific goal is—whether that's a trip to Fontainebleau or finally conquering that stubborn V7 in the corner of your gym.
Putting It All Together: A Sample 8-Week Plan
Let's make this concrete. Here’s what a basic 8-week training cycle could look like. This isn’t a strict prescription, but a template you can borrow from and adjust. It assumes you can train 3–4 days per week, with at least one full rest day between hard sessions.
This progression from practice to mastery is the whole point of structured training. You build the capacity, then you learn how to use it.
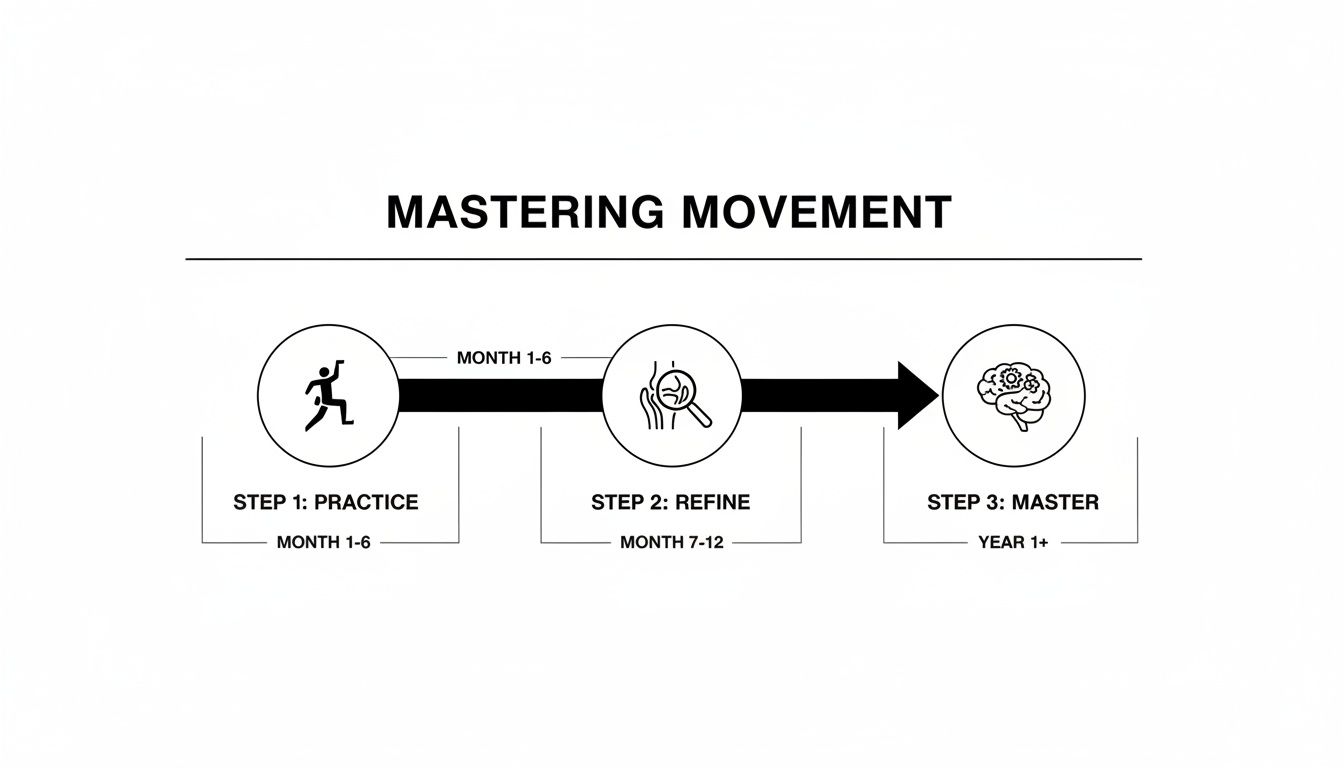
True mastery is a long game, built on thousands of hours of intentional practice and refinement—not a quick fix.
Here’s a simple table breaking down how you might structure those eight weeks. Pay attention to how the primary focus shifts over time, moving from building a foundation to applying it on the wall.
Sample 8-Week Bouldering Training Block
| Week | Primary Focus | Key Sessions | Notes |
|---|---|---|---|
| 1–2 | Foundational Strength | Max Hangs (2x/week), Technique Drills | Keep bouldering volume moderate. Focus on quality, not quantity. |
| 3–4 | Strength & Power | Max Hangs (1x/week), Limit Bouldering (1x/week) | Start to introduce more explosive, powerful movements. |
| 5–6 | Power & Application | Limit Bouldering (1–2x/week), Project Bouldering | Hangboarding drops to a maintenance dose (1x/week or less). |
| 7 | Performance/Peaking | Project Bouldering (2x/week), light technique work | Volume drops significantly. The main focus now is on sending. |
| 8 | Deload/Rest | Very light movement, active recovery (e.g., hiking) | Let your body fully recover and soak up the training adaptations. |
This structure ensures you're applying progressive overload in a way your body can actually handle. During the strength phase (Weeks 1–4), your main goal on a hangboard day is to hit your numbers with perfect form. Any bouldering you do on another day is more for fun and technical practice, not for redpointing at your absolute limit.
Then, as you shift into the power phase (Weeks 5–6), the limit bouldering session becomes the main event. Hangboarding becomes less frequent, serving only to maintain the strength you've already built. By organizing your training for bouldering this way, you give each attribute the dedicated attention it needs, which ultimately leads to bigger, more sustainable gains.
Smart Recovery and Preventing Climbing Injuries

Here's a hard truth many climbers learn way too late: you don't actually get stronger during your session. The real magic happens when you recover. This is where your body adapts and rebuilds, and ignoring it is the fastest route to a plateau or, worse, an injury.
Your most powerful recovery tool is completely free, but it's the one most of us skimp on: sleep. Seriously, getting a solid 7-9 hours a night is non-negotiable for progress. It's when your body does the heavy lifting of repairing muscle fibers and cementing all that new movement you practiced.
Fueling Your Body for the Work and the Repair
What you eat around your sessions isn't just about calories; it's about giving your body the right materials at the right time. Think of it as pre-loading the construction site and then delivering the bricks for rebuilding.
About 60-90 minutes before you start your warm-up, have a snack that’s mostly complex carbs with a bit of protein. This gives you that slow-burn energy you need to perform. Once you're done climbing, the window for recovery opens. A meal with high-quality protein and carbs within a couple of hours helps your body restock its energy stores and start repairing muscle. To give your system an extra boost, you can look into the best supplements for muscle recovery to complement your nutrition.
Learning to distinguish between the “good pain” of hard work and the “bad pain” of a potential injury is a crucial skill. Good pain is that dull, spread-out ache in the belly of a muscle. Bad pain is often sharp, specific to a joint or tendon, and gets worse when you try to move a certain way. Listen to that.
Staying Ahead of Common Injuries
Bouldering is a pull-heavy sport. All that pulling, if you don't balance it out, leads to powerful muscular imbalances that are the root cause of classic climbing injuries like shoulder impingement and elbow tendonitis.
Your best defense is to actively train the opposing muscles. We call this antagonist training. Just 2-3 times per week, add these simple movements to your routine:
- Push-ups: The classic exercise to balance out all the pulling by working your chest and triceps.
- Dips: Another fantastic pushing movement you can do on a bench or parallel bars.
- Wrist Extensor Curls: With a light weight, curl your wrist upward. This strengthens the often-neglected muscles on the top of your forearm.
- Reverse Wrist Curls: The opposite of the above, balancing out your powerful gripping muscles.
This isn't about becoming a bodybuilder. It's about building a more resilient, structurally sound body that can handle the unique stresses of climbing for years to come. For those minor tweaks or when a finger feels a bit tender, knowing how to use climbing tape can also offer some much-needed support to get you through a session.
Ultimately, the best injury prevention tool is learning to listen to your body. Smart training for bouldering means taking planned deload weeks, having active recovery days, and knowing when to pack it in. This long-game approach is what will keep you on the wall and out of physical therapy.
Common Bouldering Training Questions Answered
Once you start thinking about structured training for bouldering, a whole new set of questions inevitably pops up. Getting intentional with your climbing is a game-changer, so let's clear up a few common hurdles climbers face when they decide to train with a purpose.
How Often Should I Actually Train?
The biggest mistake I see climbers make is overdoing it. It's tempting to think more is better, but your body builds strength during rest, not during the session itself. You'll see far more progress from 2-3 high-quality sessions a week than you will from five half-hearted ones.
Quality over quantity, always. Pushing yourself to the limit and then giving your muscles and tendons time to recover and rebuild is how you actually get stronger.
How Do I Balance Bouldering With Route Climbing?
This is the classic dilemma, especially for climbers who love both disciplines. Trying to train for peak bouldering power and endless route endurance at the same time is a recipe for burnout and mediocre results in both.
The most effective approach is to cycle your focus. Dedicate a solid 8-12 week training block to nothing but bouldering. Go all-in on building power and finger strength. That newfound strength won't just vanish when you tie back in—it translates directly to harder moves and tougher cruxes on your sport climbing projects.
After that block, you can switch gears and focus on building your endurance back up, but you'll be doing it on a much stronger foundation.
When you hit a plateau, it's a signal that your body has adapted to your current routine. The solution isn't always more effort; it’s a different stimulus. Don't be afraid to back off to move forward.
What Do I Do When I Hit a Plateau?
It happens to everyone. You’re crushing it one week, and the next, you feel stuck. A plateau is just your body telling you it's time for a change.
First, consider a planned deload week. This means seriously cutting back your climbing volume and intensity to give your body a real chance to recover. You might also need to introduce a new type of stress. If you've been doing max hangs, try switching to repeaters. If your movement feels stale, film yourself to spot technique habits you can’t feel.
Often, a small, smart change is all it takes to break through and start making progress again.
Recommended Products for Bouldering
These products can support climbing-specific strength, technique, and conditioning.
Affiliate disclosure: As an Amazon Associate, TradClimbers may earn from qualifying purchases at no additional cost to you.
Keep exploring helpful trad climbing, gear, safety, and technique resources.
- A Climber’s Guide to Rock Climbing in Thailand
- A Trad Climber’s Guide to the Isle of Skye Ridge
- Hueco Tanks Rock Climbing: hueco tanks rock climbing Essentials
- A Climber’s Guide to The Nose of El Capitan
- The Top 8 Unforgettable Climbing Routes El Capitan Has to Offer in 2026
- Yoga for Climbers: Boost Strength, Flexibility, and Recovery | yoga for climbers