
Trad Rescue Basics for Climbers
Climbers know trad routes test your skills. But when a partner gets stuck or hurt on single-pitch or multi-pitch terrain, you need quick fixes. Trad rescue basics for climbers cover those simple skills to handle common issues like a jammed second or minor injury.
These basics focus on real-world moves: coach a rest, do a short-haul, lower to safety, or retreat via rappel. You always make the system safe first, back up anchors and knots, and stay protected so you don’t become a second victim.
Pick the simplest safe option every time. Skip complex hauls unless trained. Call for help early if injuries look bad, weather turns, or terrain gets tricky.
This guide shares the core steps. It’s no replacement for hands-on practice or pro instruction. Test these on the ground with full backups before you need them up high.
Rescue mindset and first steps after something goes wrong
Trouble strikes fast on trad routes. Your partner slips, jams a cam, or takes a tumble. Shift to rescue mindset right away. Stay calm. Think step by step. These initial moves in trad rescue basics for climbers keep everyone safe and buy time for the next actions.

Photo by Katya Wolf
Stop the incident, secure yourself, and build a stable stance
Act first to halt the problem. If your partner hangs on the rope, take in slack quick. Ease tension without dropping them.
Clip into the anchor right away, or build one if none exists. Use a quickdraw or sling on solid gear. This backs up your belay.
Don’t become a second victim. You must stay safe. Check your stance. Feet wide, hips low, hands free for work.
If loaded on the belay device, back it up before you move. Clip the brake strand to the anchor with a screwgate. Only then unclip from the device.
Protect the rope from sharp edges. Pad them with slings or jackets. Sharp rock cuts ropes under load.
Slow down now. Breathe. Check every connection twice. Tug anchors. Inspect knots. Yell “All good?” to confirm.
For more on belay escapes, check this guide from Climbing magazine on essential multi-pitch rescue skills.
Quick injury check and when to call for help early
Assess your partner fast but thorough. Get them stable first. Ask what hurts. Look for changes in skin color or breathing.
Spot these red flags that scream for pro help:
- Head, neck, or back pain.
- Major bleeding that soaks gear.
- Loss of consciousness, even brief.
- Severe pain they can’t ignore.
- Shock signs like pale skin, fast pulse, confusion.
- Hypothermia risk from sweat or wind.
- Rockfall danger or loose terrain.
Call early if you see any. It saves hours. Pros arrive faster than you think. Self-rescue works best for minor stuff.
Share key details: exact location, route name, pitch number, patient status. Use your phone or whistle. Apps like Gaia GPS pinpoint spots.
Even if you plan to lower out, a call preps backup. Better safe than stuck waiting.
Choose the simplest safe plan: lower, short-haul, ascend, or retreat
Complex hauls fail under stress. Stick to easy options. Lowering or rappelling beats them most days. Less gear. Fewer mistakes.
Pick based on position and help they can give. Use this decision tree:
- Partner below you, can assist: Lower them to the ground or ledge. Back up the lower with a fireman’s belay.
- Partner at the anchor: Short-haul them up if stuck. Or escape belay and lower together.
- Partner above you: Have them rappel down if able. You ascend the rope or build a counterweight lower.
- No assist possible: Retreat via rappel. Tag line for gear pickups.
Keep systems clean. One rope at a time. No tangled strands.
Communicate clear. “Lowering in three, two, one.” Repeat confirms. Yell status updates.
VDiff Climbing’s self-rescue intro outlines clean setups well: vdiffclimbing.com/self-rescue.
Practice these on flat ground. Muscle memory counts when panic hits. Simple plans win in trad rescue.
Minimal gear and core knots for trad rescue
Trad rescue basics for climbers start with what you carry every pitch. Keep your kit light and always on your harness. No bulky bags. Focus on versatile pieces that handle backups, progress capture, ascending ropes, and load transfers. Master these, and you fix most jams or lowers without extra weight.
A lightweight trad rescue kit that lives on your harness
Stock four or more locking carabiners on your gear loops. They connect slings to anchors, back up lowers, and build master points under heavy loads.
Pack two to three double-length slings. These extend reaches for gear placements, pad sharp edges, and create quick redirects or personal anchors during escapes.
Carry cordelette or thin cord, about 18 feet. It ties into anchors fast, equalizes pieces, and forms load-releasable hitches for smooth progress capture.
Add two prusik loops or sewn friction hitches, sized for your rope. They grip for ascending fixed lines, hold progress in hauls, or act as autoblocks for controlled lowers.
A small knife stays clipped close. Cut cords or slings in seconds if tangles form, but test sharpness on scrap first.
Some climbers add a short 10-foot cord. It doubles as extra prusik material or a quick tether. Check Over The Edge Rescue’s lightweight setup for harness-based ideas that match this list.
These items weigh under two pounds total. They solve 90% of trad rescue needs without rack overload.
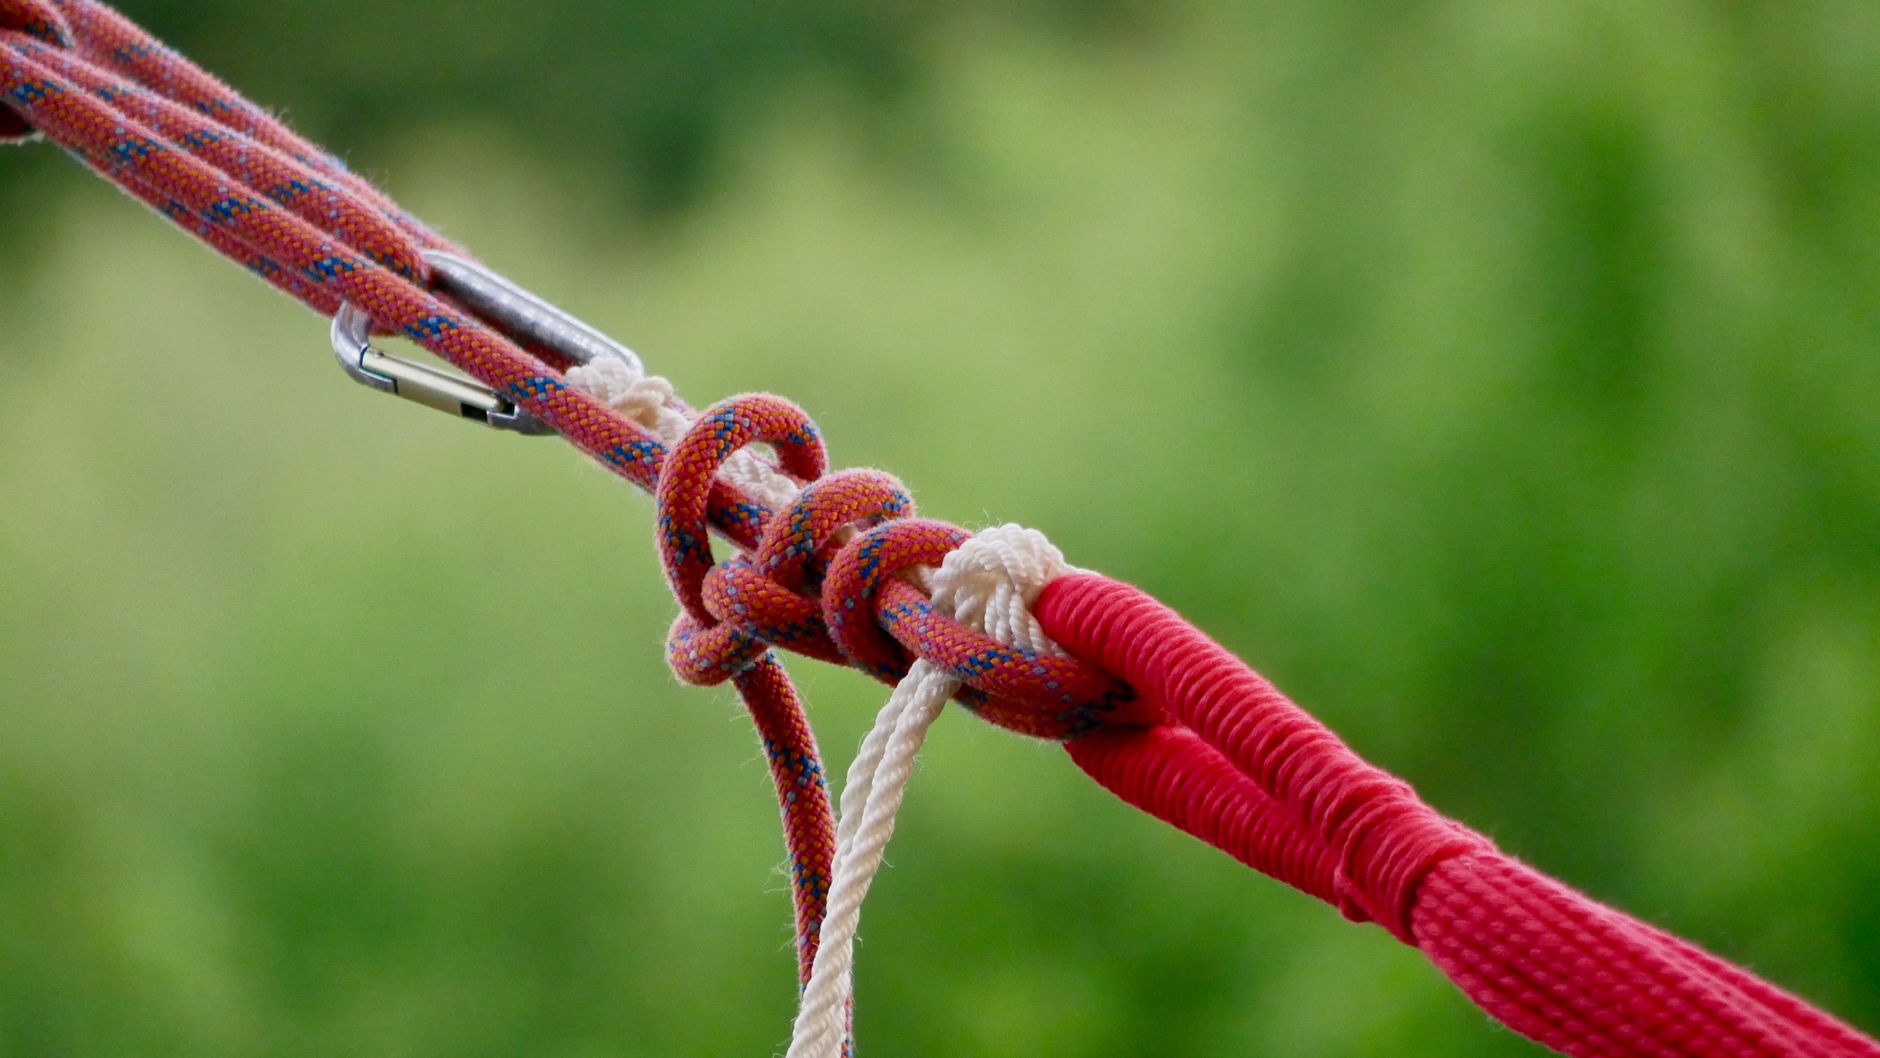
Photo by Carl H. McBublo
Must-know knots and hitches that solve most problems
Tie the figure-8 follow-through for all tie-ins and anchor connections. It backs up belays and clips into rescue systems securely.
Use the clove hitch to adjust anchor ties or belay from bolts. It releases under load for easy lowers.
The Munter hitch turns any carabiner into an emergency belay or lower device. Smooth on doubles, it eats less rope than you think.
Master the Munter-mule-overhand combo as your load-releasable tie-off. Clip the Munter, mule the hitch below, back it with an overhand. Release tension to lower without undoing the whole setup.
Overhand backups seal every knot’s tail. Stack two for critical spots; they prevent rollouts under shock.
Set friction hitches like prusik, autoblock, or Klemheist for rope ascents and haul holds. Prusiks work on wet ropes; autoblocks excel in lowers.
Practice these dry and loaded until you tie blindfolded. Speed saves lives. See step-by-step visuals at Climbing’s essential knots guide.
Anchor basics for rescue loads (strong, redundant, low extension)
Rescue doubles anchor stress compared to pulls. Build with two or three solid pieces in varied cracks. Nuts, cams, or bolts all work if they bite deep.
Make pieces independent. No single failure drops the system. Space them to avoid shared cuts from falls.
Equalize load across points with cordelette or slings. Wrap, clip, and twist for even pull; no perfect math needed.
Create a master point at chest height. Use two opposed locking carabiners on the equalization. Opposed pulls keep them shut.
Avoid extension that shock-loads gear on shifts. Power point or sliding-X methods clip short.
Watch edges above. Pad or redirect ropes to prevent sawing.
This setup holds rescue forces. For more, read Climbing’s 12-point anchor rubric. Test on toprope before trusting it high.
Core self-rescue skills every trad climber should practice
Trad rescue basics for climbers rely on a few key moves you can master with practice. These skills let you escape a belay, climb a rope, or rappel safely under load. They build on your anchor and knot knowledge. Focus on smooth transitions and backups every time.
How to escape the belay without dropping your partner
Your partner hangs on the rope. You need to move without letting them drop. Follow this high-level sequence to transfer the load safely.
- Lock off the loaded strand. Clip the brake strand to the anchor with a locking carabiner. This backs up your belay device.
- Transfer load to the anchor. Tie a clove hitch around a locking carabiner at the anchor master point. Or use a Munter-mule-overhand combo: clip a Munter hitch, add a mule hitch below, back it with an overhand on a bight. A friction hitch like a prusik works as backup too.
- Clip yourself to the anchor. Use an independent sling or daisy chain to a solid point. Equalize your position.
- Remove the belay device. Unclip the rope from it once fully backed up.
Practice this setup for belaying a second from above and direct belays from below. Always keep a personal backup knot or hitch in place during transitions. Tension test each step.
For step-by-step visuals, see Golden Mountain Guides’ escape the belay guide.
Ascending a rope with prusiks when you must go up
You need to climb a fixed rope fast. Common reasons include a partner below who needs aid, a rappel past the anchor, or resetting a jammed haul.
Use the simple two-prusik method. One prusik at waist level grips the rope. The second creates a foot loop for steps.
Here’s how to set it up:
- Tie a prusik (size 5-6mm cord, 120% of rope diameter) around the rope at chest height. Clip it to your harness belay loop with a locking carabiner.
- Tie the foot prusik lower. Pass the loop through it and stand in it.
- Slide the upper prusik up as you weight the foot loop. Then push the foot prusik up.
- Manage slack by pulling it through as you ascend. Keep body weight centered.
Tie backup overhand knots below you on the rope ends. They stop slips.
Watch these cautions:
- Tuck loose clothing away from hitches.
- Scan above for rockfall as you climb.
- Pad rope edges to avoid abrasion.
Practice on low-angle terrain first. Check VDiff Climbing’s prusik ascent tutorial for details.
Rappel safety basics that matter in real rescues
Rappels turn risky in rescues with loaded ropes or stuck partners. Stick to these checks for control.
Extend your rappel device with a sling or link. This keeps your body clear of the anchor and improves friction.
Add an autoblock hitch below the device. Tie it on the brake strand and clip to your leg loop. It catches slips.
Stay clipped to the anchor with a personal tether until you weight the rope fully.
For passing a knot on rappel, stack ropes at the anchor, tie them with a double fisherman’s, clip both strands below, then rappel each side. Practice this only on the ground with spotters.
Always use stopper knots in rope ends. Yell clear commands on multi-pitch: “Off rappel,” “Rope free.” Check pulls before committing.

Photo by Roman Apaza
Simple partner-rescue systems for the most common trad scenarios
Trad rescue basics for climbers shine in everyday jams like a tired second or minor mishaps. These systems use your standard rack and knots. They focus on quick partner aids without fancy gear. Pick the right one based on position and injury level. Always back up anchors first.
Helping a stuck or exhausted second: coaching, rest, and short assists
Your second jams mid-pitch from pump or poor feet. Start simple before complex pulls.
Tighten the rope to take weight off their harness. Let them clip a rest step or hang in a sling on the rope. Give short cues like “match left hand high” or “stem right foot out.”
For small bumps, use an express pulley. Clip a locking carabiner to the anchor master point. Pass the brake strand through it back to your belay device. Pull to inch them up a body length. Release slow with spotter pulls.
Lower to a stance if pulls fail. They unclip gear below. Clean as you go. This beats hard hauls on overhangs.
See details in UKClimbing’s guide on rescuing your second.
Lowering an injured climber from an anchor using a Munter and mule
Injury hits at belay. Escape the belay first. Back up the loaded strand to the anchor.
Shift load with a Munter hitch on a locking carabiner at the master point. Add a mule hitch below it on the load strand. Back the mule with an overhand on a bight clipped nearby.
Lower by pulling slack through the Munter. Release the mule bit by bit. Keep hands on brake strands. Check rope path stays clear of edges or loose rock.
Clip protection as you descend. Bounce cams free or lower past nuts. Pad sharp spots.
Watch this video on tying a Munter mule overhand for clean setup.
Basic hauling for short distances (when lowering won’t work)
Haul short when lowering risks swing or gear pull. Use it over bulges, to ledges, or anchors.
Build a 3:1 system. Anchor a prusik on the load strand above the climber. Clip it to the master point for capture. Run the rope from climber up to anchor pulley (locking carabiner), down through a lower carabiner on their harness, then back up to your pull strand.
Pull the free end. Prusik holds gains. Reset by clipping another prusik if needed.
Keep stacks neat. Messy ropes jam or slip. Skip for long hauls; they tangle fast.
Andy Kirkpatrick’s basic hauling systems shows clean setups.
Tandem rappel and getting both climbers down safely
Tandem rappel fits when your partner can’t control their own. Use it for panic or injury.
Build a solid anchor with double ropes or retrievable single. Extend your device with a sling.
Tie their harness to yours with a short sling and locking carabiner at the belay loop. Add an autoblock below your device on the brake strand.
You control descent. Face them or sit-back style. Go slow around corners. Keep legs between ropes.
Practice with a heavy pack first. Then try with a partner on low ground. Builds trust.
Check Climbing’s buddy rappel guide for steps.
Conclusion
Trad rescue basics for climbers boil down to clear priorities, a light kit, and repeatable skills. Always secure yourself first, assess injuries quick, and pick the simplest plan like a lower or short-haul. Your harness holds the essentials: locking carabiners, slings, cordelette, and prusik loops. Master knots such as the Munter-mule-overhand, clove hitch, and friction hitches to build safe anchors and transfers.
Practice these moves often. Drill escape the belay, rope ascents, controlled lowers, basic 3:1 hauls, and tandem rappels on flat ground or low-angle rock. Muscle memory kicks in when stress hits. Sign up for a hands-on self-rescue course soon; real loads and spotters build confidence fast.
Next crag day, run this checklist:
- Escape belay with Munter-mule backup.
- Ascend 20 feet on prusiks.
- Lower a pack with autoblock.
- Pull a short 3:1 haul.
- Set a tandem rappel tether.
These steps keep you and your partner safe on trad routes. Gear up and train.
Back to Trad Climbing Safety Tips
Recommended Climbing Products
These products can support safer climbing, belaying, rappelling, and emergency readiness.
Affiliate disclosure: As an Amazon Associate, TradClimbers may earn from qualifying purchases at no additional cost to you.