
Trad Climbing Fall Prevention Tips
Falls in trad climbing hit harder than in sport climbing. Fixed bolts catch you quick there. In trad, your own gear must hold, and bad placements fail often. One slip means real risk of ground fall or injury.
Most trad accidents stem from poor protection or wrong routes. Gear pulls out far more than bolts ever do. Climbers deck when cracks run thin or rock flakes weak.
These trad climbing fall prevention tips cut that risk. You’ll learn to dodge falls altogether. If one happens, you’ll land safer.
Start with mindset. Assess every move and rock quality upfront. Climb slow; rush kills placements.
Next, pick the right gear. Carry a full rack of cams, nuts, hexes, and slings. Inspect it all before each trip.
Master belaying. Double-check knots and clips. Pay out rope smooth, catch falls tight.
Build skills through practice. Train on ground first. Climb with pros on easy, protected routes.
Follow this path for safer ascents. Gain confidence that lasts pitch after pitch. No more second-guessing your pro.
Build a Safe Mindset and Pick Smart Routes
Your mindset sets the tone for every trad lead. Stay alert to rock quality and route demands from the start. Smart choices here form core trad climbing fall prevention tips. Scan the wall before you rack up. Note protection options and weak spots. This approach keeps falls at bay.
Spot High-Risk Spots Early
Bad rock causes more trad falls than slips. Learn to spot it fast. Tap surfaces with your palm or foot. Solid rock rings with a dull thud. Hollow sounds signal loose flakes ready to blow.
Watch for these red flags:
- Hollow flaking rock: It drums under knuckles. Avoid weighting it for gear.
- Expanding features: Flares or pods that widen at the back. Cams slip out under pull.
- Weird placements: Shallow pinches or flaring cracks. Nuts rattle; cams walk.
Plan your route from the base. Trace the line up. Mark crux sections with thin cracks or runouts. Flag ledges that invite rope swing into walls. For visual cues on loose rock, check this YouTube guide on spotting suspect limestone. Adjust your path to solid cracks. Place extra pro below dicey moves. This prep turns risks into protected ground.
Start with Routes You Can Handle
Push limits slow. Pick routes that match your skills. Straight cracks beat wandering faces every time. Clean cracks take nuts and cams like hand in glove. Faces force sparse, tricky gear.
Good starters include Ending Crack (5.7) at Black Wall near Ojai. Watch a lead here on YouTube. Jam fingers and fists up the corner. Placements stack tight pitch after pitch. Another solid pick: beginner cracks at Joshua Tree’s sunny spots, like those in this crag guide.
Straight cracks protect well because they constrict evenly. Gear locks in without fuss. Wandering faces zig-zag over blank sections. Pro thins out fast.
Warm up smart. Start on 5.6 hand cracks. Build to 5.8 fingers. Repeat three laps per size. Feel the jams lock. Test falls on toprope first. This builds trust in your rack. Stay within your lead head. Overreach leads to decks. Solid routes let you focus on clean ascent.
Master Gear Placement for Bombproof Protection
Gear placement makes or breaks your safety in trad climbing. Bad pro fails under fall force. Good placements hold firm and cut fall distance. These trad climbing fall prevention tips focus on direction and backup. Place every piece to resist real-world pulls.
Place Gear That Holds Your Fall Direction
Falls yank gear downward and outward. This pull direction rips pieces from cracks. Nuts and cams must oppose that force to stick.
Nuts work best in tapering constrictions. Slot them so lobes pinch against parallel walls. The taper locks them tight. Pull tests confirm hold. Bounce the runner; solid nuts stay put.
Cams expand into parallel cracks. Twist lobes perpendicular to the fall line. They grip both sides evenly. Inward pulls cam harder, outward pulls stress lobes less.
Cracks demand parallel sides. Finger-sized cracks take #2-3 cams or medium nuts. Hand cracks fit #4 cams or large hexes. Test by tugging down and out.
Faces offer pinches and pods. Place nuts behind flakes with clean edges. Cams go in horizontal breaks. Avoid shallow slots; they blow easy.
Watch REI’s guide on placing trad gear for visuals. Or check this video on nuts, hexes, and cams. Practice these holds your whippers short.
Key checks before clipping:
- Constriction: Nuts pinch firm.
- Expansion: Cams lobes contact all sides.
- Direction: Pull simulates fall path.
Ignore these, and gear walks or pops.
Use Slings and Redundancy Right
Slings extend gear on wandering routes. Short ones kink rope and drag hard. Use 24-inch or longer slings. They keep rope straight, cut drag that pulls pro.
Clip slings double-looped for thin placements. This halves rope angle. On traverses, extend crux gear to match rope path.
Belay anchors demand redundancy. Link two or three solid pieces. Equalize loads with cordelette or sling. No single-point failure.
Rules for anchors:
- Equalize: Loads share even.
- Extend: Keep belayer off ground.
- Backup: Add a third piece always.
Redundancy saves falls. One piece fails; others hold. Longer slings absorb shock better. They prevent sharp pulls that rip gear.
See REI’s anchor building guide for setups. Or read this on anchor redundancy. Proper use halves your risk on long pitches.
Control Fall Lines and Avoid Swings
Falls swing wide on trad routes with traverses or roofs. You control the fall line by placing gear that directs rope pulls straight down. This keeps swings short and safe. Poor placement turns small slips into ledge-smashing pendulums. Master these trad climbing fall prevention tips to keep rope paths clean.
Plan for Traverses and Pendulums
Traverses demand extra gear before sideways moves. Spot them from the ground. Place two or three pieces in the last vertical crack. High placements cut swing distance if you barn-door off the wall.
High pieces work best. Slot cams or nuts near head height. They shorten potential pendulums by 10-20 feet. Low gear lets rope arc far sideways. Test each spot with a tug. Solid holds stay firm under outward pull.
Add spots in horizontal breaks too. Extend them with long slings to align rope. This fights drag that yanks pro loose. On runout traverses, space gear every body length.
Learn more in this guide on pendulums and tension traverses. It shows how to bail sideways without decks. Plan your rack with doubles in small sizes for tight cracks.
Key steps for traverse pro:
- Identify the move from below.
- Place high in vertical features first.
- Backup with horizontal placements.
- Extend all to match rope line.
This setup holds leader falls tight to the rock.
Protect the Follower from Big Swings
Followers clean gear on tricky pitches. They face bigger risks from swings into walls or corners. Place pro after the crux, not just before. A fall post-crux sends them sideways 30 feet or more.
Avoid zig-zag routes. Straighten the line by seeking direct cracks. If the route wanders, extend gear heavily. Use double-length slings on corners to pull rope straight.
Clip the follower-side runner first on traverses. This centers their fall line. Gear right after hard moves catches slips before swings build speed.
Check Climbing’s article on fall-line management for pro tips from guides. It stresses follower safety on multipitch.
Watch for these follower pitfalls:
- Pre-crux only pro: Leaves long swings after.
- Tight corners: Rope binds and drags pieces.
- No extensions: Builds huge angles.
Place one solid piece right after each hard section. It halves swing potential. Talk to your partner about the pitch beta. They clean safer when you flag risks upfront.
Solid follower pro builds team trust. No one decks on your watch.
Keep Body Position Safe and Belay Smart
Your body position during a fall decides injury risk. Belay skills turn hard whips into soft stops. These trad climbing fall prevention tips cover foot placement to avoid flips and belay setups that catch clean. Master them to stay upright and land safe.
Avoid Flipping Upside Down
Flips happen when feet tangle in slack or drop below the rope. Keep feet high to prevent legs snagging behind the strand. Always climb with feet above the rope line. Step up on holds before reaching. This positions your center of gravity over pro.
During a fall, act fast. Spot the rope between your legs right away. Push off the wall feet first with knees bent. Tuck your chin to chest. Extend arms out for balance. These moves keep your head up and body oriented.
Follow these foot position rules:
- Climb feet high: Place them level with hands or higher on steep terrain.
- No heel hooks below rope: They drag legs down fast.
- Test balance: Bounce on footholds; keep weight forward.
Slack feeds flips too. Yell “watch me” if rope piles up. Belayer takes it quick. Practice these in the gym on lead walls. See this Climbing guide on safe falls for body control demos. Solid habits cut flip odds by half. You stay head up every time.
Nail Belay Position and Catches
Belay stance matches leader height. Short leaders need you close in; tall ones pull you higher. Stand with feet shoulder width. Brace back foot against rock or tree. Face the wall square. This setup absorbs force without decking.
Keep slack minimal. Pay out just enough for smooth progress. Two arm lengths max between brake hand and leader. Slack builds big falls. Take it as they climb; don’t wait for commands.
Catch types vary by fall size. Soft catches suit trad’s long whips.
Soft catch steps:
- Prep hands: Brake hand down, guide hand ready on dead side.
- Jump or slide feet: Match leader drop to eat energy.
- Hip thrust: Swing hips back as rope tightens.
- Brake firm: Lock it smooth, no yank.
For big falls, add dynamic moves. Lean back hard. Use ground friction. Short leaders: belay from knees if needed. Tall ones: tie in low to anchors.
Check this belay techniques overview for stance tweaks. Practice catches on toprope first. Partner drills build speed. Good belays halve impact forces. Your partner trusts the stop.
Prep Your Body and Practice Falls Right
Prep your body before every trad lead. Strong muscles cut slips on slick rock or pumpy cruxes. Practice controlled falls on easy terrain to build trust in gear and belay. These trad climbing fall prevention tips keep you stable and ready. You react better when strength and habits align.
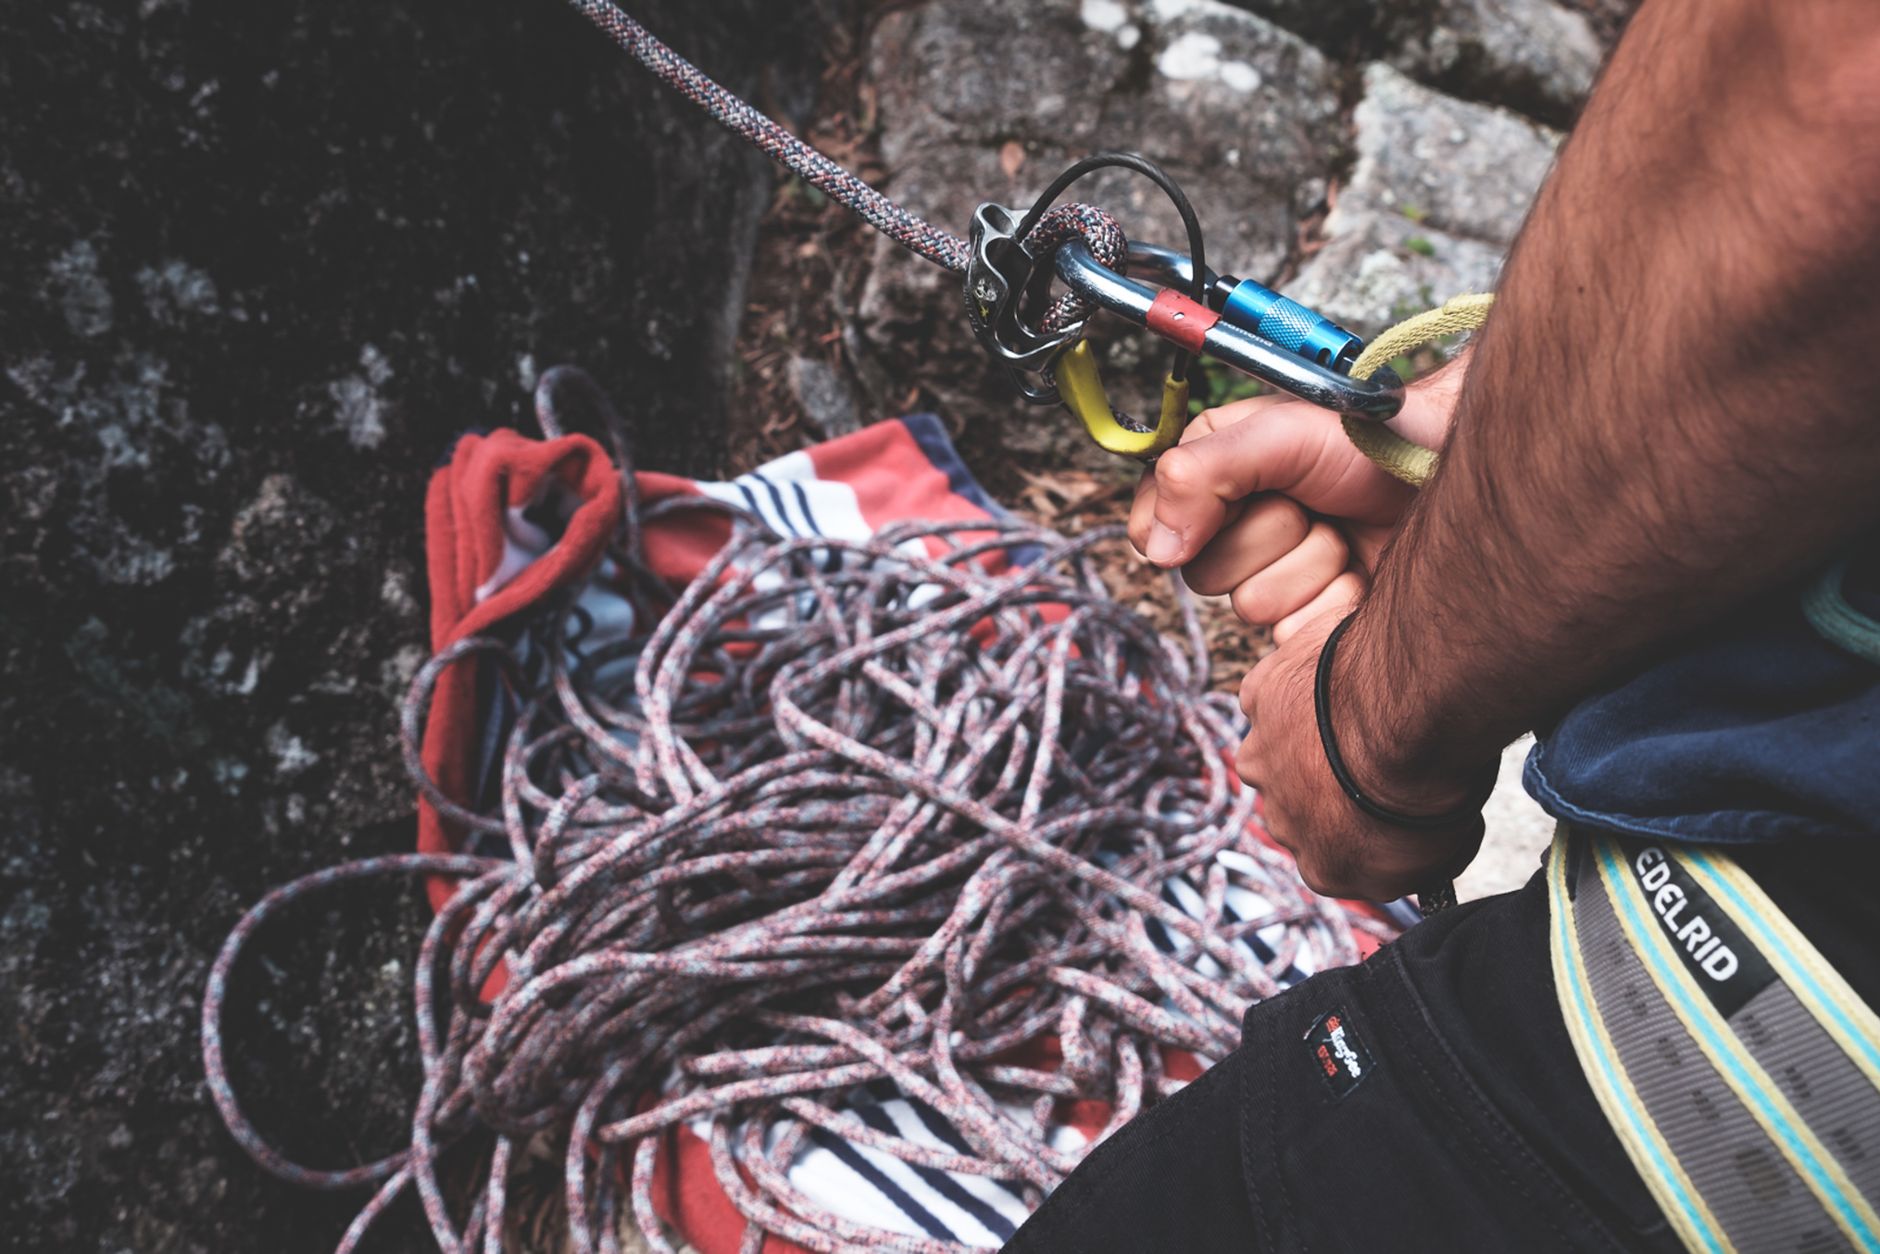
Photo by Lachlan Ross
Strengthen Key Muscles to Slip Less
Target grip, core, and legs. These groups hold you on during long pitches. Weak spots lead to barn-doors or foot pops. Do these exercises twice weekly. Add them to gym sessions or home hangs.
Build grip with dead hangs. Hang from a bar or campus rung for 10-30 seconds. Rest one minute. Repeat five sets. Strong fingers lock jams tight and resist pump.
Pinch blocks boost thumb strength. Grip 2-inch blocks for 20 seconds per hand. Do four sets. Pinches secure side-pulls on flaring cracks.
Core work prevents sagging. Try front levers on a bar. Hold low for five seconds. Build to full extension over weeks. A solid core keeps hips up on overhangs. See 10 core exercises for climbers for more options.
Legs power smears and stems. Single-leg squats build balance. Drop 10 reps per side. Strong quads stick feet on micro-holds. Pair with calf raises on a step, 15 reps holding a nut tool. These cut foot slips by keeping heels low.
Grip routines shine in these five exercises. Track progress weekly. You slip less as power grows.
Use This Pre-Lead Checklist
Run this list every time before you tie in. It catches oversights that lead to falls. Double-check with your partner. Focus on helmet and comms; they save lives on runouts.
- Helmet on tight: Adjust straps snug under chin. No wobble. Impacts crack skulls without one.
- Harness secure: Double-back all buckles. Waist tight, legs loose for movement.
- Knot correct: Figure-eight ties to belay loop. Backup with a stopper knot. Yell “on belay” for confirm.
- Rack balanced: Cams and nuts sorted by size. Doubles in runout sizes.
- Comms clear: Agree on calls upfront: “clipping,” “slack,” “take.” Use radios on windy walls. Test yells from 50 feet.
- Rope ready: Flake it neat. No twists or knots.
- Belayer set: Stance braced, ATC loaded, brake hand locked.
- Route beta shared: Flag crux pro spots and fall zones.
Follow REI’s trad checklist for rack details. Solid preps mean clean leads. Skip them, and small errors stack up.
Conclusion
Master these trad climbing fall prevention tips to climb safer. Build a sharp mindset by picking solid routes and spotting risks early. Place bombproof gear with right direction, extensions, and redundancy. Control fall lines on traverses to block big swings for you and your follower. Keep body upright with high feet and smart belay catches. Prep strong with muscle work and checklists every pitch.
No fall beats any fall. But if one comes, make it safe. Practice placements on the ground. Take short whips on toprope. Repeat until gear trust feels solid. Consistent drills build the habits that stick on real leads.
Apply this now. Rack up on a beginner crack tomorrow. Test one new tip per climb.
Back to Trad Climbing Safety Tips
Recommended Products for Trad Climbing
These products can support safer climbing, belaying, rappelling, and emergency readiness.
Affiliate disclosure: As an Amazon Associate, TradClimbers may earn from qualifying purchases at no additional cost to you.