
How to Handle Trad Leader Falls
Trad leader falls happen when the lead climber on a traditional route slips and depends on their own placed gear, like cams or nuts, to catch them. These falls differ from sport climbing because protection varies in quality and spacing. How to handle trad leader falls starts with understanding these risks to stay safe.
Gear can pull out in weak rock or under bad pull direction, leading to longer drops or hits on ledges and slabs. Recent reports show lead falls, including trad, make up about 20% of roped climbing fatalities, often from gear failure or ground falls early on pitches. Belayers play a key role by managing slack and giving dynamic catches to cut forces.
You can prevent bad outcomes with solid skills and habits. This post breaks it down: prevention steps for leaders and belayers, actions during a fall, belayer duties, common mistakes to avoid, and gear tips for better holds.
Good choices keep most trad falls minor. Let’s begin with prevention strategies that work.
Prevent Trad Leader Falls Before They Start
You handle trad leader falls best by stopping them early. Prevention cuts risks from long drops or bad landings. Focus on smart habits that keep falls short and gear solid. These steps build confidence on any route.
Place Gear Early and Often
Spot good placements right away. Look for constrictions, flares, or horizontal cracks that match your gear sizes. Test rock for soundness by tapping; avoid loose flakes.
Climb just high enough to reach the spot, place the piece, then downclimb to clip it. This keeps you close to protection. Repeat often, aiming for pieces every body height or less.
Shorter falls mean less force on gear and rope. You avoid whipping past placements or hitting the deck. Practice this on easier routes to build speed.
Key steps to place early:
- Scan ahead 10-20 feet while climbing.
- Use passive nuts in shallow cracks; cams in pods.
- Clip directly to the piece with a quickdraw.
Check REI’s guide on placing trad gear for visuals. Also, see this Climbing.com advice on spacing based on rock type. These habits shrink fall potential fast.
Build the Right Rack and Manage Rope Drag
Carry a full rack with doubles of mid-sizes like 0.5 to 3 cams, plus nuts from #4 to #11. Add extras for runouts. A 15-20 piece rack covers most single pitches without skimping.
Use double ropes to cut drag and allow direct clips. They let you place more often since rope zigzags less. Long quickdraws (12 inches) or slings (24 inches) extend reaches and keep the rope straight.
Rope drag builds if you skip placements; it yanks gear outward. Proper setup means you place freely without friction pulling pieces. Fewer skips equal tighter protection.
Rack essentials for drag control:
- 6-8 long draws or slings per side.
- Double 60m ropes for pitches over 100 feet.
- Organize by size on gear loops or sling.
Review REI’s rack basics to start right. This setup prevents skipped spots that lead to big falls.
Secure the Ground and Landing Zone
Place your first piece low, within 10-15 feet off the deck. Use the best available spot, even if small. A low piece catches short slips before they grow.
Clear rocks, dirt, or pads from the fall zone. Kick away loose gravel; stack crash pads if possible. Check the path above for ledges or trees that could snag the rope.
Safe spacing keeps the first two pieces 15-20 feet apart max. This limits ground falls or ledge hits. Belay from a spot that pulls you away from walls.
Quick ground checks:
- Sweep a 10-foot radius clear.
- Pad softens impacts; angle belay dynamically.
- Avoid walls or corners for swing clearance.
These moves stop minor slips from turning deadly. Ground falls cause many injuries, so prep every pitch.
What Leaders Do Right During a Trad Fall
Prevention fails sometimes. That’s when how to handle trad leader falls comes down to your actions mid-air. Good leaders stay calm, manage body position, and trust the gear. They avoid common errors that turn short falls into injuries. Focus on these proven techniques to land safe and climb on.
Keep the Rope Between You and the Wall
Keep the rope in front of your body at all times. Adjust your feet constantly as you fall. Push them toward the rock to stay upright. If the rope slips behind a leg, reset right away. Bend your knee and swing the leg forward. Do this fast to avoid wraps.
Inversion kills this rule. Head-down falls happen when legs tangle. You hit head first or the rope constricts your leg. Blood rushes to your head. Serious injury follows from impact or poor circulation. Practice spotting rope position early.
Steps to maintain rope position:
- Watch the rope while climbing hard moves.
- Smear feet on the wall continuously.
- Yell “watch me” if position shifts.
Check Climbing.com’s tips on avoiding upside-down falls for more. These moves keep falls clean and short. You stay oriented and reduce swing forces. Belayers spot issues easier too.
Position Body and Breathe to Stay Relaxed
Relaxation cuts injury risk. Position your arms at chest height with elbows bent. Keep knees soft and bent too. Tuck your chin to protect your neck. Exhale fully as you drop. Tension makes you stiff and prone to breaks.
Land feet first every time. Absorb impact by bending knees and rolling hips back. Let hands guard your face and groin. Keep them loose, palms open. Never grab holds or the rope. Grabs lead to pulley injuries or spins.
Body position checklist:
- Elbows in, shoulders down.
- Exhale to loosen muscles.
- Feet shoulder-width for stable landing.
This setup spreads forces across your legs. Stiff arms snap under load. Practice on toprope first. See Climbing.com’s fall guide for drills. Calm leaders fall better. You recover fast and spot the next hold.
Avoid Pushing Off the Wall
Pushing off the wall worsens falls. It starts a pendulum swing. You arc sideways into the wall or gear. Impacts bruise ribs or slam your back. Speed builds, so forces double.
Let the rope catch you straight down. Keep feet close to the rock without thrust. Trust the gear to hold. Dynamic catches from belayers work best here. Your push fights the system.
Why pendulums hurt:
- Side loads pull gear out.
- Wall collisions cause cuts.
- Extra rope stretch increases drop.
Stay passive. Feet smear lightly if needed. This keeps the fall direct. Shorter swings mean less pain. Belay from a spot that avoids pulls too. Good leaders fall clean. You clip the next piece without downtime.
Belayer Actions to Handle Leader Falls Safely
Belayers control the outcome in how to handle trad leader falls. You manage slack and catch dynamics to protect gear and the climber. Stay ready with these core actions. They cut forces and prevent factor 2 falls or inversions.
Master the Soft Catch Technique
Give a soft catch by letting the rope slide smoothly through your belay device. Avoid a hard stop that shocks the gear. This absorbs energy over distance.
Dynamic movement helps. As the leader yells “falling,” drop your hips low. Feed slack with your brake hand while pulling the guide hand down. The rope stretches 8-10% under load, so add 2-3 feet of controlled slack first. This lowers peak force from 10kN to under 6kN.
Upside-down falls demand this most. A sudden catch flips the leader or yanks cams outward. Practice on gym routes: simulate by pulling the leader off a hold. Feel the rope run without locking.
Soft catch steps:
- Spot tension early; prep slack.
- Hip drop matches fall speed.
- Brake hand trails; never pinch.
See Touchstone Climbing’s guide on dynamic belaying for demos. Master it, and trad gear holds firm.
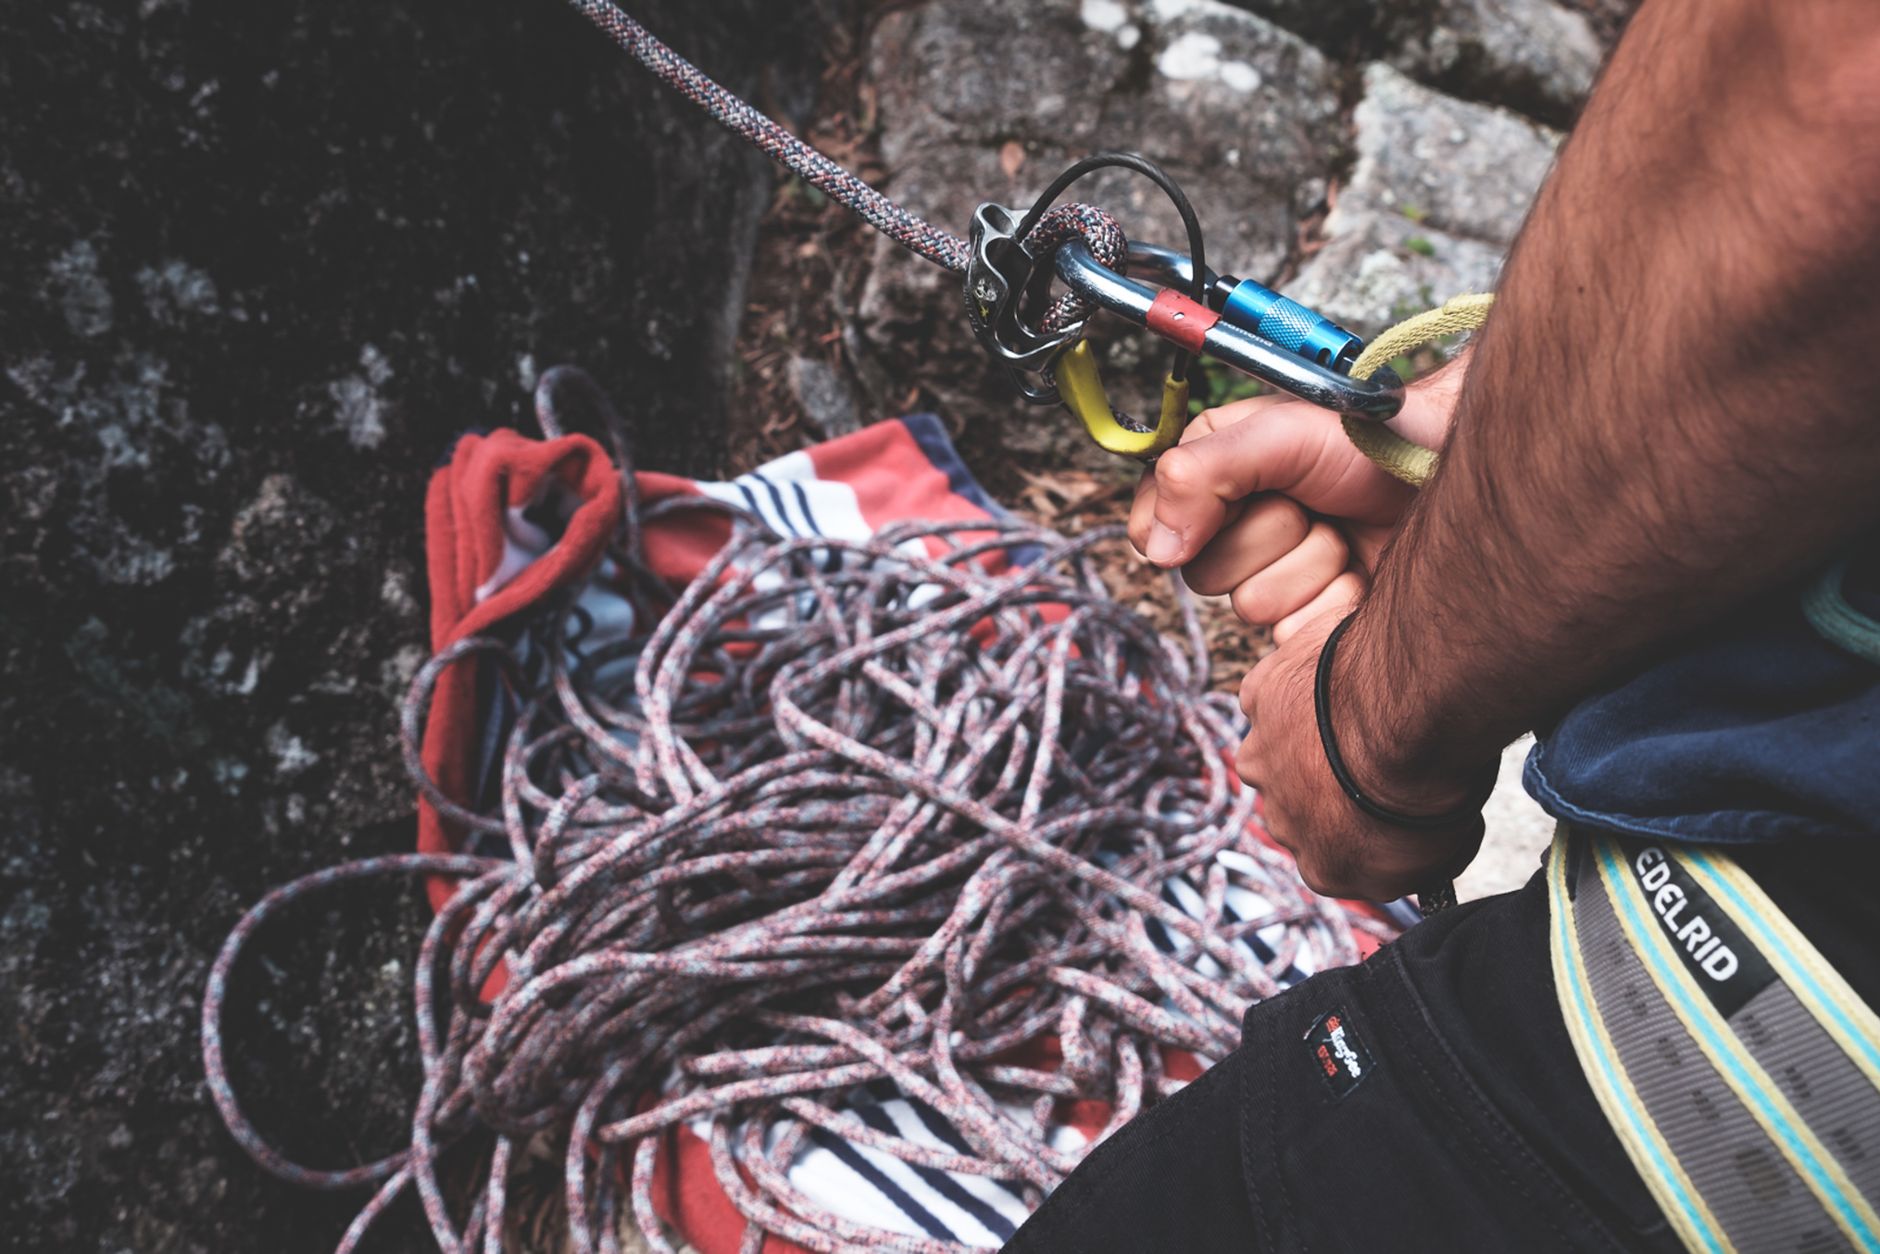
Photo by Lachlan Ross
Watch Closely and Communicate
Track the leader’s rope and legs at all times. Spot slack buildup or leg wraps that signal trouble. Anticipate falls on crux moves.
Use clear calls: “Got you rope” confirms slack take. “Slack” or “up rope” keeps flow. Pre-climb, agree on signals like a sharp whistle for impending falls. Discuss fall zones and escape plans.
Position at the cliff edge for full view. Scan above for loose rock or snags. Yell “rock” if blocks shift. Silent focus works too; nod for rope needs.
Communication basics:
- Agree commands before “climbing.”
- Watch legs cross the rope line.
- Call hazards like “ledge below.”
Check Climbing.com’s pro tips on belay communication. Good eyes and words prevent surprises in trad falls. You react fast and keep the leader oriented.
Take Slack to Reduce Fall Length
Take slack actively to shorten falls, but balance it right. Sit back or jump toward the rock as the leader climbs. This pulls rope tight without drag.
On runouts, keep 1-2 feet of slack max. Pull it in smoothly during rests. If gear looks shaky, take extra to limit drop to one piece below.
Risks exist: too much take yanks holds early. Jump only on firm ground; sit for precision. In wind or loose belays, anchor first.
Slack management tips:
- Pull on rests; match climb speed.
- Jump pulls 3-4 feet fast.
- Never let slack pool at feet.
Review Petzl’s advice on climbing communication, which ties into slack cues. Smart slack control makes trad falls safe and short. Gear stays in, and leaders clip quick.
Common Mistakes in Trad Leader Falls and Fixes
You handle trad leader falls better when you spot and fix errors fast. Small slips like poor clips or skipped gear turn short drops into big problems. Gear pulls, ropes tangle, or falls hit the deck. Leaders and belayers both make these. Catch them early to keep forces low and stays solid. Fix these habits now.
Stop Rope Behind Leg and Backclipping
Rope behind your leg zips you upside down in a fall. It wraps your knee or ankle. Blood flow cuts off. You hit headfirst or spin into the wall. Backclipping does the same. Rope enters the carabiner from the wrong side. A fall flips the quickdraw and crosses the rope behind you.
Check every clip. Rope must enter from the rock side. Gate faces you. Pull the rope through to confirm. Spot it before crux moves. Belayer, yell if you see a cross.
Reset feet quick if rope slips back. Bend your knee. Swing the leg forward. Smear both feet on rock. Keep arms out for balance.
Clip checks to fix it:
- Rope in from cliff side only.
- Test pull: tug down hard.
- Use lockers on directs.
See Climbing.com’s 50 common mistakes for backclip details. Practice on easy leads. You stay upright and gear holds clean. Falls stay short.
Never Skip Ground Protection or Climb Too Far
Skip the first piece, and slips mean deck falls. Weak ankles or ledges end pitches bad. Climb too far above gear, and one slip yanks multiple pieces. Factor 1.5 drops build huge force.
Place gear low, 8-12 feet off ground max. Use smallest nut or cam that fits. Next piece 15 feet up. Space stays 10-20 feet after. Match crack size to rack.
Rack right: doubles in 0.3-2 sizes. Nuts for tips, cams for pods. 12-16 pieces total. Clip directs low to cut drag. Belay pulls you clear of walls.
Spacing rules for safety:
- First piece: under 12 feet.
- Max gap: body height or 20 feet.
- Rack by crack type ahead.
Check Andy Kirkpatrick’s deck avoidance tips. Gear every stretch keeps falls to 10-15 feet. You lower safe and clip next. No ground hits.
Gear and Practice Tips for Safer Falls
You handle trad leader falls with better outcomes when you pick the right gear and practice falls often. Proper setups resist pull-out forces. Helmets protect your head. Regular practice builds trust in your system. These steps make falls routine and safe.
Essential Gear: Helmets and Proper Placements
Helmets save lives in trad falls. Rockfall from above or ledge hits cause most head injuries. Choose a UIAA-certified helmet with good coverage. Wear it snug; adjust the chin strap tight. It absorbs impacts that crack skulls.
Place cams with lobes perpendicular to the fall line. Stems point down the rope’s pull direction. This fights cam walk or ejection under shock load. Test by yanking down hard. In horizontal cracks, rotate cams for max contact.
Nuts shine in constrictions. Slot them where crack pinches tight. Parallel sides grip best; avoid flares. Offset nuts fill irregular spots. Bounce test each: tug side to side, then down.
Placement rules for hold:
- Cams: stems align with expected fall vector.
- Nuts: thumb-push into narrowing; no wobble.
- Double up dubious spots with equalized slings.
See Climbing Magazine’s guide on trad gear placements for examples. Solid gear cuts factor and holds clean. You fall short and recover fast.
Practice Falls to Build Trust
Practice short leader falls in spots you know well. Pick bolted routes or toproped crags with clean fall zones. No ledges, trees, or water below. Clear rocks first. Start at 20-30 feet above gear for real rope stretch feel.
Keep falls brief: one or two pieces below. Yell “falling” early. Belayer gives dynamic catch. Relax arms and legs; exhale fully. Feet point down. Repeat 5-10 times per session.
Know your area’s safe zones. Local granite slabs work if padded. Sandstone needs extra checks for holds popping. Go with partners who spot inversions quick.
Practice steps:
- Warm up on easy leads.
- Clip bolts as backups first.
- Log each fall’s feel for tweaks.
Check REI’s falling practice tips. You gain calm mid-drop. Fear fades. Gear trust grows. Trad leader falls become no big deal.
Conclusion
You now know how to handle trad leader falls safely. Prevent them by placing gear early and often, building the right rack, and securing the ground. During falls, leaders keep the rope in front, position the body right, and avoid pushing off. Belayers master soft catches, watch closely, and manage slack well.
Fix common mistakes like backclipping or skipping low protection. Use solid gear placements and helmets. Practice short falls often to build trust and stay calm.
Check your skills on easy routes before your next trad lead. Climb with partners who communicate clear. Stay safe out there.
Back to Trad Climbing Safety Tips
Recommended Products for Trad Climbing
These products can support safer climbing, belaying, rappelling, and emergency readiness.
Affiliate disclosure: As an Amazon Associate, TradClimbers may earn from qualifying purchases at no additional cost to you.