
What is the Best Prusik Loop Length for Climbing
Back to Trad Climbing Gear Reviews
A climber watched a stubborn prusik loop seize on a slick rope, and the tension built the longer it stayed stuck. The wrong length kept the knot tight and the ascent stalled, every movement echoing the danger above. Relief came when the loop length matched the task, and the rope finally gave way to a smooth, controlled climb.
There is no one-size-fits-all answer to What is the best prusik loop length. In practice, many climbers keep a couple of go-to sizes ready, commonly around 48 inches and 60 inches before tying the ends together. The right choice depends on what you’re doing, how thick your rope is, and how many wraps you plan to use.
You’ll tease out the exact setup by looking at three factors: rope diameter, the type of work you’re doing, and how comfortable you are with adding wraps. Shorter loops are light and quick for personal climbs on thinner ropes, while longer loops give you more grip and flexibility for rescue work or thicker lines. With practice, you’ll pick the exact length you rely on most, and you’ll move with confidence knowing your prusik loop is tuned to the job.
Understanding Prusik Loops and How Length Affects Grip
Prusik loops are small friction hitches that grip when loaded and slide when slack. Their length matters because it directly sets how many wraps you can get around the main rope, which in turn controls grip, bite, and release.
Think of it like a bike chain: the right loop length gives you smooth engagement when you climb or descend, and a clean release when you need to move. In this section, you’ll learn how cord diameter and loop length work together to create reliable performance in both climbing and rescue scenarios.
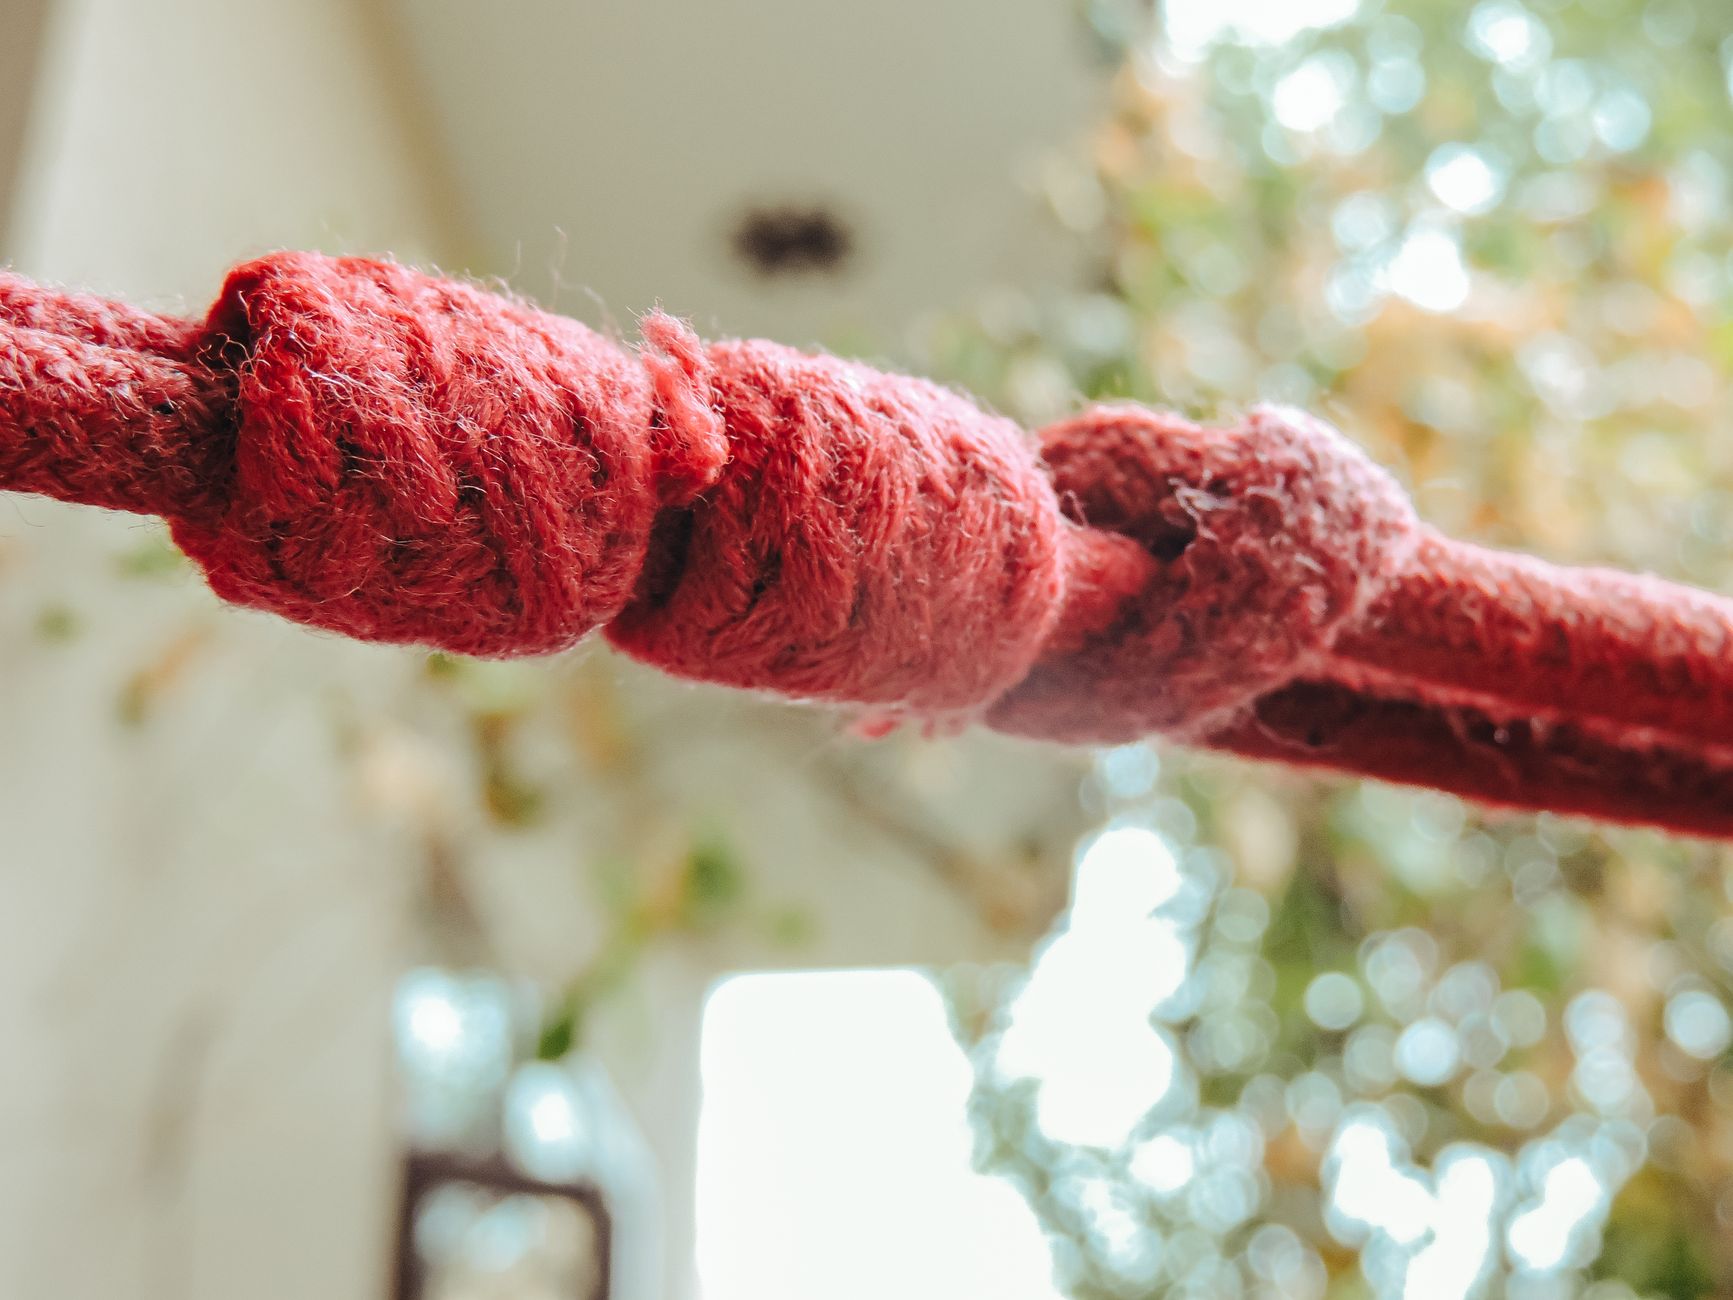
Photo by Akshay Kumar
Matching Cord Size to Your Rope Diameter
Break down the standards for cord size and rope diameter to avoid a slip or a grabby fight. The general rule is to choose a cord diameter that sits about 60 to 80 percent of the main rope diameter, ensuring the loop bites without locking down too hard. For example, with an 11 mm rope, an 8 mm cord can offer a solid bite without being so thick that the knot becomes stubborn.
- For skinny dynamic ropes in the 7.5 to 8.5 mm range, a 4 to 5 mm cord is typical.
- For mid to thick ropes around 10 to 12.7 mm, a 6 to 7 mm cord is common.
- In arborist or rescue work where static lines are common (often 10 to 11 mm or thicker), 6 to 8 mm cords are a practical window.
Rope stiffness also matters. Stiffer lines often need a slightly thicker cord to get a clean bite, while softer ropes can bite well with thinner cord. Climber weight influences how many wraps you’ll actually use, but it’s the size match that mostly determines grip behavior rather than weight alone.
When you set up, aim for a few well-chosen wraps to create a reliable bite without making the loop too grabby. Mismatches lead to slips or runners that won’t bite when you pull. A quick visual guide or table helps here, showing rope diameters paired with recommended cord sizes and typical wrap counts.
Short Loops vs Long Loops: When to Choose Each
Loop length determines how many wraps you can generate and what kind of work you’re performing. Short loops are light, quick to deploy, and ideal for personal climbs on thinner lines. They’re also great for a stable French prusik that will bite predictably when weighted and release easily when unweighted.
Long loops open up more grip and flexibility. They shine for rescue work, thicker lines, or when you want a foot loop, tandem prusik, or multiple wraps without crowding the rope. In practice, you’ll often carry two standard options: a short loop for fast hitches and a longer loop for foot work or tandem setups.
In a typical expert kit, you might have two short loops plus one long loop ready to go. If you’re new to prusiks, start with a 30 to 35 cm short loop and a 48 to 60 cm long loop, then adjust based on how the rope behaves under load. For most climbing and rescue tasks, this pairing covers the majority of situations without weighing you down.
A simple diagram helps visualize the balance: a short loop sits close to your harness for quick grabs, while a long loop trails a bit behind for foot work and extended wraps. Always test your setup in a controlled environment before relying on it in the field, checking that the loop grips firmly when loaded and slides freely when unloaded.
What is the Best Prusik Loop Length for Climbing and Rescue
Choosing the right prusik loop length isn’t about chasing a single perfect number. It’s about matching your task, rope, and body to a setup that feels reliable under load and simple to release when you need to move. In this section, we break down the top factors that shape the best prusik loop length for you, with practical guidance you can test in the field. Think of it as a personalized tuning guide rather than a one size fits all rule.
Your Activity: Climbing, Arborist, or Rescue Needs
When you pick loop lengths, start from what you actually do most. Climbing on thinner ropes benefits from a shorter loop for quick hitches that stay tight on your body. Arborist work on thicker lines calls for a longer loop to keep a comfortable bite without binding, especially when you need to switch between single rope and redirected loads. Rescue scenarios, particularly the Texas system, often benefit from longer loops to accommodate foot work, hip prusiks, and multiple wraps without overcrowding the rope.
Use a practical approach: keep two go-to sizes on hand. A short loop around 30 to 35 cm (roughly 12 to 14 inches) pairs well with a longer loop in the 120 to 160 cm range (approximately 48 to 60 inches). An easy rule of thumb is to think in terms of wingspan for foot loops and comfortable reach for hips and hands. This pairing covers most scenarios you’ll encounter in the field.
Here’s a quick reference to help you visualize the setup and how it translates across activities.
| Activity | Short loop length | Long loop length | Practical use |
|---|---|---|---|
| Rock climbing (thinner ropes) | 30–35 cm (12–14 in) | 120 cm (4 ft) | Fast hitches, hands-on quick work |
| Arborist work (11 mm rope) | 40–50 cm (16–20 in) | 150 cm (5 ft) | Foot work, body positioning, multi-wraps |
| Rescue (Texas system) | 40–50 cm (16–20 in) | 120–160 cm (48–60 in) | Foot and hip prusiks, tandem setups |
Influencers and Personal Preference: How Real Climbers Decide
Your choice comes down to a few live factors that change with the day’s task. More wraps means a longer loop to avoid crowding and to maintain smooth release. Activity type matters because foot work, hand placements, and body position shift how many wraps you’ll actually rely on.
Rope slickness or weight changes the bite and release characteristics, and your body size influences how easily the loop grips and releases. Soft cord grips better for light touch and easier release, while heavier climbers benefit from slightly thicker cord to prevent the loop from grabbing or sticking.
Key influencer factors to test and balance include:
- Number of wraps you plan to use: more wraps generally require a longer loop.
- Activity type: quick climbs and foot loops favor shorter loops; rescues, tandem setups, and foot work with thicker lines favor longer loops.
- Rope slickness and weight: slick or dynamic ropes need a longer loop for reliable bite and release.
- Body size and strength: larger climbers may prefer thicker cord to ease release; lighter climbers can get away with thinner cord without sacrificing bite.
- Testing regime: always test your chosen lengths under load in a controlled environment before field use.
Benefits of matching loop length to the job:
- Better grip when needed, without binding too tightly.
- Easier release during transitions, reducing time on the rope.
- More predictable behavior across different rope diameters.
- Greater versatility for multi-wraps, foot loops, and rescue configurations.
- Personal comfort and reduced fatigue during long climbs.
In practice, most climbers settle on two reliable options and adjust from there after field tests. Start with a 30 to 35 cm short loop and a 48 to 60 cm long loop, then tailor based on how your rope feels when loaded and released. The goal is smooth engagement and clean release every time you move.
Short Loops vs Long Loops: When to Choose Each
Short loops shine when speed matters and you need a compact, quick-tension hitch. They are ideal for personal climbs on thinner lines and for situations where weight and bulk matter. Long loops, however, give you more bite and flexibility. They are better for rescue work, thicker lines, and scenarios where you want to run multiple wraps without crowding the rope or when you need a dedicated foot loop.
If you carry two standard options, you’ll cover most tasks with confidence. Testing under load remains the best way to confirm your choice. A simple practice drill helps: secure a dummy rope, apply weight as you would on a real climb, and observe bite, release, and how many wraps you can maintain without binding. Adjust lengths until you notice consistent, smooth performance.
A practical setup you can adopt right away:
- Short loop: 30–35 cm for quick hitches and personal climbs on thinner ropes.
- Long loop: 120–160 cm for foot work and rescues on thicker lines.
If you’re new to prusiks, start with this pairing and refine as you gain hands-on experience. A simple diagram shows the short loop near the harness for fast grabs and the long loop trailing for foot work and extended wraps. Always test your setup in a controlled environment before field use.
What is the Best Prusik Loop Length for Climbing and Rescue
Choosing the right prusik loop length is less about chasing a single number and more about matching the task, rope size, and user comfort. Below you’ll find practical, field-ready guidelines you can test in real conditions. The goal is smooth engagement under load and clean release when you move again. Two go-to sizes cover most scenarios, with precise lengths tailored to common activities. Use these as starting points, then refine after controlled testing.
Rock Climbing Recommendations
For rock climbing, a shorter, responsive setup is ideal. The classic combination is a 30 to 35 cm short loop paired with a longer loop around 120 cm. This French prusik style favors quick hitches and reliable bite on thinner lines, while the longer loop provides a secure foot loop and extra wraps when needed. In many guides, the 30–35 cm short loop is used for fast grabs and belay backups, and the 120 cm long loop handles foot work and transitions without crowding the rope.
To put it into practice, start with:
- Short loop: 30–35 cm (12–14 inches)
- Long loop: 120 cm (4 feet)
Test under light load first, then simulate a climb scenario. Check that the short loop grips firmly but still releases with a light unweighting, and verify that the long loop offers comfortable reach for foot work without binding on the rope.
Arborist and Tree Work Sizes
Arborist work often uses thicker lines, so a longer, versatile loop makes sense. A practical pairing is a 40 to 50 cm short loop combined with a long loop near 150 cm. This setup reduces crowding when you feed rope through multiple wraps and allows easier transitions between single rope work and redirected loads. The longer loop improves bite on 11 mm plus ropes and still releases predictably when you shift positions.
Recommended practical lengths include:
- Short loop: 40–50 cm (16–20 inches)
- Long loop: 150 cm (5 feet)
Pair the cord to rope diameter carefully. For thicker lines around 10 to 11 mm, a 6 to 8 mm cord works well, delivering a reliable bite without making the knot hard to release. Field tests should focus on bite consistency across different loads and rope angles.
Rescue and Crevasse Rescue Picks
In rescue work, you want a longer loop to manage foot work, hip prusiks, and multi-wrap configurations without crowding the rope. A common approach is 48 to 60 inches before tying, which translates to about 120 to 152 cm. This length supports multiple wraps on slick or loaded lines and accommodates tandem setups when needed.
For crevasse rescue, the same length range is practical, since it supports self-rescue and hauling with glacier ropes. A longer loop makes it easier to set up prusik progressions without snagging on equipment.
- Short loop (before tying): 48–60 inches (122–152 cm)
- Long loop (before tying): 120–160 cm (48–60 inches)
In practice, many teams keep a 50–60 inch loop ready for general use and a longer option for more demanding pulls. Always test under simulated load to confirm bite and release behavior. A quick drill is to apply weight, observe bite, and then release with minimal effort.
How to Tie, Test, and Maintain Your Prusik Loop Right
If you want predictable grip and clean release, you need a reliable tying routine, solid testing, and a simple maintenance plan. This section walks you through step by step, with practical checks you can perform in the field or workshop. Remember, the goal is to have a setup that feels natural and trustworthy under load. The question, What is the best prusik loop length, matters less than ensuring your knot sits correctly and releases when you need it.
Step-by-step tying: double fisherman’s knot to form the Prusik loop
- Prepare cords: Use a loop formed by tying two cords end to end with a double fisherman’s knot. The working cord should be about one third the diameter of the main rope for a reliable bite.
- Create the first half: Take one end and wrap around the standing part of the rope twice, crossing over itself to form an X. Bring the end back through the center of the X from underneath and pull tight.
- Mirror on the other side: Repeat the exact wraps with the other end, ensuring symmetry and parallel strands on both sides.
- Join the halves: Pull the two standing ends apart so the two knot halves slide together into one tight loop. Leave adequate tail length, typically 2 to 3 inches for a prusik loop.
- Dress and verify: Arrange the strands so they sit neat and parallel with no twists. Inspect that the loop opens smoothly when unloaded and bites securely when loaded.
Testing under load and release cycles
- Static test: Hang body weight or a weighted bag for 5 to 10 minutes. The knot should hold firmly without slipping.
- Cyclic test: Load the system to 5 to 10 kN (roughly 1,100 to 2,200 pounds) in a pulley arrangement, then release. Repeat 5 to 10 times. After each cycle, inspect the knot for any movement or glazing on the cord.
- Field check: Simulate real moves like short climbs, foot work, and transitions. If the bite tightens under load or release becomes stiff, revisit the cord size and wrap count.
Maintenance and wear inspection
- Inspect before every use: Look for fuzzy fibers, cuts, glazing, or thinning. Any sign of wear means retire the loop.
- Test the bite: Tug the knot firmly; the tails should not pull out and the loop should seat cleanly when weighted.
- Measure for change: If the loop circumference shrinks more than about 10 percent, replace it.
- Care and storage: Keep dry, away from UV light and chemicals. Replace after heavy use or after a number of cycles defined by your organization.
Common errors and a safety reminder
- Loose knots or incomplete seating: Always ensure the two halves are fully tightened before relying on it.
- Wrong tail length or mismatched diameters: Use proper tail length and match cord diameter to the main rope as described.
- Twists or misfed strands: Rebuild with parallel, clean strands for predictable behavior.
- Professional training: Practice under supervision and train with certified instructors before field use.
Following these steps gives you confidence. It also helps answer the question, What is the best prusik loop length for your needs, by proving what works in your hands under real conditions.
Conclusion
What is the best prusik loop length? There isn’t a single magic number. Most climbers rely on two solid starting points and then tailor from there: a short loop around 30 to 35 cm for quick hitches and thin ropes, and a longer loop in the 120 to 160 cm range for foot work, multi wraps, or thicker lines. This pairing covers the majority of climbing, arborist, and rescue tasks with reliable bite and smooth release.
Test in controlled conditions before you trust it on real moves. Practice under load, check bite, and verify easy release when unweighted. If you work mainly on rescue scenarios or thicker rope, you’ll lean toward the longer end; for fast ascents on thinner rope, the shorter loop wins. The key is to match the loop to your task, rope diameter, and comfort level, then refine through field testing.
Back to Prusik Loop Tips
Recommended Products for Trad Climbing
These products match the equipment and gear topics covered in this article.
Affiliate disclosure: As an Amazon Associate, TradClimbers may earn from qualifying purchases at no additional cost to you.