
Tying a Prusik Loop: Essential Tips for Climbers
Back to Trad Climbing Basics
A climber told a telling story last winter about self rescue on a sheer wall. A simple loop of cord, a few wraps, and calm, deliberate moves turned a scary moment into a safe exit. That loop is a Prusik loop, a friction hitch made from a cord that slides when unloaded but grips tight under weight. It’s light, reliable, and ready when every second counts.
People in climbing, arboriculture, and rescue rely on this tool to advance, back up, and rig for safety. You can use it to climb a rope, back up a rappel, or set up a stubborn anchor in a tricky spot. The basics are straightforward: a small loop that tightens when you pull but frees up when you let go. That simple behavior is what makes the Prusik loop such a trusted ally in 2026, especially in challenging environments or low-visibility conditions.
In this post you’ll find practical tips that keep you safe and efficient. We’ll cover materials that hold up under load, step by step instructions you can follow with gear on your harness, and common mistakes to avoid after your first test. You’ll also discover why proper sizing and careful dressing of the wraps matters as much as the knot itself. And yes, we’ll tease the exact steps so you can practice with your own cord before you head out.
Grab your cord and follow along. By the end you’ll feel confident tying a Prusik loop and using it to move safely through your next climb or rescue scenario.
Length and Strength Secrets for Long-Lasting Loops
A well sized loop isn’t just a detail, it’s a safeguard. Getting the length and the grip right means your Prusik bite is consistent when you need it most. Below you’ll find practical guidance you can apply on the ground before you head out.
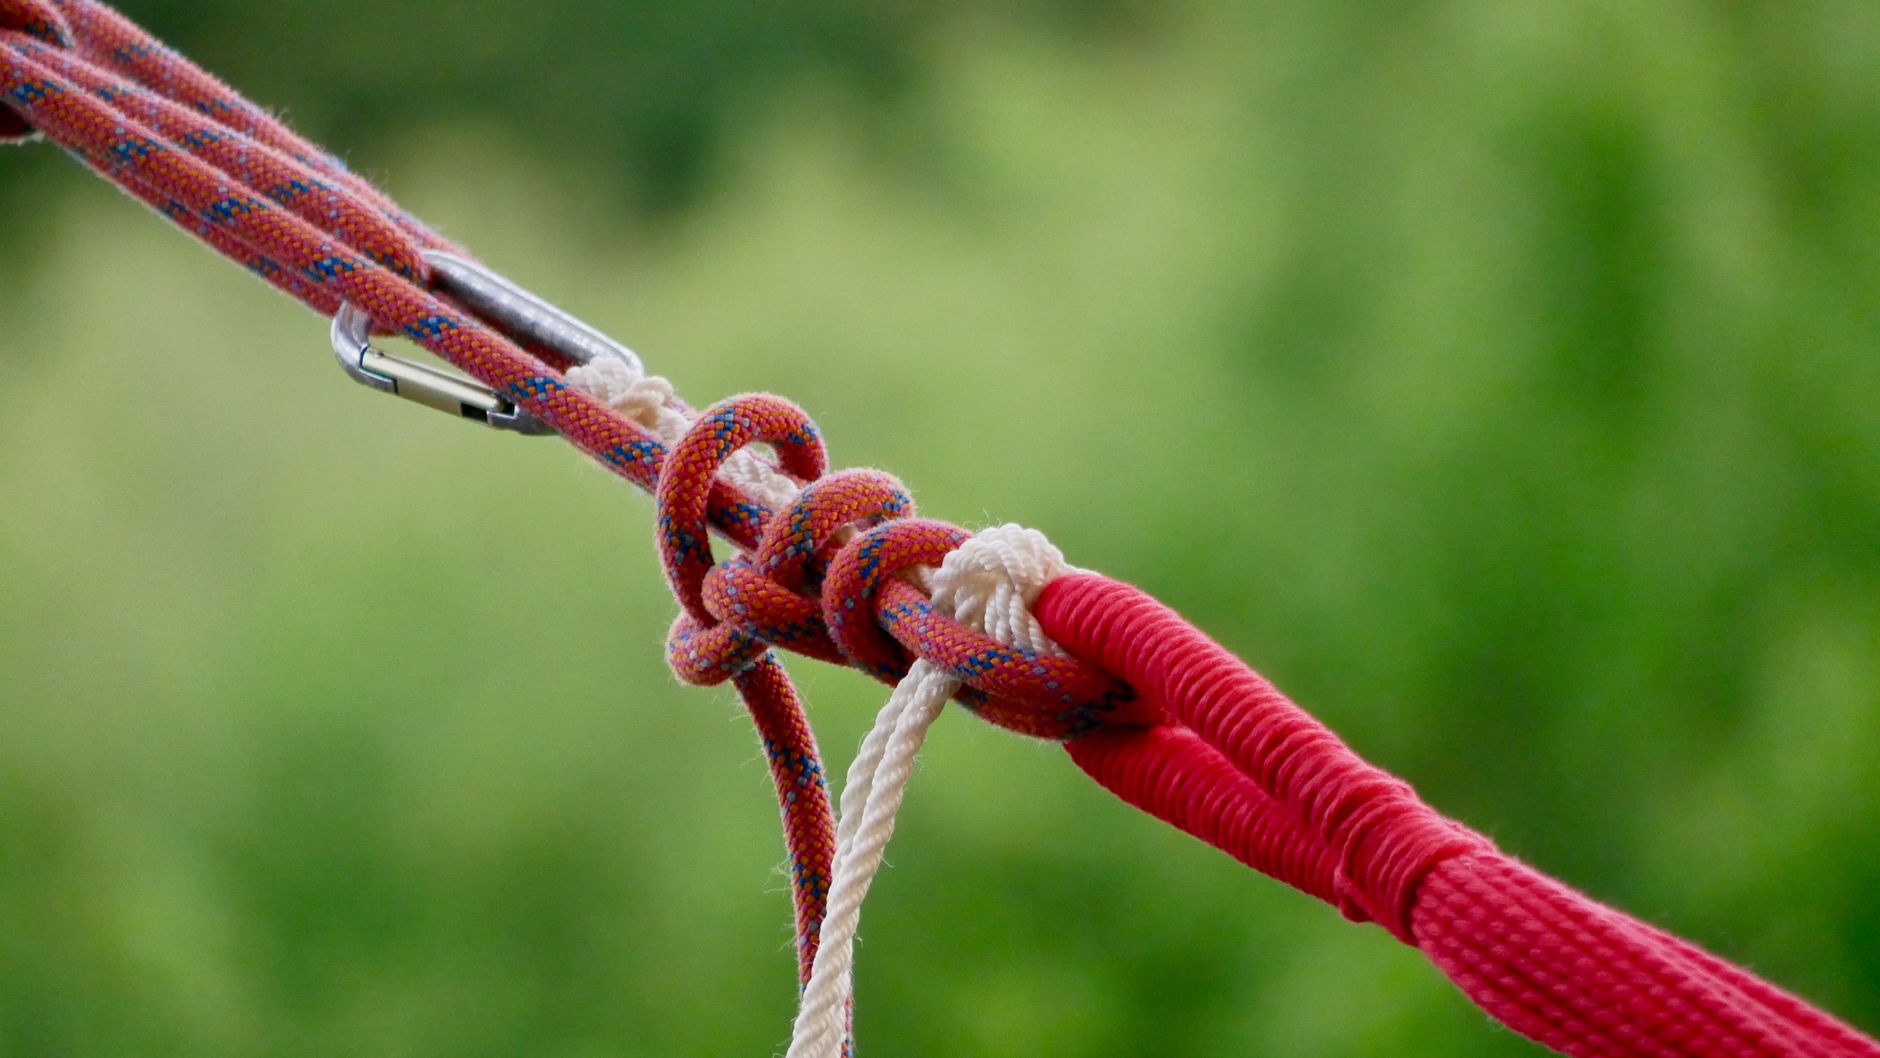 Photo by Carl H. McBublo
Length and Strength: what to measure and why
- Loop length matters more than you might think. Aim for a total length in the 3 to 6 feet range when laid flat before you tie the ends. A shorter loop bites quickly in light loads, but may not bite well when you need it to hold. A longer loop gives you more bite when you’re back-pedaling or dealing with stubborn rope targets. If you’re carrying backup systems, 5 to 6 feet is a practical compromise that keeps the knot tidy on your harness while leaving enough wrap room for friction.
- For backups, Petzl-style guidance often references a 1.5 meter backup length. In practice, that translates to a robust second loop ready to catch or assist without crowding your primary Prusik. The backup acts as a fail-safe, not a replacement for a well-tied main loop.
- Inspect for frays and wear. Before every climb, check the loop for stretched fibers, pilling, or flat spots. A frayed cord can fail where you need it most.
Materials and the D/d ratio in plain terms
- Choose a cord that is 60 to 80 percent of your main rope’s diameter. For an 8 mm main rope, a 5 to 6 mm accessory cord is ideal. For thicker ropes around 11 mm, 7 to 8 mm cord works well.
- Nylon is the most reliable choice for its grip and stretch characteristics; polyester can work but may slip more on certain rope surfaces. Avoid paracord for life safety work because it doesn’t handle heavy loads as consistently.
- The D/d ratio matters: a smaller diameter cord grips a thicker rope better. If the helper cord is too thick, it won’t bite; if it’s too thin, it slips. Test with your rope to confirm you get clean tightening without slippage under load.
Double Fisherman’s knot: a quick reminder
- End the loop with a double fisherman’s knot to secure the cord ends. It’s simple, strong, and widely trusted for life safety gear.
- Quick steps (brief): overlap the cord ends, wrap each end around itself and the standing part twice, then tuck the loose ends back through the wraps. Tighten evenly, then trim excess. This keeps the loop closed and reduces the chance of sliding or untying under tension.
Practical takeaways for different uses
- Climbing: use a softer nylon 6 mm to 8 mm cord on 8 to 11 mm main rope, with 3 to 4 wraps for a solid bite.
- Arborist work: on thicker static lines, lean toward the 7 to 8 mm range with a 4 wrap setup to handle tighter rigging and static loads.
Quick reference: cord sizes by rope diameter (inspired table idea)
| Main rope diameter | Suggested Prusik cord diameter | Typical loop length | Notes |
|---|---|---|---|
| 8 mm | 5-6 mm nylon | 3-6 ft | Good grip, easy to manage on harness |
| 9-11 mm | 6-8 mm nylon/polyester | 3-6 ft | Balance of bite and handling |
| 12 mm | 7-8 mm nylon | 4-6 ft | Heavy loads, more wraps for security |
Benefits of the right materials are clear: predictable grip under load, easier handling on the cord, and less fiddling on a belay or rescue scenario. With a properly chosen length, durable material, and a solid double fisherman’s knot, your Prusik loop will perform when it counts.
Step-by-Step: Build Your Prusik Loop from Scratch
Learning how to tie a Prusik loop from scratch gives you confidence when it counts. This section walks you through the fundamental process of creating a reliable loop, sized for your rope and ready for use. You’ll see how to lay the ends, form the wraps, and lock the knot in place so it bites when loaded and releases when you relax. Think of this as building a solid base for every tying a Prusik loop you’ll do on the hill or in the crag.
Wrap It Around: Tying the Knot on Your Main Rope
- Lay the two ends of the cord parallel to each other. Imagine a bridge between the rope and the loop, with both ends pointing in the same direction.
- Coil the ends twice in each direction, keeping the wraps neat and parallel. Pull tight so the knots jam and the loop becomes a clean, closed ring.
- Bring the ends together and work them into a girth hitch around the main rope. The wraps should ride on the rope in the same direction, with the neck of the loop facing you.
- Finish by pulling a bight through the last opening and dress the knot into a horseshoe shape. The ends should exit opposite the main rope, not curling back toward the wraps.
- For wraps, use this quick guide: 3 wraps for thin or wet rope, 4 wraps for standard lines, 5 wraps for heavy or slick rope. More wraps increase bite but can be harder to manage on the harness.
- Dress the knot by aligning wraps so they sit evenly and do not cross. A clean dress reduces snagging and makes testing easier.
- Test the bite by pulling sideways on the loop. It should grip firmly under load but release when you ease off.
- Always verify both tag ends exit in opposing directions. This setup boosts reliability and confidence when you need a smooth, repeatable release.
Table: wraps by rope condition
| Rope condition | Wrap count | Effect |
|---|---|---|
| Thin or wet | 3 | Cleaner bite, easier release |
| Standard rope | 4 | Balanced bite and handling |
| Heavy or slick | 5 | Strong grip under load |
As you practice tying a Prusik loop, you’ll notice how a well dressed knot stays tidy and predictable. The key is keeping the wraps parallel, the ends cleanly opposing, and the bight snug through the final loop. With this foundation, you’re ready to move on to practical testing on your harness and rope.
Nail the Perfect Prusik Grip with These Pro Techniques
Adjusting Wraps for Different Rope Conditions
When you’re tying a prusik loop, the right wrap count depends on rope condition and friction. Dress the wraps flat, with no overlaps or twists, so the bites sit evenly and bite from every direction. For wet or frozen ropes, add wraps to increase bite and prevent slipping.
A common starting point is 4 wraps on standard dry rope, then bump to 5 or 6 if the surface is slick or icy. An omnidirectional lock is easier when the wraps are clean and symmetrical. For quick rescue setups, a 3-wrap inside configuration can work in a pinch, but test it on varied ropes before relying on it. Practice with dry, wet, and mixed conditions to ensure smooth ascents and reliable holds.
Avoid These Prusik Pitfalls That Could Send You Sliding
A Prusik loop is a lifeline when you need smooth ascent or controlled descent. Skipping a load test or rushing wraps can turn a simple move into a dangerous slip. Take a moment to verify every bite before you commit weight. A careful test in a safe spot now can prevent a bulky rescue later. This section focuses on what happens when you skip the load test and how to build a habit that keeps your Prusik reliable under real loads.
What Happens If You Skip the Load Test
Stress testing in a safe spot, with full gear on, is your first line of defense. If you skip this step, the loop may not bite when you need it, or it could bind unexpectedly as weight is applied.
After loading, inspect the loop for frayed fibers, uneven wraps, or loosened knots. A small misstep here can cascade into a stuck haul or a retreat that ends with a fall. Always test again after any movement or change in rope condition, especially in wet or icy conditions where friction drops.
- Common error: using cord that’s too thick or too thin for your rope. Fix: verify the D/d ratio and test bite under load.
- Common error: uneven or crossed wraps. Fix: dress wraps neatly in the same direction and ensure they sit side by side.
- Common error: no post-load inspection. Fix: recheck for wear, damage, and secure knot integrity before proceeding.
- Real-world note: wet ropes reduce friction; test more deliberately and confirm you can release smoothly after loading.
- Quick habit: always have a backup plan or second Prusik ready, and test both under controlled weight.
Stay Safe: Key Rules for Using Your Prusik Loop Right
When you reach for a Prusik loop, you’re choosing a tool that can keep you safe in tight spots. The goal is simple: a loop that bites when loaded and releases when you ease off. Follow these practical rules to ensure you perform reliably without stressing the system or your body.
Know the right setup for your rope
Your Prusik loop works best when the loop size, material, and rope diameter are in harmony. Use a cord that’s about 60 to 80 percent of your main rope’s diameter and neckline the wrap count to the rope condition.
In dry, clean rope, 4 wraps are a solid baseline; on slick or wet rope, add wraps until the bite feels confident but still releases when you back off. Dress the wraps so they sit neatly side by side in the same direction. A well dressed Prusik bite makes a huge difference when weight comes on the system.
Backups and redundancy matter
Never rely on a single Prusik hitch for life safety. Always pair a Prusik with solid anchors and a locking carabiner. In rescue or heavy hauling scenarios, use two tandem Prusiks or a Klemheist as a backup to your primary loop. Clip your backup to the harness as a secondary aid rather than a primary load path. This redundancy buys you time and reduces the chance of a sudden slip.
Inspect and test before use
A quick pre climb check can save a fall later. Inspect the cord for cuts, fuzzing, or UV wear. Check that the loop ends are securely tied with a double fishermans knot and that the wraps are clean and evenly spaced. On the ground, load the hitch with your body weight to confirm it bites firmly and releases smoothly. If anything feels off, retire the loop and re tie.
Safe usage practices on rope
Treat the Prusik loop as a backup, not the main means of ascent or descent. Use it alongside established anchors and belay systems. Confirm direction of pull and ensure the loop is positioned where it won’t snag or cross over itself. Practice body positioning so you can stay balanced while the loop engages.
Post use care and maintenance
After use, re inspect the loop and re dress the wraps before storing. If you’ve relied on it in a rescue or heavy haul, retire the cord if there’s any sign of wear. Regularly re tie and test new loops to stay prepared for your next climb. Tying a prusik loop correctly today lowers risk tomorrow.
Conclusion
Tying a Prusik loop is a small skill with a big payoff. The key takeaways are simple: choose the right cord and length, dress the wraps neatly, and test the bite under load before you trust it with your weight. When you get the hang of the double fishermans knot and the correct wrap count for your rope, the Prusik loop becomes a reliable tool you can count on in tight spots.
A solid Prusik loop is built on consistent practice. Start on a calm day with grounded rope, work through the steps, and test in a safe spot each time you adjust length or material. Watching a few trusted tutorials can sharpen your method, but nothing beats hands on repetition on the ground before you head out. Remember to dress the wraps so they sit side by side and move as a unit, not as separate layers.
Your next step is to pair the Prusik with proper backup systems. Use a second loop or a Klemheist as a safeguard and always inspect the loop after any movement or change in rope condition. With the habit of pre flight checks and post haul reviews, you keep your setup clean, predictable, and ready for real loads.
Back to Prusik Loop Tips
Recommended Products for Trad Climbing
These products can support safer climbing, belaying, rappelling, and emergency readiness.
Affiliate disclosure: As an Amazon Associate, TradClimbers may earn from qualifying purchases at no additional cost to you.