
Prusik Loop Knot Tips for Climbing
Back to Trad Climbing Basics
A climber hangs from a rope, wind in their face, heat fading from their hands, and time slipping away. A quick ascent or a trusted backup could be the difference between a smooth move and a risky struggle. In that moment, a simple friction hitch becomes a lifeline, letting you slide when you need to gain height and grip when you need to hold fast.
The Prusik loop knot is that small tool with a big impact. It grips under load yet moves freely when the pressure is off, making it perfect for climbing and rescue work. It’s not flashy, but its reliability has saved climbers more than once. This introduction nods to its creator, Dr. Karl Prusik, who developed the knot in 1931 as a practical solution for rope work in alpine terrain.
In this guide you’ll see how a basic loop can become a core part of your rope skills. You’ll learn why this knot works the way it does, not just how to tie it, so you can adapt it to real world situations. You’ll also get a clear path to mastering the tying steps, choosing the right materials, and avoiding common mistakes that break the grip under pressure.
By the end you’ll understand the immediate benefits of practicing with a Prusik loop knot, including easier self rescue and safer backup moves during climbs. You’ll see how to set up a robust system for ascents, belays, and lowering scenarios, all with a simple, repeatable knot. Read on to gain the confidence to move faster, stay safer, and trust your rope work when it matters most.
What Makes the Prusik Loop Knot a Game-Changer for Rope Work
The Prusik loop knot stands out not because it’s flashy, but because it behaves the way rope work should: simple, reliable, and predictable under pressure. A small loop of cord wrapped around a main rope moves freely when there’s no weight but locks tight the moment load is applied.
That bidirectional grip and easy releasability give climbers, rescuers, and arborists a dependable backup that you can deploy in a heartbeat. It shines in ascents, belays, self-rescue, and lowering scenarios where you need friction you can trust and release you can control. In practice, it feels like a no-slip brake you can adjust on the fly.
The core advantage comes from the way wraps generate friction. Three to four parallel wraps around the main rope create a strong grip that remains secure as long as the load stays on the system. When you weight the Prusik loop, the wraps bite hard and lock. When you ease off, the loop slides smoothly, letting you reposition or descend. The base of the knot acts like a girth hitch, but with attention to dress the turns so the loop lies flat and tidy. Think of it as stacking small, evenly pressed brake shoes around a wheel; the stack increases grip without jamming.
Historically, the Prusik loop knot was born in 1931, thanks to Austrian mountaineer Dr. Karl Prusik. It built on earlier hitch ideas from sailors and climbers, refined for alpine terrain. Over the decades it has earned a respected place in UIAA standards and daily use by climbers, rescue teams, and arborists. Even in 2026, the knot remains a go-to option when minimal gear, quick setup, and reliable control matter most. Its enduring utility comes from a simple truth: a lightweight loop that behaves exactly when you need it.
Step-by-Step: Tie Your Prusik Loop Knot Flawlessly First Try
Mastering the Prusik loop knot starts with a calm, methodical setup. Think of it as laying the brake shoes just right on a wheel. If the wraps are neat, the knot holds when you need it and releases when the load lightens. In this section, you’ll learn a precise tying sequence, how to test the grip, and tips to adapt the knot to different rope sizes and conditions. Expect clear steps, practical visuals, and checks you can do on the ground before you climb.
Gathering Your Gear Before You Start
Before you touch the rope, assemble a few essentials that make tying predictable and safe. A 1.5 meter loop of cord works well for most climbing and rescue scenarios. Tie the loop end with a double Fisherman’s knot to secure it cleanly. This knot keeps the loop compact and easy to position.
Place the finished loop behind the main rope so it won’t snag as you wrap. Finally, choose a cord that is thinner than the main rope; this difference in diameter is what lets the Prusik bite. Quick checks matter: confirm the loop lays flat, and the knot sits clear of the wraps.
The Exact Wrapping Sequence That Locks It In
Visualize the sequence as a tidy stack of tiny, even brake shoes around the main rope. Start with the loop behind the main rope, then feed the loop through to form a girth hitch. From there, make 3 to 4 parallel wraps around the rope, feeding the wraps back through the center of the loop so they stack neatly.
If you’re using a thicker rope or working in slick or damp conditions, add one or two extra wraps to maintain bite. Dress the wraps so each turn lies flat and parallel. The final step is a careful test pull to ensure the loop grips securely when loaded but frees smoothly when weight is off.
If you’re exploring options, a French Prusik variant uses a slightly different wrap pattern; it can be a good alternative in rescue scenarios, but for most climbs a standard three to four wrap Prusik is reliable.
As you wrap, imagine the knot as a tiny, evenly spaced brake system. The more consistent and tidy your turns, the less you fight the rope later. Visual cues to confirm you’re on the right track: the wraps sit flush, the loop doesn’t twist or kink, and the center passage remains clear of any frayed fibers. If the loop balks or binds too early, it’s a signal to remove, re-dress, and re-wrap with one more pass depending on rope diameter.
Testing and Adjusting for Bulletproof Hold
To confirm reliability, test the knot in a controlled way. Apply a steady tug in both directions and observe how the loop behaves. A well set Prusik should bite firmly with load and release cleanly when the weight is removed. If the grip feels inconsistent, consider adding an extra wrap or rechecking the loop length against the main rope. Always test on the ground first, especially when using unfamiliar rope types or wet conditions. The goal is a confident hold that you can trust under load, with a smooth slide when you need to reposition.
Choose the Right Cord to Make Your Prusik Unbreakable
When you climb or perform rescue work, the cord you pick for your Prusik loop can make the difference between a smooth move and a stuck knot. The goal is a loop that bites when loaded but releases when you ease off. The right cord choice keeps the Prusik loop knot reliable across rope sizes, weather conditions, and tasks.
The most trusted setup uses a soft accessory cord that is clearly thinner than your main climbing rope. This ensures the Prusik bites without slipping. In 2026 the standard remains a nylon or polyester choice, not a slippery or ultra slick line. Precision matters here, so you’ll want a cord that feels pliable yet strong, and that holds up to repeated use.
Ideal Sizes and Types of Cord Explained
For most climbing and rescue scenarios, use a soft accessory cord about half the diameter of your main rope. A 7 to 8 mm cord works well with 11 to 13 mm rope, while a 6 mm cord can pair with thinner lines around 7 to 9 mm. Nylon (polyamide) is the classic choice because it grips well and stays flexible even after repeated loading. Polyester works too, especially when you want less stretch under load.
Avoid very stiff cords or Dyneema blends that don’t bite reliably. The main rule is simple: the Prusik cord should be thinner than the main rope, and not so slick that it slides without a bite. Pre-made loops are convenient, but tying your own with a double Fisherman’s knot gives you control over length and tension. Inspect for wear before every use, and test the bite in a controlled setting. A well-matched ratio, typically about 1:2 (cord to rope), balances grip and ease of release. For most people, nylon or polyester 6–8 mm works best with standard climbing ropes.
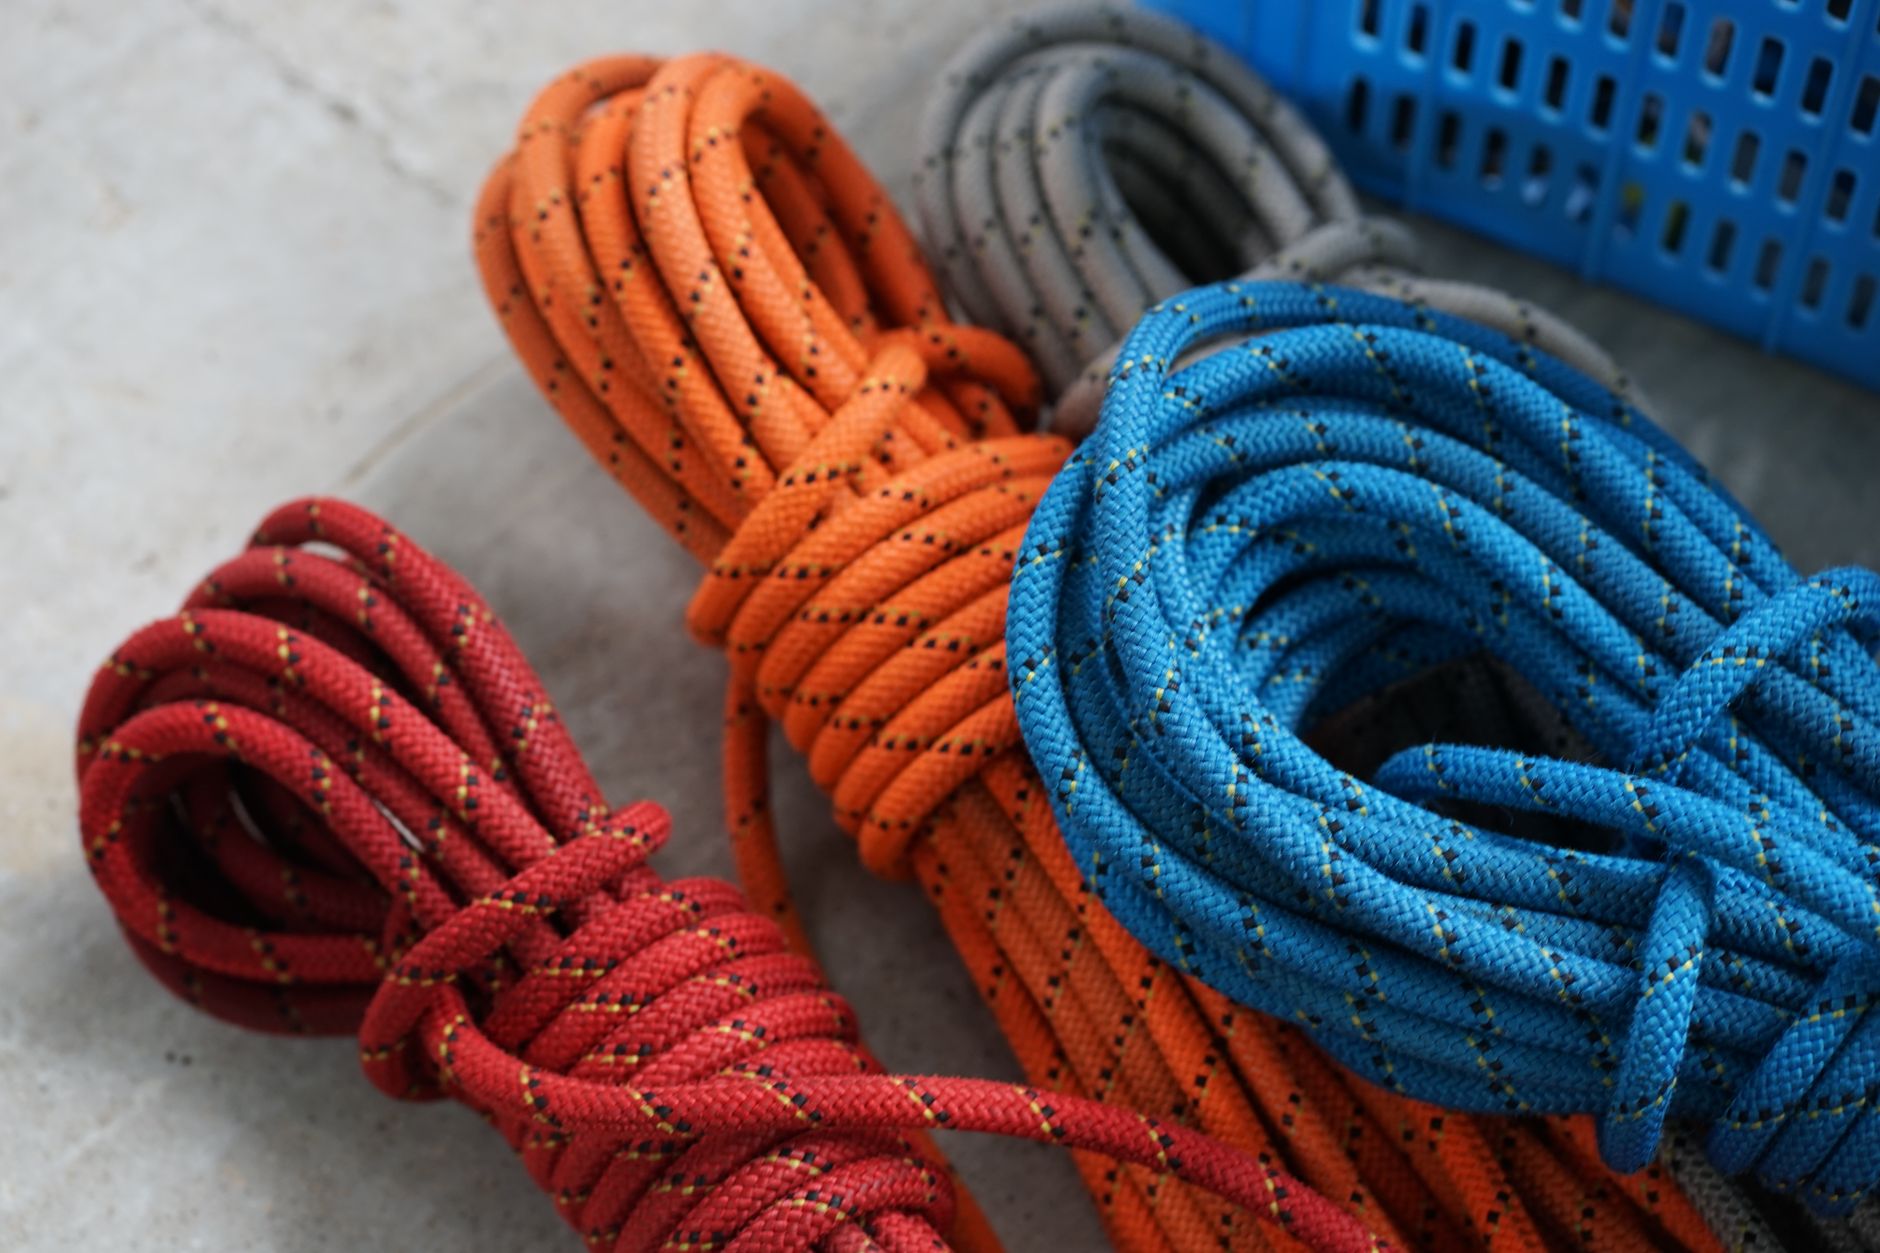
Photo by Warren Yip
How to Tie or Buy a Durable Prusik Loop
When you want quick reliability, a pre-made Prusik loop saves time and reduces tying errors. If you prefer tying on site, practice a clean double Fisherman’s knot to secure the loop ends. The loop should ride behind the main rope and be sized so it sits neatly when wraps are made.
For durability, choose a loop length that suits your task: shorter loops for rapid backups, longer loops for self-rescue setups. You want a loop that remains flat and tidy, with the center passage clear of fibers. Whether you buy pre-made or tie your own, verify that the cord type matches your main rope and that the wraps bite when loaded but release smoothly when unloaded. A well-chosen, pre-tested Prusik loop knot is your best ally in ascent, belay, and lowering scenarios.
Prusik Loop Knot Pitfalls to Avoid for Slips and Holds
When you rely on a Prusik loop knot in climbing or rescue work, every detail matters. In this section, we focus on practical pitfalls that can lead to slips or failed holds and how to keep your system rock solid under load. You’ll learn visual cues, quick fixes, and best practices to keep friction predictable and release smooth. Each subsection gives you clear takeaways you can apply on the ground before you head into any ascent or scenario.
Fixing Twisted Wraps for Maximum Friction
Twists in the wraps undermine even pressure around the main rope. When wraps lie flat and parallel, the bite is even and predictable. Start by laying the loop behind the main rope, then form the girth hitch and add 3 to 4 wraps. Dress each wrap so it sits flat and fingers can glide along without catching. If you notice binding or a lumpy feel, re‑dress and add an extra wrap if the rope diameter calls for it. After tying, test by gently weighting the knot. It should hold firmly under load and release cleanly when the weight is removed.
Matching Rope Diameters to Avoid Disaster
The Prusik bite comes from the difference in diameter between the loop cord and the main rope. A loop that’s too thick won’t bite; one that’s too thin can slip or damage the rope. The standard ratio is about 1:2, with the Prusik cord roughly half the main rope’s diameter.
For many climbers, a 6 to 8 mm cord works well with typical climbing ropes in the 10 to 13 mm range. Always test on your actual rope before engaging in a real ascent. If the knot slides easily when loaded, try a thicker cord or adjust wraps to restore bite while keeping release smooth.
Other Sneaky Errors and Quick Solutions
Top mistakes show up in everyday practice, then bite you when you least expect them. Crossed wraps reduce contact with the rope and create weak spots that can fail under load. Wrong diameters disrupt the friction balance, making the bite either too aggressive or too slack.
Too few wraps cut surface area, so the knot can slip. A poor loop knot and a release that sticks under load are common, preventable failures. The fix is simple: ensure wraps are parallel and complete, pick the correct cord-to-rope ratio, and use a reliable loop connection like a double Fisherman’s knot. Practice the grip to avoid over‑tightening, then test on the ground with a weighted pull to confirm smooth release and solid bite every time.
Level Up with Pro Tips and Smart Variations
Elevating your Prusik loop knot usemeans embracing rhythm, smart variations, and practical backups. This section packs concise, field-ready guidance you can apply on your next climb, rescue, or arborist assignment. You’ll learn how to build a reliable two-loop ascent system, adapt with reliable variations for different rope jobs, and pull together real-world tricks that keep you moving safely under load. Think of these pro tips as your rope work playbook: simple to use, tough in practice, and easy to repeat.
Nail the Ascent Rhythm for Effortless Climbing
Practice the classic rhythm: foot up, hand up. With a two-loop ascent setup, you keep momentum without tiring your arms. Clip two Prusik loops to your harness—one shorter, one longer—and place them on opposite sides of the main rope. As you propel upward, push the lower loop first, weight it fully, and then lift the upper loop.
This sequence creates a steady upward glide and a secure backup in case one loop slips. The autoblock backup shines here: the loop biting grip acts as a safety brake, while you free the rope ahead of you. For rescue hauls, the same rhythm keeps you efficient when you need to recover a casualty or reposition gear. Practice on a practice rope until the motion feels natural, then translate that flow to real climbs. With reliable wraps and neat dress, you’ll move faster while staying solid under load.
Top Variations for Specific Rope Jobs
Different rope tasks benefit from targeted Prusik variations. Below are two robust options you can adapt quickly. The French 4-wrap Prusik delivers symmetric bite in either direction and remains easy to move when you back off load.
The Schwabisch hitch offers a slightly asymmetrical pattern that can bite more aggressively in damp or dirty conditions, which is useful when you’re dealing with slick rope surfaces or mixed terrain. In rescue scenarios, these variations give you flexibility to handle rope direction changes without retying.
When you choose a variation, keep the wraps neat and parallel, dress the turns, and test with a controlled load. For arborists and climbers who switch rope directions often, bidirectional versions offer real benefits by providing equal grip when you slide up or down. Use the table below as a quick reference.
| Variation | When to use | Key bite characteristics |
|---|---|---|
| French 4-wrap | General climbing, mixed weather, need reliable bidirectional grip | Strong bite, smooth release, symmetrical traction |
| Schwabisch hitch | Damp or dirty ropes, direction changes, dynamic work | Good bite in one direction, easy misalignment prevention |
Real-World Rescue and Backup Tricks
In real life you need practical backup tricks that stay reliable under stress. Pulleys paired with a Prusik loop can multiply your haul force while keeping friction predictable. In crevasse rescue, place the Prusik on the load side for a controlled ascent or descent, and use a secondary line as a backup.
For rappels, the Prusik loop can act as a backup abseil tether, enabling a quick transition if the main line shifts. The goal is to have a predictable friction system that you can trust without overloading the rope. Practice these setups on the ground with your gear before you head out, so when time counts you stay calm and efficient.
Conclusion
The Prusik loop knot is a small tool with big value when you need reliable friction and controlled movement on rope. Remember the core takeaways: choose a thinner cord than your main rope, wrap 3 to 4 even turns, dress the wraps, and test the bite under load before committing to real gear. Use a double Fisherman’s knot to join the loop ends for a clean, compact setup, and keep the loop behind the main rope so it won’t snag as you work.
Keep your practice grounded. On the ground, tie the loop, test the grip in both directions, and adjust the number of wraps if the bite feels weak or sticky. Use nylon or polyester cords in the 6 to 8 mm range for most ropes, and verify that the cord to rope ratio sits around the 1:2 mark. When you switch rope sizes or conditions, recheck the wraps and re dress to maintain a predictable bite. A well rehearsed rhythm, clean wraps, and careful inspection prevent surprises on the wall or in a rescue scenario.
Safety stays front and center. Practice with dry ropes first, then move to damp or dirty lines only after you’ve validated your technique. Always confirm the knot holds under load, then releases smoothly when you ease off.
In real operations, keep extra Prusik loops handy, and know when to apply variations like the French or Schwabisch patterns based on the task at hand. Training with pros or a qualified instructor adds a layer of confidence you can feel when time is tight.
Back to Prusik Loop Tips
Recommended Products for Trad Climbing
These products can support safer climbing, belaying, rappelling, and emergency readiness.
Affiliate disclosure: As an Amazon Associate, TradClimbers may earn from qualifying purchases at no additional cost to you.