

Trad gear shines when you slot it into solid rock, the perfect crack shape, and the right pull direction. Get those wrong, and it fails fast. That’s why placing trad gear means building your own protection as you climb up cracks without bolts.
Most beginners rush placements or skip tests, which leads to whips they can’t afford. But you don’t have to. This guide keeps it simple and safety-first for new trad climbers.
You’ll learn nuts first, because they wedge into narrowing spots for quick, cheap holds. Next, cams expand to grip parallel walls, so match sizes right and extend them to cut drag. We’ll cover checking every piece with tugs, spotting flimsy rock, and dodging top errors like bad angles or panic slots.
Practice on the ground or top-roped cracks first. Then build anchors with three solid pieces. By the end, you’ll place gear confidently and climb bolder.
Start with the basics: how trad protection holds a fall
Trad protection catches your fall through friction and wedging against the rock. When you whip, the rope yanks the gear. It stays put if solid rock grips it tight in the right spot and pull direction. Nuts jam into crack constrictions, those narrowing points that prevent pull-through. Cams press all lobes outward for equal bite. But first, always pick stable stances to place gear steady. Each piece must hold alone, so no weak links.
Rock quality sets the base. A perfect nut in crumbly stone fails fast. Direction of pull means the way the rope tugs in a real fall, often down and out. Gear walks or pops if it fights that angle. Extension keeps rope straight and cuts drag. In short, strong placements start here, before you touch nuts or cams.
Good rock beats perfect gear
You spot solid rock quick. Tap flakes; they ring hollow if loose. Skip sandy cracks that smear under thumbs. Avoid wet or icy seams; water weakens holds. Soft stone crumbles when you poke it.
The same nut placement shines in granite but bombs in sandstone. Firm rock takes the force. Always test before you clip.
Run this 10-second checklist every time:
- Tap nearby blocks. Solid ones thud deep.
- Rub crack lips. Gritty feels best; sandy slips.
- Squeeze edges. They flex or break if weak.
- Check for water or ice. Dry rules.
- Probe the spot. Rock stays put.
Constructions, contact, and the direction of pull
Nuts and hexes need a constriction. Slide them into the wide mouth, then down to the pinch. That taper locks them; no constriction means they rattle through. Cams grab with all lobes snug. Twist the trigger, seat deep, and release slow for max contact.
Direction of pull rules everything. Picture your fall: rope pulls down and slightly out. Place gear to match. For cams in vertical cracks, angle the stem 45 degrees toward the ground. Straight out? It cams open under load. Deeper spots hold better because more rock backs them up. But skip if the crack flares or the piece twists loose.
In addition, rotate nuts 90 degrees sometimes. The wide face against rock boosts friction. Test with two sharp yanks down and out. It shifts? Bail and find better.
How to spot a risky crack fast (flare, pin scar, and parallel sides)
Flare means the crack widens outward. Gear cams or wedges shallow, then spits on outward pull. You see it when walls bell out like a trumpet. Nuts slide; cams barely bite.
Pin scars look like old drilled holes, slick and shallow. Nuts shift side to side in those smooth grooves. Avoid unless you can bridge across firm edges.
Parallel sides suit cams best. Lobes expand even and lock tight. Nuts flop here; they need taper to stay. Check visually: walls even? Go cams. Tapering in? Nuts win.
These checks keep your trad gear placements bomber. Next, we’ll size nuts right.
Placing nuts and other passive gear you can truly trust
Nuts form the backbone of placing trad gear with passive pieces. They rely on friction and shape alone, no springs or cams. You build trust by repeating a simple process: spot the right crack, seat with full contact, and test hard.
This keeps falls caught tight. In addition, extend every nut with a quickdraw to fight rope drag. That prevents lifts or walks.
Practice these steps ground-up, and your rack turns cracks into solid holds. Hexes and tricams expand the options for bigger spots or pockets. Natural features like horns or trees work too, if you sling smart. Focus here stays on clean seats and bomber tests.
Step by step: find the constriction, seat the nut, then test it
Start with a narrowing crack. It pinches tight below a wider mouth. Pick the largest nut that slides in snug.
Next, orient it right. The widest face presses against both rock sides. Twist if needed for max contact. Then give a firm tug down and out, matching fall pull. It settles deep without wobble.
Finally, check it holds. Yank twice sharp in load direction. Watch for lift or shift. Visually scan: no gap means it locks.
Use a nut tool only for gentle taps if stuck. Never hammer; that cracks rock or burrs metal.
Follow these steps every time:
- Scan for V-shaped taper in solid granite.
- Grab biggest nut that fits the pinch.
- Slot wide face parallel to walls.
- Tug down-out to seat.
- Test yanks; confirm no walk-out.
- Clip with extended draw.
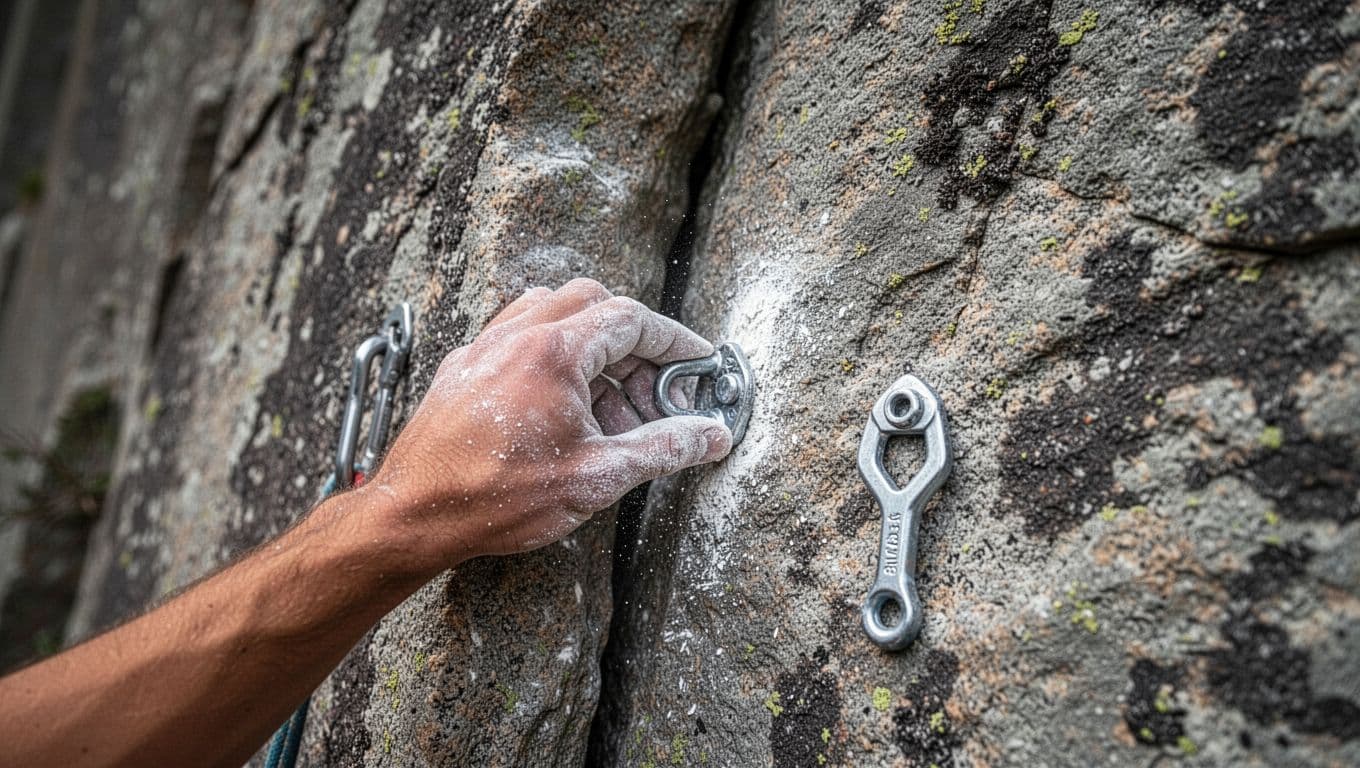
Common nut mistakes that lead to gear ripping
Bad spots kill even good nuts. Place above the constriction, and it walks out free. No pinch means zero hold.
Flaring cracks widen out. Nuts slide shallow then pop on pull. Parallel walls flop them too; save those for cams.
Shallow seats grab one edge only. They shift side to side under load. Poor contact anywhere spells fail.
Rope drag twists without extension. Nuts lift as line angles wrong.
Recent forums echo this: wrong shape tops the list, then skimpy rock touch and bad cable aim.
Spot these? Fix fast:
- Above pinch: Downsize or move lower.
- Flaring walls: Skip for offsets or cams.
- Edge-only bite: Rotate or repick size.
- No extension: Add a long draw now.
- Wiggles on tug: Yank it; find better.
Hexes, tricams, and natural pro: when they make sense
Hexes bridge bigger cracks. They act like fat nuts but turn to cam on offset pulls. Slot them deep in pods or wide seams.
Tricams fit pockets best. Pull the sling to wedge tight. Practice first; they flip wrong and eject.
Natural pro saves rack space. Sling live trees over five inches thick, well-rooted. Rock horns work if solid, no wobble.
Always pad sharp edges with extra webbing. Check for sway or looseness. Use thick slings rated for falls.
These shine situationally. Nuts lead, but mix for full runs.
Placing cams that stay put, stay aligned, and do not walk
Cams bring power to placing trad gear in parallel cracks. They expand lobes against rock for a bomber grip. However, poor spots lead to walking or blowouts. You fix that with even contact, right angles, and extensions. Solid placements catch falls clean. Let’s break it down so your cams hold steady every time.
What a “good cam range” looks like (and what to avoid)
Spot a good cam range fast. Lobes sit half-extended, about 50% open. They press even against rock, no gaps or hangs. All four lobes touch firm surfaces equally. That mid-range boosts strength because springs work best there.
Avoid fully open or closed lobes. Wide ones cam too tight; you fight the trigger to pull them. Closed ones barely bite and slip easy. Check visually: lobes uniform? It’s gold.
Skip bad rock too. Crystals chew slings or axles. Loose flakes crumble under load. Sharp edges slice gear fast. Place only where smooth, solid granite meets all lobes.
In short, mid-range even contact rules. Test it; feels solid right away.
Step by step: place, release, check symmetry, then set
Follow this routine every time you place trad gear with cams. It builds reliable holds quick.
First, pick the right size. Measure the crack with fingers; match your rack. Retract the trigger fully.
Next, slot it deep in solid rock. Aim the stem toward fall direction, about 45 degrees down and out. Release slow so lobes expand even.
Then, check symmetry. View from side: all lobes snug? No one tipped out or loose. Twist gentle if needed for better contact.
Finally, set with a firm tug on the sling, down and out. It bites? Clip the rope. Place deeper if it improves grip, but stop before flares or spots you can’t reach.
Practice this sequence ground-up. Soon, it feels natural.
Here’s the repeatable list:
- Choose size for snug fit.
- Retract trigger; insert deep.
- Release slow; watch lobes.
- Check even contact on solid rock.
- Point stem to pull direction.
- Tug sharp to set; no walk.
Deeper often means stronger. Yet avoid burying so deep retrieval fails.
Prevent cam walking with smart extension and rope management
Cam walking happens when repeated tugs shove it deeper or out. Rope shake or falls cause it most. The cam closes under backward pull, then slips.
Smart extensions stop that. Use longer slings or alpine draws. They keep rope straight, away from the piece. Rope drag twists angles bad on wandering pitches.
Zigzag routes worsen it. Each turn yanks sideways. Extend every cam then. If rope runs over edges, add draws now.
For example, deep cracks need 24-inch slings. Shallow ones take short quickdraws. Always align so pull stays outward.
Pro tip: score your spot. Solid rock gets a point. Good depth another. Right pull direction seals it. Three points mean bomber.
Tricky cam placements: shallow pods, horizontals, and weird cracks
Irregular cracks test your skills. Yet good technique makes cams work there too.
Horizontals need lobes perpendicular to the crack line. Angle the stem down for fall pull. Longer extensions prevent side rock. They keep rope from binding up.
Shallow pods tip easy on the lip. Seat all lobes on the flat bottom instead. Mid-range expansion grabs even. Avoid that edge; it spits fast.
Weird cracks demand full lobe contact. Twist for solid rock hits. If one lobe floats, repick size or spot. Some rock like slick limestone fights cams; drop to nuts then.
Granite shines best. Sandstone or basalt varies. Marginal feels? Bail and double-check.
These spots build confidence. Test hard; trust follows.
Make each piece count: spacing, clipping, and quick safety checks
You know the basics of placing trad gear now. But real leading ties it all together. Space pieces smart, clip clean, and check fast. Do this from comfy stances, and falls stay short.
New climbers often run it out too far because they fear pump or rack weight. Yet close spacing builds skill fast. In addition, quick tugs catch bad spots before you commit. Let’s break it down so you lead safer.
How often should you place gear when you are new?
Place early and often when starting out. Aim for gear every 10 to 20 feet at first. That keeps falls under 20 feet, which most pieces handle fine. However, pick good stances first. Stop where feet rest solid and hands reach cracks easy. Rushing from tiptoes leads to shaky placements.
Factors change your spacing. High fall potential, like above ledges, means tighter gaps. Tough routes or pump force quicker stops. Bad rock quality demands more pieces clustered. For example, splitter granite lets you space wider. Flares or traverses need them closer.
Beginners skip this and run out. Recent reports show tight spacing in the first 20 feet cuts whips big time. So scan ahead from stances. Place when you spot gold, not when scared.
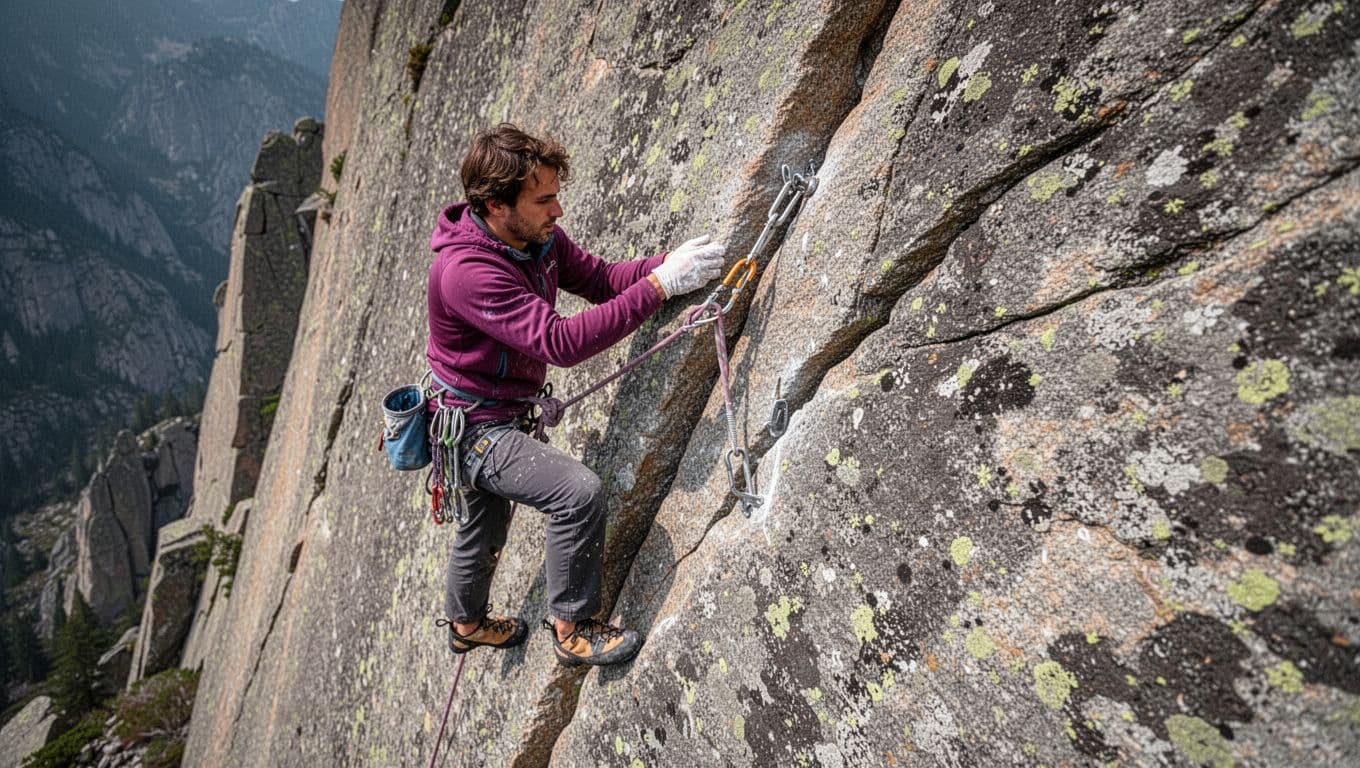
Fast placement check: the 5 second test before you climb on
Never trust a piece without this quick test. It catches most issues before you move up. Spend five seconds on these steps right after placing trad gear.
Run your checklist:
- Solid rock? Tap sides; no rattle or flake.
- Correct size? Snug fit, no wobble or over-tight squeeze.
- Good contact? All surfaces touch firm; no gaps.
- Pull direction? Stem or cable points down and out for falls.
- Extended enough? Draw keeps rope straight; no drag angle.
Yank the sling sharp twice in load direction. It shifts? Pull it and find better. Rope line changes later? Re-check then. This habit saves you from tipped cams or walking nuts, common in fresh reports.
Beginner mistakes that cause bad falls, and how to fix them
Newbies make simple errors that turn short falls long. Waiting too long tops the list. You climb past good cracks, then panic place in runouts. Fix it by planning from below; stop at stances.
Panic slots come next. Pumped arms shove gear anywhere. Instead, downclimb a bit for steady hands. Under-extending lets drag lift pieces. Always add draws right away.
Relying on one “good” piece too long skips backups. Place another soon, especially in bad sections. Rope drag sneaks up on traverses; it twists everything. Recent accidents blame runouts on traverses and untested small cams.
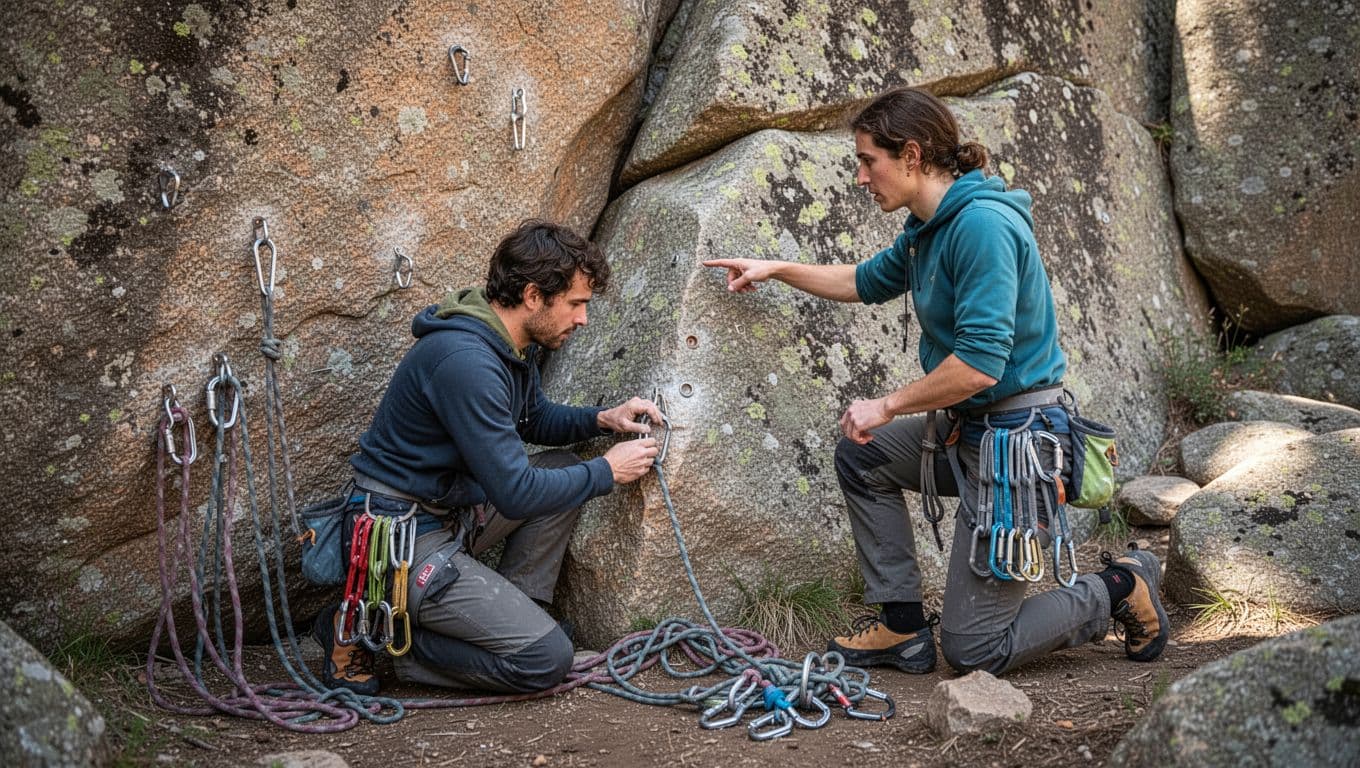
Learn with a partner. They spot what you miss. When cleaning, ask for feedback on what walked or held. Honest eyes build better habits fast.
A simple practice plan to get better faster (without taking big risks)
Reps build confidence without whips. Start low-stress to nail spacing and checks.
Try these drills:
- Place gear from the ground at a crag. Test every piece; note what sticks.
- Mock lead on top rope. Climb slow, place often from stances, then evaluate.
- Build a short “gear line” up a boulder. Have a buddy tug and score it.
- Practice cleaning stuck nuts with a tool. Feel what binds.
- Review after: what walked or shifted? Adjust next time.
Do this weekly. Confidence grows from reps and feedback, not big risks.
Conclusion
You now hold the keys to placing trad gear that catches falls reliably. Prioritize rock quality first, because solid granite turns good spots into bombers. Understand constrictions for nuts and parallel walls for cams, then match the direction of pull every time. Seat pieces with full contact, test with sharp yanks, and extend them all to stop walking or drag.
In addition, space gear every 10 to 20 feet from steady stances. Recent stats show bad placements cause 14% of trad deaths, so follow that repeatable routine without skips.
Practice on the ground or top-rope first. Climb with experienced partners who spot your misses. They build your skills faster than solo tries.
Back to Climbing Nut Reviews
Recommended Products for Trad Climbing
These products can support safer climbing, belaying, rappelling, and emergency readiness.
Affiliate disclosure: As an Amazon Associate, TradClimbers may earn from qualifying purchases at no additional cost to you.
Keep exploring helpful trad climbing, gear, safety, and technique resources.
- A Climber’s Guide to Rock Climbing in Thailand
- A Trad Climber’s Guide to the Isle of Skye Ridge
- Hueco Tanks Rock Climbing: hueco tanks rock climbing Essentials
- A Climber’s Guide to The Nose of El Capitan
- The Top 8 Unforgettable Climbing Routes El Capitan Has to Offer in 2026
- Yoga for Climbers: Boost Strength, Flexibility, and Recovery | yoga for climbers