

Thin cracks, pin scars, and little granite seams have a way of making you feel under-geared, even with a full rack. When nuts won’t bite and a small cam won’t quite fit, that’s where micro cam climbing starts to make sense. These placements can turn a sketchy stretch into something you can climb with a steady head.
A micro cam climbing device is a tiny spring-loaded cam made for very small cracks, often under about 0.5 inches wide. You thumb the trigger, slide it into place, then let the lobes expand and grip the rock. Because the pieces are so small, good technique matters more than brute strength.
Micro cams shine on runout trad pitches, thin granite with parallel sides, tiny pods that only take a few millimeters of bite, and aid placements where you need quick, repeatable pro. They’re also great when a constriction is missing and a nut keeps skating or seating sideways.
This guide will help you pick the right micro cams (including when offsets or 3-lobe designs make sense), place them so they stay put, and understand what their strength ratings really mean in the real world. You’ll also learn simple care habits that keep triggers smooth, lobes sharp, and your smallest pieces ready for the next pitch.
What a micro cam climbing device is, and when it is the right tool
You already know micro cams fit tiny cracks. But let’s break down exactly how they work and why you grab one over other gear.
A micro cam climbing device has four curved lobes that press against rock sides. Springs push them outward after you release the trigger wire. The axle connects the lobes; most micros use a dual axle for smoother retraction in tight spots. A rigid stem keeps the lobes aligned, and a thin sling lets you clip it to your harness or gear loop.
Camming action happens fast. You pull the trigger to retract the lobes, slot the head into a crack, and let go. The lobes expand and bite because they convert pull-out force into inward pressure on the rock.
However, “micro” means head widths under 30mm and narrow placement ranges, like 7-13mm for the smallest sizes. These differ from regular small cams, which handle wider cracks. Also, tiny sizes rate lower, around 5-6kN, so perfect placement counts more than with bigger pieces.
Grab a micro cam when cracks flare or wander, and passive pro slips. They excel in runouts where you need active hold without constrictions. Still, pair them with nuts for redundancy on sketchy leads.
Micro cams vs. nuts, offsets, and tricams in thin placements
Micro cams place quickly in flaring seams because their lobes grip widening rock. Nuts work well too, but they need a solid constriction to jam tight; otherwise, they skate out. In contrast, offsets shine in pin scars or scars with uneven widths since their angled lobes match irregular shapes.
Tricams fit pockets best. You cam them active or passive, and they hold firm in horizontal breaks. However, micro cams beat them in vertical seams due to easier retraction.
Here’s a quick comparison:
| Gear | Strengths in Thin Spots | Tradeoffs |
|---|---|---|
| Micro Cams | Fast active hold in flares | Lower strength, pricier |
| Nuts | Lighter, often stronger | Needs constriction, passive |
| Offsets | Pin scars, irregular cracks | Narrower uses |
| Tricams | Pockets, horizontals | Bulkier, trickier to place |
Carry both micro cams and nuts. That way, you cover more crack types without extra weight.
Common places micro cams work best (seams, pin scars, tiny pods, awkward stances)
Thin granite seams love micro cams. Parallel sides let lobes expand evenly, unlike nuts that might wobble. In limestone, tiny pods take designs with narrow heads, like DMM Dragonflys, because they bite shallow curves.
Sandstone horizontals suit them too. Flares or pods here grab lobes better than flat nuts. Pin scars demand offsets sometimes, but standard micros work if the scar widens slightly.
Crack shape changes everything. Straight verticals favor dual-axle models for stability. Funky features, like flared tips or pods, suit narrow-head cams like Metolius ULs; they dig in without walking.
Awkward stances benefit most. Clip one fast from a bad belay, then move on.
Key terms you will see on gear pages (range, head width, kN rating, single vs. dual axle)
Range shows the crack sizes a cam fits, like 8-11mm. Narrow ranges mean precise gear, but you overlap sizes for full coverage.
Head width matters in shallow seams. Narrow heads, under 12mm, slip into granite tips where wide ones won’t go.
kN rating measures force hold, like 6kN for size 0 micros. It rates lab pulls, not real falls, so place well to match that strength. Falls hit 3-7kN, so doubles help.
Single vs. dual axle: Single axles suit ultra-tiny sizes for lightness. Dual axles retract lobes evenly in micros, preventing binds. Wild Country Zeros use duals for smooth pulls.
How to choose micro cams that match your climbing and rock type
You rack up micro cams based on your local crags and common crack sizes. Start by noting the thin seams you hit most often. Then pick sizes and features that grip your rock type best. For a first rack, grab two to three each of the mid-micro sizes, like 0.3 to 0.5 inch range.
These get used way more than the tiniest ones. Double up because falls factor loads spike on small pieces. Add one or two super-small cams only if your routes demand them. Narrow heads suit tight granite tips. Flexible stems help in flared cracks. Wide lobes grab sandstone better. Match these to your style, and your rack feels dialed.
Start with the sizes you will place most, not the tiniest ones first
Most climbers chase the smallest micro cams first. However, that skips the practical path. Mid-micro sizes, around 0.3 to 0.5 inches, see constant action. They often hold higher strength ratings too, like 6kN or better. Therefore, build your rack around them.
Picture thin cracks at your local crag. Say you climb granite splitters with 10-15mm seams. Skip the 7mm cams at first. Instead, grab doubles of 12-18mm sizes. You’ll place those on every pitch. As a result, your gear matches real routes. Add tiniest sizes later for specific runouts. This keeps weight low and confidence high. For example, a rack with three each of size 1-3 micros covers 80% of placements. Test them on toprope first. You’ll see what fits your cracks best.
Design features that change real world performance (flexible stem, lobe shape, narrow head)
Certain traits boost micro cam performance in the field. Flexible stems bend to follow flaring cracks. They reduce walking under load. However, they can feel wiggly when you tug the trigger. Rigid stems stay stable but might bind in curves.
Lobe shape matters next. Textured or wider lobes grab slick rock surfaces. They increase contact area, so pieces hold firm on polished granite or crumbly sandstone. Narrow lobes suit parallel seams but slip more on flares.
Narrow heads squeeze into shallow tips. They fit where fat heads won’t go. For instance, 10mm wide heads slot into granite seams under 12mm. Combine these: pick flexible stems for sandstone flares, narrow heads for granite, and wide lobes for limestone pods. Climbers notice these differences on lead. Test a few models at the crag. You’ll feel what works for your pulls.
Rock type quick guide: granite, sandstone, and limestone micro cam choices
Rock texture shifts how micro cams behave. Match your picks to local stone.
Granite seams run smooth and parallel. Narrow-head designs shine here. They slip into tight tips without wobbling. Flexible stems help too, because cracks often flare slightly.
Sandstone feels gritty with funky shapes. Wide or textured lobes grip best. They bite flares and pods where nuts fail. Climbers praise these for confidence on runouts.
Limestone pods stay shallow and curved. Mid-sizes with good lobe contact work well. Avoid super-narrow heads; they might skip. Instead, choose cams that expand evenly.
Here’s a quick matchup:
| Rock Type | Best Micro Cam Traits | Why It Works |
|---|---|---|
| Granite | Narrow heads, flexible stems | Fits tight, parallel seams |
| Sandstone | Wide/textured lobes | Grabs gritty flares |
| Limestone | Even expansion, mid-sizes | Holds shallow, curved pods |
Test on your rock. One type rarely rules all.
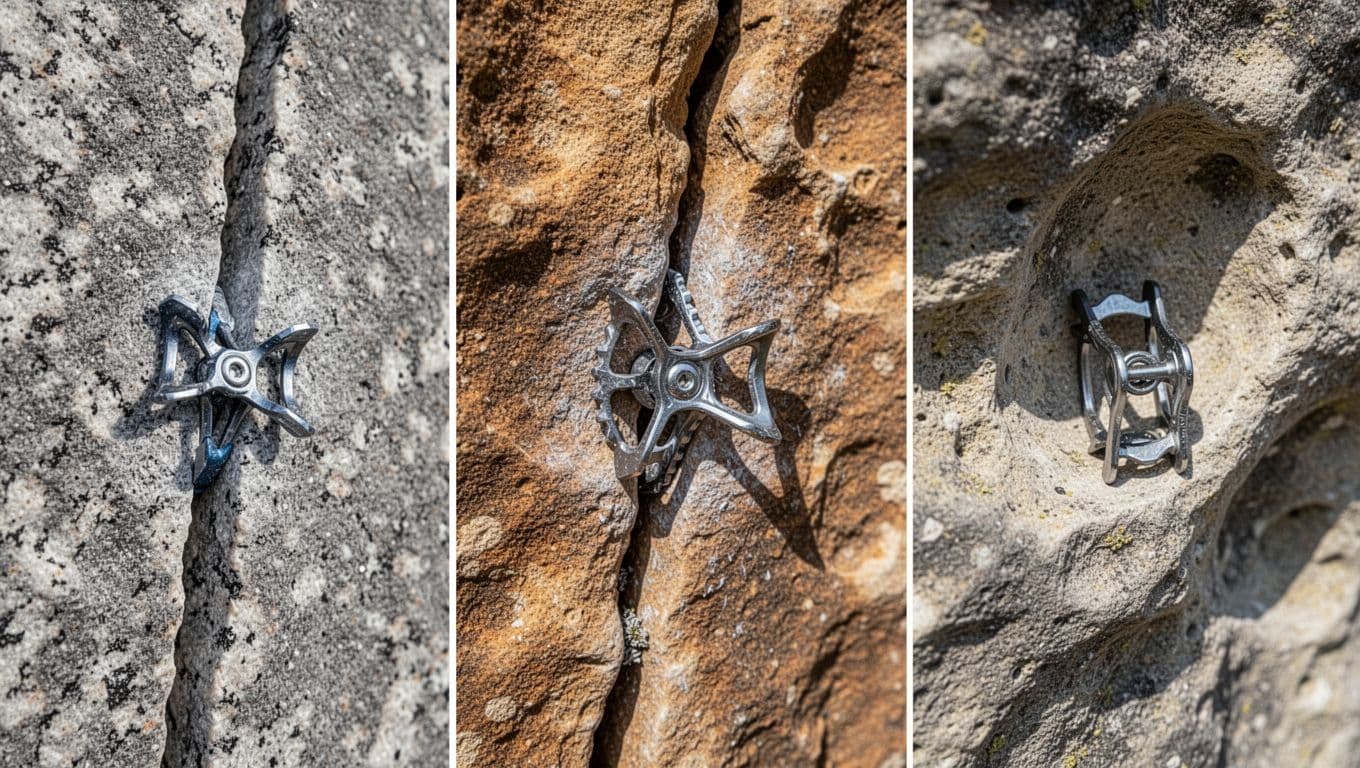
A realistic 2026 shortlist of trusted micro cam options to compare
Narrow your search with these proven 2026 options. Climbers trust them for micro cam climbing after real-world tests. Focus on what fits your rock and style. Start with 4-6 pieces total for a first rack.
Totem Cams lead for odd placements. Their lobes hold on two points alone, perfect for weird sandstone shapes. Climbers love the wide size range. Watch for higher weight and price.
Black Diamond Camalot Z4 offers strong all-around use. Easy triggers and flexible stems suit most cracks. They rate reliable on granite. Smaller sizes can feel marginal, so double mids.
DMM Dragonfly excels in thin cracks, especially sandstone. Wide lobes give top grip there. Size 1 fits 7.8-28mm, the smallest certified. Great for precision, but specialty focused.
Fixe Alien X boasts the smoothest trigger. Textured lobes snag slick granite or sandstone. Super easy to place fast. It might walk in perfect parallels, so check after clipping.
Black Diamond X4 stays a classic small cam. Solid holds across rocks. Pairs well with Z4s for variety. Nothing flashy, just dependable.
Metolius Microcam delivers value. Compact and light for general use. Stems flex well. Larger ones bend under hard pulls sometimes.
Wild Country Zero Friends speed placements with narrow heads and thumb loops. Updated angles widen range. Quick for granite tips. Older design lacks some modern grip.
Many mix brands. For sandstone, pair Dragonfly with Totem. Granite racks lean Z4 and Zero. Buy singles first, then double your go-to sizes. Check recent reviews; holds evolve with batches. Your rack builds confidence pitch by pitch.
Placing micro cams so they actually hold: a step by step checklist
You can nail micro cam placements with a calm, repeatable process. First, evaluate the rock. Next, pick the right size.
Then place it, set it firm, align for pull, extend to stop walking, and always recheck. Rush this, and your tiny pro walks or blows. Take your time instead. Good placements show even lobe contact and no wobble. If it feels marginal, skip it and hunt better rock. This checklist builds trust on micro cam climbing leads.
Find the best spot in the crack first (clean rock, good shape, enough depth)
Start by scanning the crack for solid rock. Good rock looks solid and uniform, without cracks in the crack or loose flakes. Tap nearby holds; they ring sharp, not dull. Hollow flakes sound empty and flex under touch, so avoid them. They can peel off under load and trash your cam.
Parallel sides work best for micro cams. The crack should run straight or curve gently, with enough depth for lobes to bite at least half their length. Shallow spots let pieces pop. Depth matters because it stops rotation and walking later.
Dirt kills grip, so brush sand or grit out with your fingers or a soft tool. Do this gently; scrub too hard and you loosen crystals. Clean rock doubles holding power. In short, pick spots where the crack hugs all four lobes evenly. Then commit.
Get the cam in the right range, then seat it with a firm tug
Match the crack to your cam’s range first. Under-cammed means lobes barely touch; they slip under pull. Over-cammed bottoms out the trigger, so lobes can’t expand fully and grip weak. Aim for snug fit in the middle or narrow end of the range.
Look for cues: lobes sit roughly even around the crack, not tipped out or buried. Tiny cams feel fiddly because springs fight tight spots. Take an extra second. Pull the trigger 80-90 percent, not full, to avoid sticks. Slide in smooth.
Seat it next. Release lobes, then tug firm downward while looking away. Feel it bind solid, like a key in a lock. Wiggle means bad; pull it and try again. Perfect seats show no creep after tugs. Practice this on toprope. You’ll spot winners fast.
Angle, alignment, and avoiding rotation in pods and pin scars
Align the cam with your expected fall direction. Most pulls go straight down or slightly outward, so point the stem that way. Misalign it, and lobes cut rock instead of grip.
Pods twist cams easy because curves shift lobes uneven. Pin scars flare odd, so only engage part of the head if needed. Certain designs, like narrow-head ones, hold better here; they bite edges without spinning. Keep all lobes loaded even.
Rotate happens from side loads or bad rock. Check after setting: twist the stem gently. Solid cams resist. If it spins, bail. Safety first. Align right, and your micro cam stays put through whips.
Stop micro cams from walking: extend, manage rope drag, and choose the right stem feel
Walking means the cam creeps upward under repeated loads, like rope bounce or falls. Small gear walks most because low friction and light weight. It fails slow, so prevent it upfront.
Extend every micro cam with a longer quickdraw. Short slings let rope drag shift them. Clip direct only in a pinch. Reduce zigzags in your line; straight runs cut drag. Watch rope swing from below too.
Stem feel helps. Stiff stems resist twist in pods. Flexible ones follow flares but walk more in parallels. Pick based on crack. Finally, recheck from the next stance. Tug again. If it moved, replace it.
Follow these steps each time. Your placements hold firm, and micro cam climbing feels solid. Doubles on key spots add backup. Calm heads win thin leads.
Strength, safety, and smart backups with tiny gear
Tiny cams spark that nagging doubt on micro cam climbing leads. Will it hold a real fall? Yes, they can, but their lower strength ratings demand sharp placements and smart backups.
The smallest sizes rate around 4.5 to 6 kN, far below bigger cams. However, most leader falls generate 3 to 7 kN because rope stretch and angles soften the hit. Perfect setups let them catch those forces. Poor ones fail early. So, focus on rock quality and backups to build trust.
What kN ratings mean in real life, and why the smallest sizes feel different
kN stands for kilonewtons, a force measure. One kN equals about 225 pounds of pull. So, a 5 kN micro cam holds at least 1,125 pounds straight out in lab tests. Manufacturers like Black Diamond rate Z4 #00 and #0 at 5 kN. DMM Dragonfly #1 hits 6 kN. Wild Country Zero #0 sits at 4.5 kN. These numbers come from controlled pulls, not wild falls.
Real climbs add twists. Rope stretch absorbs shock, so forces drop below ratings often. Angles spread the load too. Solid rock multiplies grip. However, the tiniest sizes feel different because narrow lobes touch less surface. They rely on perfect contact. Climbers report Z4 #0 cams catching big whips in granite tips. Dragonflys hold huge falls in tests. Still, suspect rock or bad angles spike forces early.
In short, ratings set a floor. Good micro cam climbing keeps you under it.
When to back up a micro cam (and simple ways to do it fast)
Back up micros on runout cruxes or crumbly rock. There, a single piece risks too much. However, skip backups in perfect granite seams; they add drag without gain. Time matters on leads, so use quick methods.
Here are fast ways to double up:
- Equalize with a nut above: Slot a small nut higher, then clip both to one quickdraw. This shares the load.
- Place two small pieces close: Add another micro nearby. They catch together if one walks.
- Add a micro nut below: Nuts jam constrictions fast. They stiffen the setup.
- Grab a better piece soon: Move up to a fist-sized cam or hex as soon as rock widens.
These steps take seconds. For example, on a sandy runout, nut plus cam halves your worry. Always equalize to avoid one piece taking all force.
Placement red flags: shallow, flared, gritty, tipped out, or on soft rock
Spot these signs, and yank the cam. Bad placements fail first in micro cam climbing. They cut strength by half or more.
Watch for these red flags:
- Shallow insertion: Lobes show less than half depth. Pulls pop them easy.
- Flared cracks: Sides widen fast. Lobes lose contact under load.
- Gritty or sandy cracks: Dirt slicks the grip. Clean first, but bail if crystals loosen.
- Tipped-out lobes: One or two lobes lift. That means uneven rock or overcammed fit.
- Soft rock: Crumbly edges flex or dent. Test by tapping; dull sounds warn.
Sandy cracks kill hold most. Brush them clean. Pick spots with solid contact points. If grit stays, switch to a nut or skip it. Better gear waits nearby.
Trust your tug test always. Solid feels lock in. Wobble means walk away.
Care, inspection, and long term use so your micro cams stay reliable
Tiny cams take a beating in micro cam climbing because their small parts wear out faster than bigger gear. Triggers stick from grit. Lobes dull over time. Slings fray from rope drag. Simple habits keep yours ready for the next thin lead. Do a quick check before each climb. Clean them right after dusty or wet days. Store dry and loose. Know when to retire them. These steps save money and build trust on runouts.
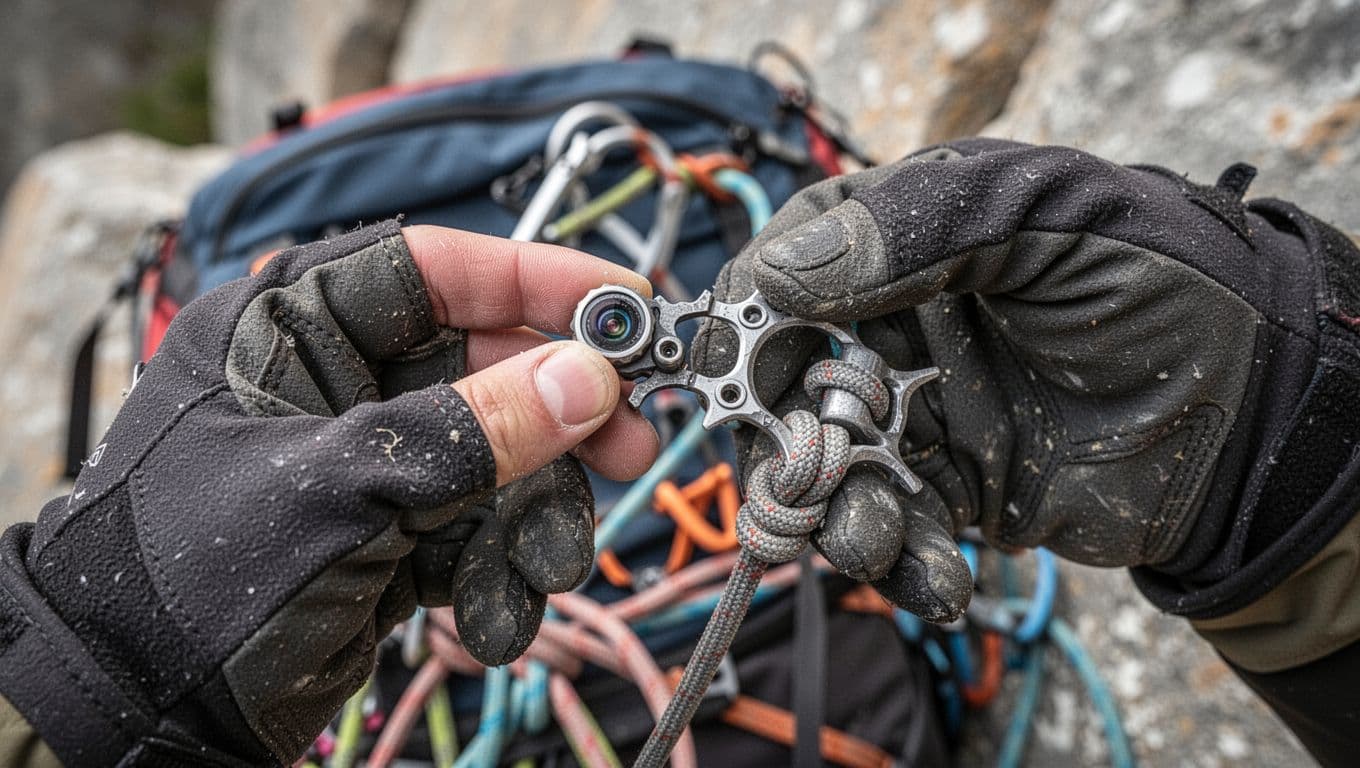
A quick pre climb inspection you can do in under a minute
Grab each micro cam before you rack up. First, pull the trigger. It should move smooth without sticking or binding. Next, check retraction. Lobes snap back even and fast. Look at the lobes for wear. Sharp edges or deep grooves mean trouble.
Inspect the sling too. No frays or cuts. Then scan the stem for kinks or bends. Finally, hunt for corrosion. Rusty spots weaken parts fast. This check takes seconds. Do it every time you climb. As a result, you spot issues early. Bad triggers fail placements. Worn lobes slip under load. Keep yours crisp, and micro cam climbing stays solid.
Cleaning and drying after dusty crags or wet alpine days
Grit from sandy crags or alpine moisture kills micro cams quick. Dirt makes tiny triggers feel sticky. It speeds wear on lobes and axles. Clean them right after those days.
Rinse under cool water first. Use a soft brush for stubborn grit. Avoid soap or harsh chemicals; they strip lubrication. Rinse lobes, stem, and trigger well. Shake off water. Then lay them flat on a towel to air dry fully. Heat sources like stoves warp parts.
Store dry in a mesh bag. Don’t cram them tight; that bends stems. Besides, loose storage lets you spot damage fast. Clean cams place smooth. Dirty ones walk or blow. Follow this, and your rack lasts seasons.
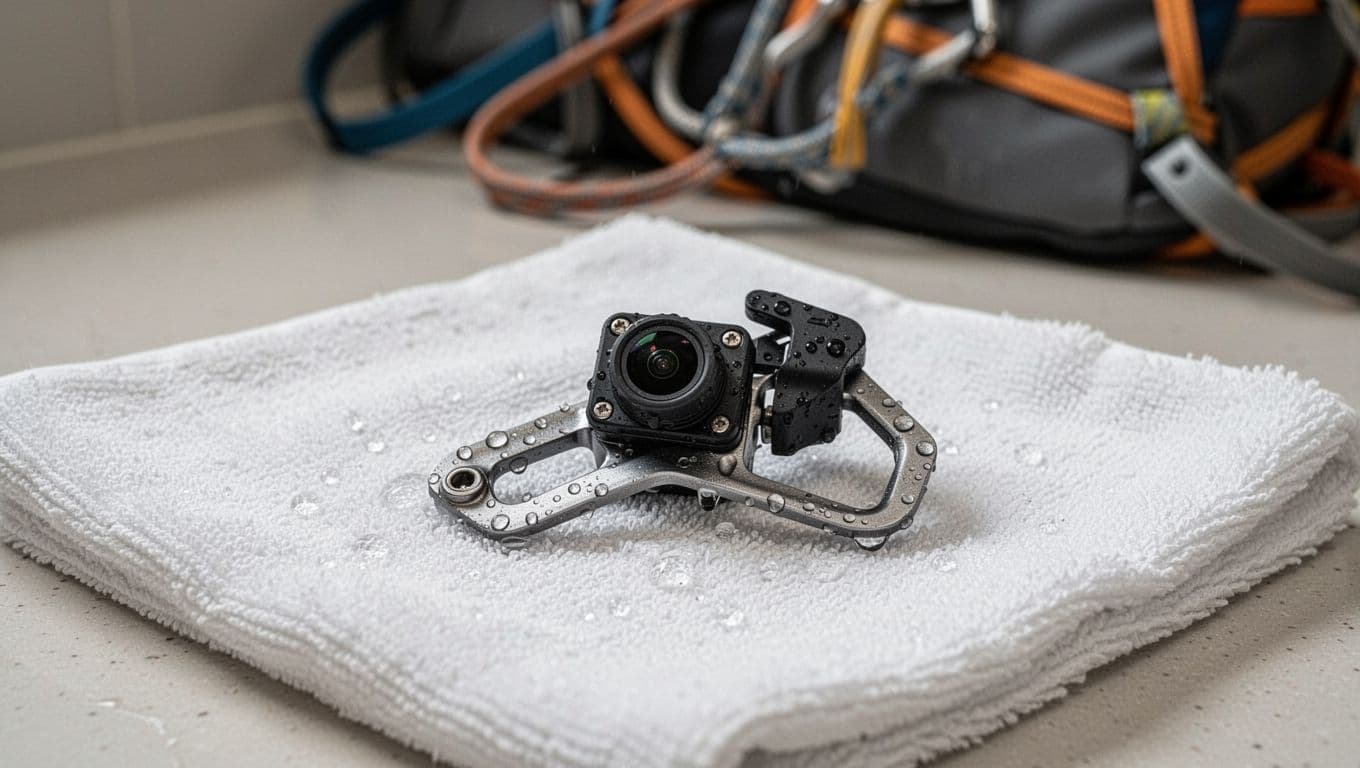
When a micro cam should be retired or re-slung
Retire cams that show clear damage. Start with the sling. Frayed or cut ones fail clips. Get it re-slung by a shop if minor. Sharp edges on lobes cut rock wrong; they lose grip too.
Stuck triggers signal worn springs or grit buildup. Major lobe damage, like cracks or deep pits, ends their life. Bent stems twist under falls. Also, send pieces for inspection after big whips, as brands suggest.
Check your manufacturer’s guidance often. They update rules based on tests. In short, retire early if doubt creeps in. One bad cam ruins a lead. Fresh gear keeps micro cam climbing reliable. Shop re-slings cost less than new cams. Invest there first.
Conclusion
Micro cams fill those thin cracks where nuts slip and bigger gear won’t fit. You now know to grab them for flaring seams, pin scars, and tiny pods on granite, sandstone, or limestone. They shine because active lobes grip fast, but only if you rack the sizes you place most, like mid-micro doubles.
Next, always follow the placement checklist. Find clean rock first. Match the range, seat with a tug, align for pull, and extend every piece to stop walking. Back up sketchy spots with nuts or doubles right away. Their 5-6kN ratings hold real falls when you do.
Care keeps them reliable too. Inspect triggers and lobes before each climb. Clean after dusty days, and retire worn ones quick.
In short, smart choices turn under-geared leads into steady ascents. Head to the crag base today. Practice placements on different rock types. Keep inspecting your gear.
Back to Climbing Nut Reviews
Recommended Products for Sport Climbing
These products can support safer climbing, belaying, rappelling, and emergency readiness.
Affiliate disclosure: As an Amazon Associate, TradClimbers may earn from qualifying purchases at no additional cost to you.
Keep exploring helpful trad climbing, gear, safety, and technique resources.
- A Climber’s Guide to Rock Climbing in Thailand
- A Trad Climber’s Guide to the Isle of Skye Ridge
- Hueco Tanks Rock Climbing: hueco tanks rock climbing Essentials
- A Climber’s Guide to The Nose of El Capitan
- The Top 8 Unforgettable Climbing Routes El Capitan Has to Offer in 2026
- Yoga for Climbers: Boost Strength, Flexibility, and Recovery | yoga for climbers