
Back to Trad Climbing Gear Slings
You’re crushing a steep boulder problem, fingers locked on a sharp crimp. Then a searing pain rips through your ring finger. A pulley injury hits hard, but climbing tape steps in as your quick fix to stay on the wall.
Climbing tape is a tough, sticky strip climbers swear by. It shields hands from rips, supports finger pulleys, and steadies wrists. You tear it by hand, and it sticks without gooey residue.
It stops skin tears on rough holds or long sessions. You’ll cut injury risks and climb with more confidence. Learning how to use climbing tape correctly makes all the difference.
This guide breaks it down simply. You’ll learn types like standard non-stretch rolls or rigid strapping. Master techniques such as H-tape for pulleys and figure-8 wraps for extra hold.
We’ll share pro tips for skin prep and wrist stability. Plus, dodge common slip-ups like taping too tight or picking the wrong type. By the end, you’ll tape like a pro and climb stronger.
What Makes Climbing Tape Essential for Climbers
Climbing tape keeps you on the rock longer. This isn’t your average sticky roll. You tear it by hand without scissors. It grips tight through sweat but peels off clean with zero residue. Unlike stretchy KT tape or rigid athletic tape, it gives firm support that lets your fingers move. Climbers grab it for how to use climbing tape in tough spots, from rough holds to injury prevention.
Picture pro climber Alex Puccio taping her fingers before a bouldering comp. She wraps a quick strip over her pulleys. It holds as she crimps sharp edges, dodging splits and strains.
Key Differences from KT and Athletic Tape
Climbing tape fits climbing’s grip demands. Here’s how it stacks up:
| Feature | Climbing Tape | KT Tape | Athletic Tape |
|---|---|---|---|
| Tear by Hand | Yes, any direction | No, needs scissors | Often no |
| Stickiness | Grips through sweat | Less sticky, more elastic | Sticky but holds moisture |
| Residue | None | Low | Often sticky mess |
It stays put without stretch, unlike KT’s 140% give for swelling.
Main Uses for Everyday Climbs
You use it to shield skin from rough holds that cause rips and blisters. It wraps pulleys, those tough bands in your fingers that keep tendons snug to bone during hangs. A pulley tear sidelines you fast; tape reinforces them. On overhangs, it loops wrists for steady pulls.
Top Benefits Climbers Rave About
Here are the standout perks:
- Sweat-proof hold: Sticks session after session.
- Full movement: Supports without bulk or restriction.
- Quick apply: Tear and go, no tools needed.
- Clean removal: No skin irritation later.
Brands like Flashed nail this with thin 13mm rolls for precise using climbing tape for protection. You’ll climb bolder, hurt less.
Choose the Right Climbing Tape to Match Your Climb
Picking the perfect climbing tape sets you up for success. It matches your grip style, injury risks, and session length. A narrow rigid strip works wonders for finger pulleys on crimps. Wide breathable rolls protect palms during crack jams. Get this right, and you’ll learn how to use climbing tape without frustration or weak support.
Start with basics like elasticity and width. Non-elastic tape offers firm hold for injuries. Elastic versions flex for long days. Zinc oxide boosts stickiness. Breathable weaves fight sweat buildup.
Elastic vs. Non-Elastic Tape
Non-elastic tape stays put with zero give. Climbers pick it for pulley support or sharp holds. It locks fingers in place during hangs. Elastic tape stretches up to 180 percent. You gain movement for dynamic moves or wrist wraps.
Rigid non-stretch suits pulley tweaks. It prevents tendon slips. Stretchy tape fits sweaty gym sessions. Test both on easy routes first.
Narrow vs. Wide Rolls and Key Features
Narrow tape, under 1 inch wide, targets fingers. Use 0.75-inch rolls for precise pulley H-tapes. Wide tape, 1.5 inches or more, covers palms and wrists. It builds tape gloves for cracks.
Zinc oxide adhesive grips through chalk and sweat. Breathable cotton lets skin breathe. Always choose tear-by-hand rolls. They save time mid-climb.
Here’s a quick guide to match tape to your needs:
| Use | Best Type | Description | Pros | Cons |
|---|---|---|---|---|
| Finger pulleys | Narrow non-elastic | 0.75 in, zinc oxide | Firm support, easy tear | Less flex if over-applied |
| Crack palms | Wide non-elastic | 1.5 in cotton | Thick skin shield | Possible residue |
| Long sessions/wrists | Wide elastic | Stretchy synthetic | Moves with you, sweat-proof | May need scissors |
| All-around gym | Hybrid breathable | Cotton-poly blend | Versatile, clean peel | Average wet hold |
Recommendations and Trends
Grab Metolius for reliable wide cotton or Evolv Magic for sticky narrow fingers. Mueller offers value with gentle removal. Match rigid narrow to injuries. Go wide zinc for skin rips.
Look ahead to residue-free adhesives in 2026. They pair with moisture-wicking weaves for humid crags. Stock tear-by-hand options now. Your hands will thank you on every send.
Step-by-Step Ways to Wrap Climbing Tape on Fingers and Wrists
Ready to tape up? First, prep your skin right. Wash hands with soap and dry them fully. Wipe with rubbing alcohol for max stick. Skip lotion or chalk dust. Cut or tear tape strips ahead, about 4 to 6 inches for fingers. Keep your finger bent at a slight crimp angle, around 60 degrees. Tape snug, not tight. Press your nail; color should return in two seconds. This setup lets you learn how to use climbing tape without slips or pain.
These methods target pulleys, those bands that hold tendons close to bone. Middle and ring fingers take the most hits on crimps. A2 pulleys, right over the first knuckle, tear easiest.
The H-Tape Method: Top Choice for Pulley Injuries
H-tape shines for pulley tweaks. Studies like Schöffl’s 2007 work show it cuts bowstringing, where tendons pull away from bone, by 16 percent. Grip strength jumps 13 percent too. It beats full wraps by pulling tendons snug without bulk.
Grab stiff non-elastic tape, 0.75-inch wide. Here’s how:
- Tear a 4- to 6-inch strip. Fold each end lengthwise halfway up, stopping at the center to leave a 1-inch flat bridge.
- Place the bridge flat on the finger’s inside, over the A2 pulley near your first joint. Keep the finger bent.
- Wrap the two lower legs around the base below the joint. Cross them slightly for hold.
- Pull the two upper legs around the section above the joint. They meet at the back.
- Anchor with a small loop of tape at the base or a thin figure-8 overwrap.
Picture it side-on: an H shape locks the pulley. Test by bending; it supports but flexes. Re-tape often as it stretches. Use this for rehab, not prevention per newer cadaver tests.
Figure-8 and X-Tape Wraps for Everyday Support
Need all-day hold without H-tape’s focus? Grab figure-8 or X-tape for general crimps and slabs. Figure-8 loops smooth over joints for even pressure. X-tape crosses right on the pulley for quick stability. Pick these over H-tape when no injury strikes; they allow full bend with less pinpoint fix.
Start with a 10- to 15-inch strip of rigid tape. For figure-8:
- Anchor below the joint with one wrap.
- Cross up over the joint at an angle.
- Loop around the upper section twice, half-overlapping.
- Cross back down the other way.
- Secure below with a final wrap.
X-tape skips the loops: Just cross over the pulley from base to tip, then reverse for the X. Press firm. Pros include balanced support that fights skin splits and minor strains. It moves with you better than full covers. Great for gym sessions.
Full Finger and Wrist Wraps for Extra Protection
Go full wrap for crack jams or steep overhangs. It shields the whole finger but dulls feel, so save it for rough days. Wrist wraps add pull power without bulk.
For full finger, use wide tape:
- Start at the tip. Spiral down with half-overlaps to the base.
- Keep tension even; two to three layers max.
- Finish with an anchor loop.
Limits crimp sharpness, so test on warm-ups.
Wrist steps need 1.5-inch tape after fingers:
- Anchor at palm base with one wrap.
- Cross diagonally over the hand’s back.
- Loop the wrist two to three times, snug and overlapping.
- Cross back to palm and secure.
This steadies your pull on roofs. Always check circulation. These builds let you push harder safely.
Avoid These Pitfalls and Follow Pro Tips for Safe Taping
You nail the H-tape or figure-8 wrap, but one slip turns solid support into a mess. Climbers mess up taping all the time. Too-tight wraps cut blood flow. Wrong tape peels off mid-send. Spot these pitfalls early, and you’ll master how to use climbing tape without downtime. Follow these fixes and tips to keep your hands strong.
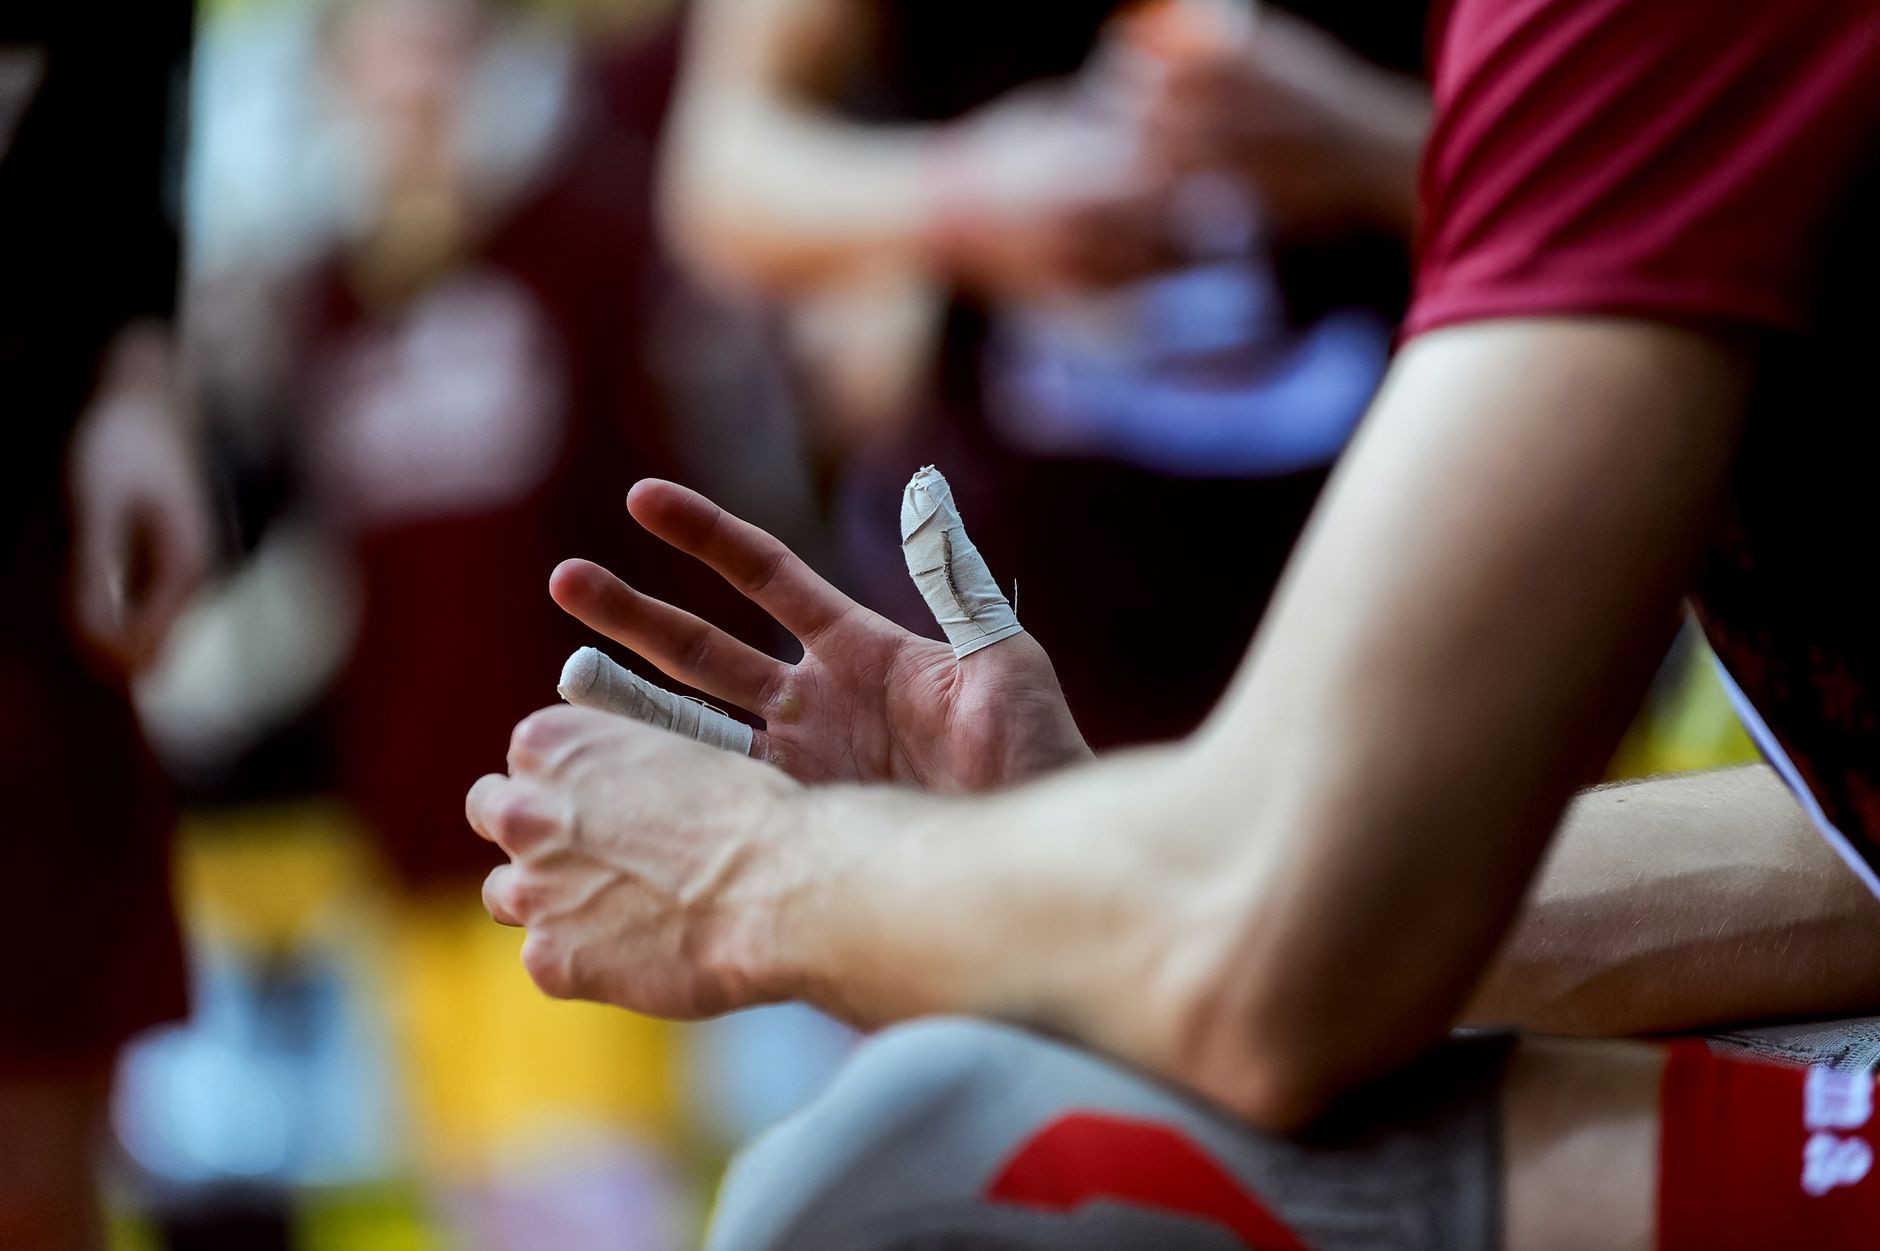
Photo by Dmitrii Eremin
Common Mistakes and How to Dodge Them
Start with clean, dry skin. Dirty hands or sweat kill adhesion fast. Tape slips right off rough holds.
Don’t tape too tight. Numbness or finger pain means poor blood flow. Check color under the nail; it should pink up quick. Wrong spot hurts too. Skip the base-up start; begin near the tip and weave down. Tape peels less that way.
Stretchy tape flops on pulleys. It slips under load. Pick rigid climbing tape instead. Over-taping adds bulk that kills grip feel. Healthy fingers don’t need it; tape only thin skin or tweaks. No anchor ends snag and pull free. Finish at the back or below the knuckle.
Wide strips limit bend. Stick to 7mm for fingers. These errors boost injury risk. Fix them, and your tape lasts.
Quick Fixes When Things Go Wrong
Catch issues fast. Here’s a rundown:
| Error | Quick Fix |
|---|---|
| Too tight (numbness) | Cut it off. Re-tape snug, like a firm handshake. Ice if sore. |
| Tape peels off | Clean skin dry. Anchor ends below knuckle. Add overlaps. |
| Wrong tape slips | Switch to sticky climbing brands like Leuko. Chalk the surface. |
| Lost grip feel | Peel bulky layers. Use thinner tape next time. |
| Pulley strain | Rest 1-2 days. Switch to X-method for support. |
Act now to save the session.
Pro Tips for Bulletproof Taping
Prep like pros. Rub alcohol wipes boost stick. Super glue flapper ends under tape for bombproof hold. Test wraps on easy routes first. Breathable tapes cut blisters in humid gyms.
New silicone rings offer pulley backup without bulk. Reuse them for long days. Pair tape with physio stretches. Rest and ice sore spots under tape. Peel off with oil to save skin.
Tape minimal. Build calluses over time. Moisturize after. You’ll climb pain-free and send harder.
Conclusion
You’ve got the tools now to master how to use climbing tape like a pro. Pick the right type, nail that H-tape for pulley support, and skip common slips like taping too tight or on dirty skin. These steps cut injury risks and let you grip harder on crimps or cracks.
Grab your tape roll and wrap up before your next session. Test an H-tape on your ring finger during warm-ups.
Climb smart and safe. Rest sore pulleys fully; tape helps but doesn’t replace recovery time. Pair it with open-hand grips and strength work for long-term gains.
Stronger hands mean more sends ahead. Tape up, stay on the wall, and crush that next project. Your fingers will hold up when it counts.
Back to Climbing Tape Review
Recommended Products for Trad Climbing
These products can support safer climbing, belaying, rappelling, and emergency readiness.
Affiliate disclosure: As an Amazon Associate, TradClimbers may earn from qualifying purchases at no additional cost to you.
Keep exploring helpful trad climbing, gear, safety, and technique resources.
- A Climber’s Guide to Rock Climbing in Thailand
- A Trad Climber’s Guide to the Isle of Skye Ridge
- Hueco Tanks Rock Climbing: hueco tanks rock climbing Essentials
- A Climber’s Guide to The Nose of El Capitan
- The Top 8 Unforgettable Climbing Routes El Capitan Has to Offer in 2026
- Yoga for Climbers: Boost Strength, Flexibility, and Recovery | yoga for climbers