

So, you’ve got a climbing rope that’s seen better days, maybe a little frayed at the ends from all those epic climbs. You’re wondering, ‘How to Cut Climbing Rope?’ It is the start of trad climbing basics to ask a. question like this. It’s not as scary as it sounds. Giving your rope a trim can actually make it last longer, which is great because ropes aren’t cheap. We’ll walk through the steps to get it done safely and properly, so you can get back to sending it without worry.
How to Cut Climbing Rope Post Key Takeaways
- Before you cut, check your rope for any damage. If it looks good, there’s no need to trim.
- Figure out where to make the cut, usually a bit past any worn or damaged spots.
- Wrap the cutting area tightly with tape and use a sharp knife for a clean cut.
- Seal the new end with heat, like from a lighter, to stop it from fraying.
- Think about how the shorter length will affect the climbs you can do and if it still meets your needs.
Preparing To Cut Your Climbing Rope
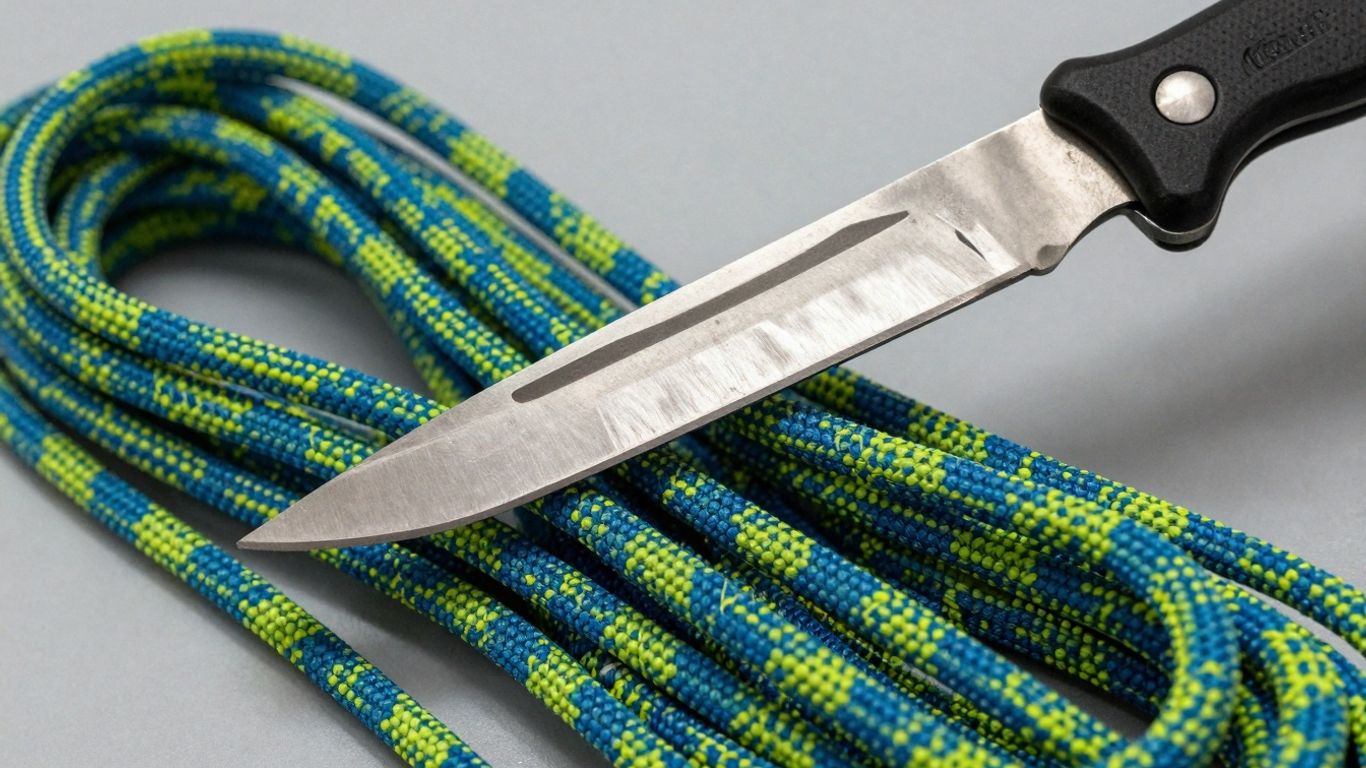
Before you grab the scissors and go to town on your climbing rope, there are a few things you really need to think about. Cutting a rope isn’t something you do on a whim; it’s usually a response to wear and tear, and you want to make sure you’re doing it right. Getting this step wrong could mean a shorter rope life or, worse, a safety issue. So, let’s break down how to get ready for the chop.
Inspect Your Rope For Damage
This is the most important part. You don’t want to cut a perfectly good rope just because you’re bored. Take a good, long look at your rope. Run your hands over the entire length, paying close attention to the ends, as these usually take the most abuse. Make sure to check your shoes and this article I wrote on the rock climbing shoes for beginners Look for:
- Sheath damage: Any fuzziness, bald spots, or cuts in the outer sheath.
- Core issues: Squishy or stiff sections, or areas that feel like they’ve lost their structure.
- Flat spots: These can indicate a significant impact or fall.
If you find any of these problems, especially near the ends, it’s a good sign that it’s time to trim. If the rope looks and feels solid, then you probably don’t need to cut it at all.
Determine The Ideal Cutting Point
Once you’ve decided where the damage ends and the good rope begins, you need to pick your cut line. A good rule of thumb is to cut about a foot or so beyond the visible damage. This gives you a buffer zone. You’re essentially trying to salvage as much usable rope as possible while removing the compromised section. Keep in mind that the ends of the rope are where most of the wear happens, so it’s common to trim a meter or two off each end over the rope’s life.
Gather Necessary Tools
Don’t just grab any old knife. You’ll need a few things to do this properly:
- A sharp knife: A utility knife or a dedicated rope cutter works best. A dull knife will just mash the rope.
- Tape: Finger tape, athletic tape, or even electrical tape will do. This is key for preventing the rope from unraveling.
- A heat source: A lighter or a small propane torch is needed to seal the ends.
Having these items ready before you start will make the whole process much smoother. You don’t want to be searching for tape halfway through cutting.
Remember, the goal here is to make a clean cut and then seal the ends so they don’t fray. This isn’t just about shortening the rope; it’s about maintaining its integrity for future climbs.
Executing The Cut
Alright, so you’ve prepped your rope, figured out where to make the chop, and gathered your gear. Now comes the actual cutting part. It’s not super complicated, but you want to do it right so you don’t end up with a fuzzy mess.
Secure The Rope For Cutting
First things first, you need to keep that rope from wiggling around while you’re trying to cut it. If you’re cutting off a good chunk, you can sometimes loop it over your lap and use your feet to hold each side down. This gives you a bit of tension. If you’re just trimming a little bit off the end, you might need to get a little creative. Maybe have a buddy hold it, or find a way to brace it securely. The goal is a stable rope so your cut is straight and clean.
Make A Clean Cut
This is where your sharp knife or, ideally, a hot knife comes into play. If you’re using a regular knife, make sure it’s really sharp. You don’t want to be hacking away at the rope. Saw back and forth gently rather than just pressing down hard. If you’ve taped the area really well, the tape acts as a guide and helps prevent the fibers from splaying out too much before you even get to the sealing part. Some folks even pre-melt the spot a tiny bit with a lighter before cutting, especially for thinner cords, to make the cut smoother.
Seal The Rope Ends
Once you’ve made the cut, it’s time to stop that end from unraveling. The best way to do this is with heat. If you taped the rope before cutting, leave the tape on for now. Hold a lighter or a small flame source to the cut end. The heat will melt the synthetic fibers, fusing them together. Be careful not to hold the flame too close or for too long, or you could end up with a burnt, brittle end. You’re just looking to melt and seal, not incinerate.
Some people prefer to use a specialized hot knife tool for this. It’s designed to cut and seal simultaneously, giving a really neat finish. If you plan on cutting ropes often, it might be worth looking into. Otherwise, a steady hand with a sharp knife and a lighter will do the trick.
Finishing Touches And Considerations
Allow The Ends To Cool
After you’ve sealed the ends of your rope, it’s really important to let them cool down completely. Trying to handle a hot, freshly sealed end can lead to burns, and you might accidentally melt the rope further than you intended. Just give it some time. Patience here prevents future problems.
Remove Or Keep The Tape
Once the ends are cool, you’ll need to decide what to do with the tape you used. Sometimes, peeling it off reveals a neat, sealed end. Other times, the tape might be stuck on pretty good or even melted into the fibers. If it’s clean and doesn’t interfere with anything, leaving it on can add a bit of extra protection. If it’s messy or looks like it might snag, carefully remove it.
For synthetic ropes, especially those made with materials like Dyneema or aramid, using a bit of adhesive tape and then applying a thin layer of cyanoacrylate glue (super glue) can create a really solid, stiff end. This method helps bind the fibers effectively.
Record Rope Length Changes
This is a big one that a lot of people forget. You absolutely must document any changes made to your climbing rope. This includes noting the date you cut it, how much length you removed, and the new total length. This information is vital for safety and for tracking the rope’s history. If you ever need to sell it or have it inspected, having this record is key. It’s also good practice to update any tags or labels on the rope itself to reflect its new length and the date of modification. Think of it like updating the mileage on a car, it’s part of its service history.
Alternative Methods For Cutting
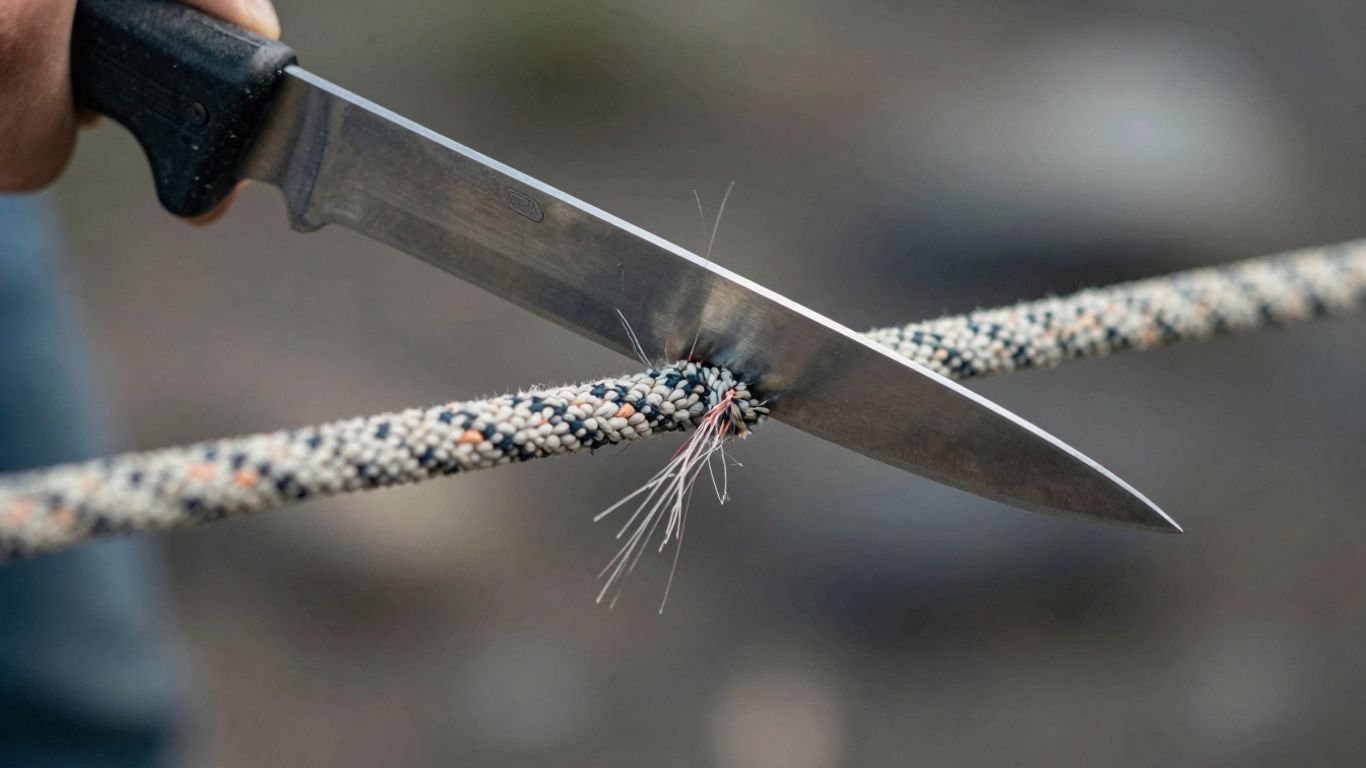
Sometimes, you might not have the ideal setup or a super sharp knife handy. That’s where a few alternative methods come into play for cutting your climbing rope. While a sharp knife is generally recommended, these options can work in a pinch, especially if you’re careful. You may also want to check out this post I wrote on the benefits campus board training.
Using A Hot Knife
A hot knife, specifically designed for cutting synthetic materials, is a fantastic tool for this job. It essentially melts through the rope, sealing the ends as it cuts. This prevents fraying right from the start. You can buy one of these tools if you anticipate cutting ropes often, or you might be surprised to find that many climbing gyms or even hardware stores will do it for you for free.
They have the right equipment and know-how. If you decide to buy one, even a basic model should handle a climbing rope without much fuss. The process involves heating the blade and then pressing it through the rope. It’s pretty straightforward, and the result is usually very clean.
- Melt and Seal: The primary benefit is that it seals the ends automatically.
- Clean Cut: Generally produces a neater finish than a manual knife.
- Efficiency: It’s a quick way to get the job done.
If you’re dealing with ropes made of mixed materials, like a polyamide sheath and a polyester core, things can get a bit trickier. These materials don’t always melt together nicely. In such cases, a technique involving making two perpendicular cuts with the hot knife can help create a better bond once the material cools. You’d make one cut, rotate the rope 90 degrees, and make another cut in the same melted area. This helps the fibers interlock better.
Seeking Professional Assistance
Honestly, if you’re unsure about cutting your rope, or if you just want the cleanest possible result without the hassle, taking it to a professional is a great idea. Many climbing gyms and outdoor gear shops have staff who are experienced with cutting ropes. They often have specialized hot knives and can do it for you, sometimes even for free.
It’s a good way to ensure the job is done right, especially if you’re cutting off a significant length or if the rope is particularly tricky to manage. You can always ask them to cut your rope for you. It saves you the guesswork and potential mistakes. Just make sure you know exactly where you want the cut to be before you hand it over. Remember to also note the new length for your records; keeping track of your rope’s specifications is important for future use.
Understanding Rope Length Implications
So, you’ve decided to trim your climbing rope. That’s a pretty common thing to do, especially if the ends have seen better days. But before you grab those scissors, let’s talk about what this means for your climbing.
Assess Route Requirements
The most important thing to consider is where you actually climb. If you’re mostly hitting up local crags with routes around 20-30 meters, cutting a few meters off your 70m rope probably won’t make a huge difference. However, if you ever plan on climbing longer routes, or even just want the flexibility to explore different areas, you need to be mindful of your rope’s new maximum length.
A 60-meter rope is generally adequate for most climbing situations, but always check the specifics of the routes you intend to climb. You don’t want to get to the base of a climb and realize you don’t have enough rope to safely rappel. It’s a bummer, and frankly, a bit dangerous.
Consider Future Needs
Think about how your climbing might evolve. Maybe you’ll get into multi-pitch climbing, or perhaps you’ll travel to areas known for longer pitches. A longer rope offers more options. If you’re cutting off a significant chunk, you might be limiting your future adventures. It’s a trade-off between having a pristine, shorter rope and retaining the versatility of a longer one. Sometimes, those extra meters are the difference between a safe descent and a tricky situation.
Gym Rope Sharing
Cutting a rope can also be a smart move if you and a friend want to split the cost of a new, longer rope for gym use. Buying a 70-meter rope and cutting it in half can give you both a perfectly usable 35-meter rope, which is plenty for most indoor walls. This way, you both save money and get a rope tailored for that specific environment. Just make sure you both agree on the length and are comfortable with the resulting shorter ropes. It’s a practical way to manage costs and equipment for gym climbing.
Remember, once you cut a rope, there’s no going back. It’s a permanent change to its length and, therefore, its capabilities. Always err on the side of caution and consider all potential uses before making the cut.
Wrapping It Up
So, there you have it. Cutting your climbing rope might seem a little daunting at first, but with the right steps, it’s totally doable. Whether you use a sharp knife and a flame or invest in a hot knife, the goal is a clean, sealed end.
Remember to always check your rope for damage first, measure carefully, and consider how the new length will affect your climbs. If you’re not feeling up to the DIY route, don’t forget that climbing shops and gyms can often do this for you. Now go ahead, give that rope a trim, and get back to climbing safely. Be sure to check out our trad climbing gear guide for more helpful information.
Frequently Asked Questions
Why would I cut my climbing rope?
Climbing ropes get worn out, especially at the ends, from lots of use and falls. Cutting off the damaged parts can make your rope usable again for longer. It’s like giving your rope a fresh start!
What do I need to cut a climbing rope?
You’ll need a super sharp knife or scissors, some strong tape (like athletic tape or electrical tape), and a lighter or another heat source to seal the ends. A special tool called a hot knife works great too!
How do I make sure the cut is safe?
The most important thing is to seal the ends with heat after cutting. This melts the rope fibers together so they don’t unravel. Always make sure the rope isn’t in use when you cut it, and if you’re unsure, ask a pro at a climbing gym or gear shop.
What happens if I cut my rope too short?
If you cut off too much, your rope might be too short for some climbing routes. Always check the length of the routes you plan to climb and think about future needs before you make the cut. It’s better to have a little extra rope than not enough!
Can I just use any knife to cut my rope?
It’s best to use a very sharp knife or scissors for a clean cut. A dull tool can squish the rope instead of cutting it, making it harder to seal the ends properly. A hot knife is ideal because it cuts and seals at the same time.
Where can I get my rope cut if I don’t want to do it myself?
Many climbing gyms and outdoor gear stores have tools like hot knives and can cut your rope for you, often for free or a small fee. They know how to do it safely and make sure the ends are sealed correctly.
Recommended Climbing Rope Equipment
These products match the equipment and gear topics covered in this article.
Affiliate disclosure: As an Amazon Associate, TradClimbers may earn from qualifying purchases at no additional cost to you.
Keep exploring helpful trad climbing, gear, safety, and technique resources.