

You’ve hit a thin, shallow crack or an old pin scar. Your standard nut feels too wide or too deep. It wobbles and won’t seat right. So you skip protection there.
DMM Halfnuts fix that. They’re half the width of DMM Wallnuts. A single wire cuts weight big time. Sizes 1 to 7 weigh just 112 grams total. You get stability in spots where full nuts fail.
This guide covers what Halfnuts are and their key specs. You’ll learn where they shine, like pin scars and shallow cracks. We break down safe placement tips. Plus, real-world strength ratings and how to pick them over Wallnuts or micros. Get ready to rack lighter and climb bolder.
What DMM Halfnuts are, and what makes them different from regular nuts
DMM Halfnuts take the classic nut design and slice it in half. Think of them as half a Wallnut. They keep the familiar tapered shape but cut the width down the middle. This lets you place them in spots too shallow or narrow for regular nuts. You get solid holds in pin scars or flared seams without the bulk.
The single thin wire on sizes 1 through 7 keeps things light and easy to fiddle in at odd angles. Larger sizes 8 to 11 switch to dual thinner wires with hollow bodies for even less weight. Colors match Wallnuts too, so you grab the right size fast on the wall. These changes mean DMM Halfnuts slip into tight constrictions where others flop.
The design basics: half-width head, familiar Wallnut shape
That half-width head changes everything for tricky spots. Regular nuts often tip out in pin scars or sit loose on flared edges. DMM Halfnuts hug those shallow areas tight. Their tapered faces and sides cam into place like a mini wedge.
You push them in, and they grip without walking. The Wallnut-like profile adds stability, even with less width. So they hold firm in seams where full nuts wobble. Climbers love this for limestone cracks or slate runs.
In short, the narrow build targets places others miss. It reduces drag too, since less metal rubs the rock.
Materials and build details that affect real placements
DMM picks alloys smartly for each size. Smaller ones, sizes 1 to 4, use harder metal. This fights shearing in tough rock, so they last longer under force.
Larger sizes 5 to 11 get softer alloy. It bites rock better and molds to rough spots. As a result, you get reliable seats without slipping.
Weight tricks help too. Size 7 has scooped faces to drop grams. Bigger ones feature hollow shapes and thin wires. All this means your rack stays light, but protection stays strong. For example, the full set 1 to 11 weighs just 350 grams.
These choices tie straight to better runs on the crag.
Strength ratings in plain English (and why 4 to 6 kN matters)
DMM Halfnuts pull 4 kN on the tiniest size 1. Most others hit 6 kN. These numbers suit small protection, not bomber deep cracks. So they back up your lead in thin features, but pair them with bigger gear.
Placement rules here. A perfect seat in good rock beats raw strength. Think about pull direction, rope drag, and the full system. Bad angles drop ratings fast.
Always check DMM specs and local guides. Test pulls feel solid, but numbers guide your choices. In the end, quality spots make 4 to 6 kN plenty for runouts.
Where DMM Halfnuts shine on real routes
You climb a classic Gunks route like High Exposure. Pin scars dot the rock. Shallow seams pinch thin. Standard nuts skip those spots. DMM Halfnuts change that. They fit where others fail. So you protect runouts better. These nuts expand your options on routes with tricky cracks. Plus, they add little weight to long trad or alpine racks.
Shallow cracks, pin scars, and thin constrictions
Shallow means the nut sits flush, not deep. Contact points hug the edges. Full nuts rock there because they need more depth. DMM Halfnuts settle firm. Their narrow width grabs without wobble.
Picture a thin seam on Seneca Rocks. It takes a Halfnut size 3. A full-size stopper bounces out. Or try an old piton scar on Devil’s Lake quartzite. The scar flares wide at the top but drops shallow. You slot in a Halfnut size 5. It cams tight on three sides.
In short, these spots demand narrow gear. Halfnuts deliver.
When the crack is awkward: flares, pods, and placements that want to tip
Flares widen out. Pods curve funny. Normal nuts pivot and tip. DMM Halfnuts fight back. The taper finds subtle constrictions. Narrow width lets you twist for stability.
You hit a flared seam on Directississima at the Gunks. Pull straight down. A Halfnut size 4 bites the pinch. It stays put. Test the pull first. Tug the wire. Feel the hold. Rope drag walks gear loose. So clip direct. Keep angles clean.
As a result, awkward cracks turn solid. You climb confident.
Light and compact for long days: trad, alpine, and fast missions
DMM Halfnuts save 38 to 42% weight over Wallnuts. Sizes 1 to 7 total 112 grams. You carry water and layers too. Every gram counts on alpine ridges. These nuts keep your rack slim.
Pair them with a Wallnut set. You cover deep cracks plus shallow ones. No gaps. Think fast trad links or mixed alpine pushes. Rack Halfnuts 1 to 7. Add Wallnuts 5 to 11. Total weight stays low.
Therefore, long days feel lighter. You move faster.
How to place DMM Halfnuts safely, step by step
You spot a shallow pin scar or thin seam. Now place that DMM Halfnut right. Good spots make these nuts reliable. Bad ones fail fast. Follow this workflow each time. It keeps you safe on runouts. Practice on toprope first with a partner. Feel the bite before you trust them on lead.
Find the constriction first, then choose the Halfnut size
Spot the narrow point. That’s your target. Run your fingers along the crack. Feel where it pinches tightest. Pick the DMM Halfnut that fills that spot snug. It should touch rock without you forcing it in.
Colors match Wallnuts. Grab size 3’s green fast. Hold the narrow end. Slide it down from the top. The wider base stays up. Test sizes nearby if needed. Sizes 2 through 5 often work in pin scars. Small tweaks beat jamming. A slight rotation finds the fit.
In short, match the pinch. You’ll place faster and safer.
Seat it, set it, and check it: a simple placement checklist
Seat the nut deep. Then set it firm. Finally check every angle. This quick routine builds confidence. Here’s your checklist:
- Full contact on both sides. The nut hugs rock evenly. No gaps show.
- No rocking. Twist it side to side. It stays put.
- Wire straight to load. Align it down your fall line.
- Not on a tiny edge. Wide contact beats a sharp lip.
- Gentle tug sets it. Pull the wire sharp twice. Feel solid bite.
Good bite grips like teeth in soft wood. It resists without slipping. Over-set by yanking hard, though. That packs dirt in. It damages soft rock too. Cleaning gets tough later
Therefore, quick checks save falls. Repeat them always.
Manage the direction of pull so the nut stays put
Rope drag kills small nuts. It twists or lifts them out. Keep pull straight down. Watch your line above and below.
Extend with an alpine draw first. That straightens the rope path. Avoid sharp bends at the nut. Clip so rope runs clean along the crack. Side loads walk gear into flares.
Even the best DMM Halfnut fails sideways. Test your setup. Tug down hard. Imagine a whipper. Adjust clips as you climb.
As a result, nuts hold through the pitch. You climb steady.
Common mistakes: shallow but not secure, wrong orientation, and overconfidence
Everyone slips up at first. Spot these errors quick. Fix them on sight. You’ll rack up solid pro.
- Skip DMM Halfnuts if a deeper Wallnut fits. Go bigger when you can.
- Avoid flares without a pinch. No constriction means no hold.
- Ditch tiny contact points. They blow under load.
- Check fall line always. Wrong angle dooms good nuts.
- Don’t call 4 to 6 kN “bomber.” Treat them as backup gear.
These nuts shine in their spots. Practice builds skill. Stay honest with holds. Shallow pro works great when placed right.
Keep at it. Your placements improve fast.
Building a smart rack with Halfnuts: what to buy, what to pair, and who they are for
You want a rack that covers shallow cracks and pin scars without extra bulk. DMM Halfnuts fill those gaps. So pair them right with Wallnuts or micros. Start small if you’re new. Go deeper for alpine runs. In the end, your setup matches your routes. Let’s break it down.
Halfnuts vs. DMM Wallnuts: different tools, better together
Wallnuts go deep for strong holds in parallel cracks. They need space to seat full. DMM Halfnuts target shallow spots instead. Their narrow heads grab pin scars where Wallnuts sit loose. So Halfnuts add options without replacing the core set.
Colors match perfect between them. You grab green size 3 from either rack fast. No fumbling mid-pitch. Therefore, mix them easy. Rack Wallnuts 1-11 as your base. Add Halfnuts 0-6 to hit thin seams. This combo covers most trad walls. As a result, you protect runouts better. Full nuts handle depth. Halfnuts own the shallow game.
Halfnuts vs. micro nuts and brass offsets: when each makes more sense
DMM Halfnuts shine in shallow, stable placements. Their taper bites like a familiar nut. You get quick seats in narrow cracks on granite or lime. Micro nuts fit very thin seams first. Brass offsets squeeze into tiny, irregular pods. So pick micros for seams under size 0 Halfnut range. Use offsets where rock curves odd.
Rock type shifts choices too. Hard granite takes Halfnuts firm. Softer sandstone favors brass for bite. Small gear always wants care. Extend placements. Check contact points. Halfnuts often win for speed in scars. Micros save you in super-tight spots. In short, build overlap. Rack a few of each. Then test on your local crags.
What set to start with, and how to place them on your harness
New trad leaders pick a small DMM Halfnuts set first. Grab one each of sizes 0-6. That’s eight pieces for pin scars on 5.8 routes. Add Wallnuts 1-8. Toss in four brass offsets sizes 2-5. Total passives stay under 30. Practice placements build skill fast.
Experienced climbers double up. Take two each of Halfnuts 2-6, plus one 7-9. Pair with full Wallnuts 1-11, doubled 4-7. Micros 00-7 round it out. You handle flares and runouts on multipitch.
Alpine folks go light. Double Halfnuts 0-5 for granite cracks. Skip big nuts. Add small Wallnuts 1-9 and micros 00-4. Weight drops low for ridges.
Here’s a quick rack guide by climber type:
| Gear Type | New Leaders | Experienced Leaders | Alpine Climbers |
|---|---|---|---|
| Halfnuts | 1x 0-6 (8 total) | Double 2-6 + 1x 7-9 (12-14) | Double 0-5 (10 total) |
| Wallnuts | 1x 1-8 (8 total) | 1x 1-11 + double 4-7 (14) | 1x 1-9 (9 total) |
| Micro Nuts | 1x 00-5 (6) | 1x 00-7 (8) | 1x 00-4 (5) |
| Brass Offsets | 4 (2-5) | 6-8 (double mediums) | 4 small (0-4) |
| Total Passives | 26 pieces | 40-45 pieces | 28 pieces |
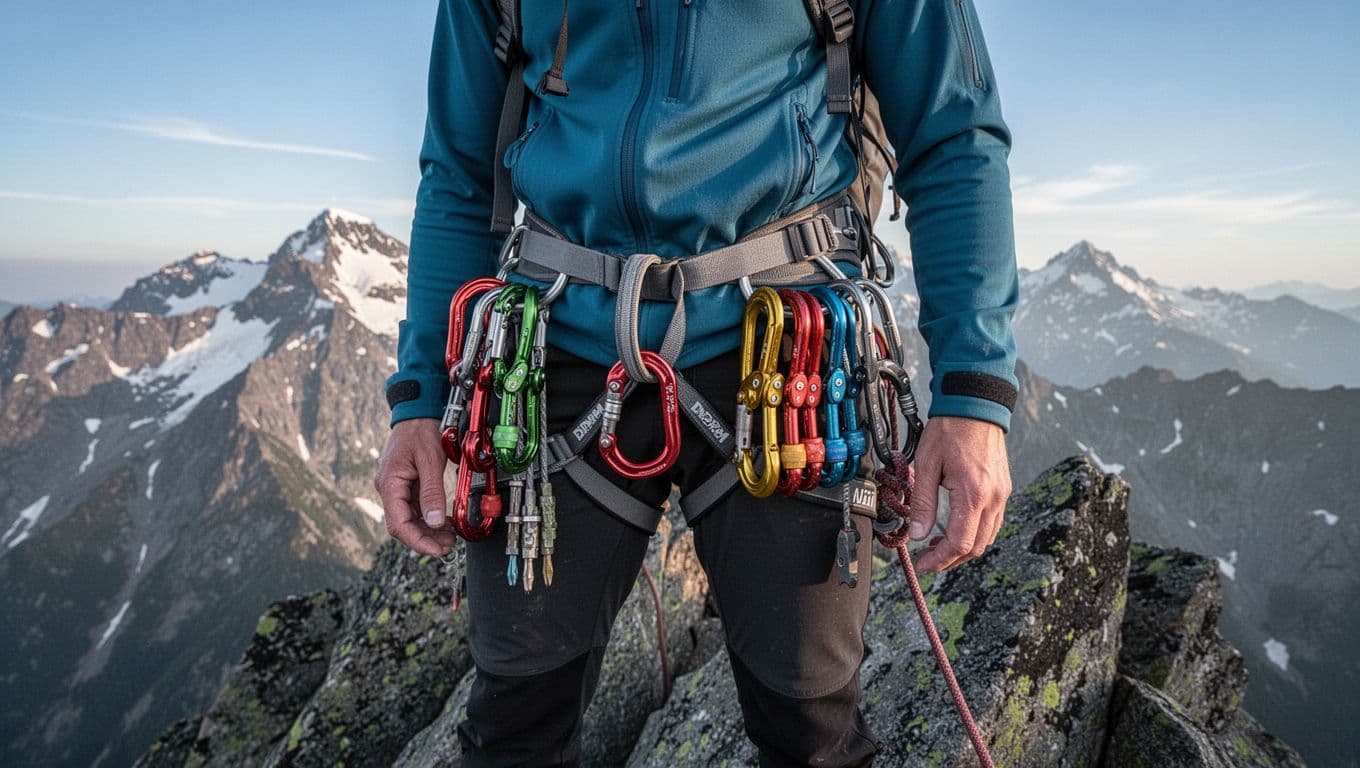
Rack smart on your harness. Group Halfnuts by color range on one loop. Small left, big right. Keep them apart from full Wallnuts. No mix-ups. Use wiregate ‘biners. Clip loose for pulls. Add a nut tool. Most climbers skip the tiniest sizes often. So double mediums instead.
Conclusion
DMM Halfnuts fill a key gap on your rack. They target pin scars, thin constrictions, and awkward shallow cracks where full nuts fail. So you protect those runouts better. Their narrow design and 38% weight savings make long trad or alpine days easier. However, they don’t replace Wallnuts. Pair them for full coverage.
Great placements matter most with small gear. Always seat them snug, check for rock, and manage rope drag. Climbers report these nuts become rack staples, especially on limestone or slate. They grip spots others skip. Strength ratings of 4 to 6 kN hold up fine in good rock.
Grab a small set of DMM Halfnuts today. Test them on familiar routes first. Practice placements toprope style. Then build your rack around the crags you hit. You’ll climb lighter and bolder.
Back to Climbing Nut Reviews
Recommended Climbing Products
These products match the equipment and gear topics covered in this article.
Affiliate disclosure: As an Amazon Associate, TradClimbers may earn from qualifying purchases at no additional cost to you.
Keep exploring helpful trad climbing, gear, safety, and technique resources.
- A Climber’s Guide to Rock Climbing in Thailand
- A Trad Climber’s Guide to the Isle of Skye Ridge
- Hueco Tanks Rock Climbing: hueco tanks rock climbing Essentials
- A Climber’s Guide to The Nose of El Capitan
- The Top 8 Unforgettable Climbing Routes El Capitan Has to Offer in 2026
- Yoga for Climbers: Boost Strength, Flexibility, and Recovery | yoga for climbers