
Trad Rack Organization Tips (Harness Layouts and Quick Resets)
You’re mid-pitch, pumped and breathing hard. You need that perfect cam now, but your gear jangles in a tangle. A messy rack costs time, energy, and maybe the send.
Trad rack organization tips fix this fast. It means assigning each piece a spot on your harness loops, from small nuts upfront to big cams in back. This setup keeps you balanced and lets you grab gear without looking.
Pick one simple system that fits most routes. Stay consistent, and practice resets at home until it’s automatic. You’ll climb smoother, safer, and with less stress.
In this post, you’ll get proven layouts for single-pitch or multi-pitch days. Plus quick ways to rack nuts, cams, and draws. These tips draw from real climbers and work in 2026 cracks just like today’s.
Start with a simple trad rack system you can repeat every pitch
Consistency beats any “perfect” setup every time. You might tweak layouts for offwidths or slabs later, but stick to one baseline system first. It builds muscle memory so you grab gear fast without thinking. This approach saves energy on long routes and cuts fumbling when pumped. Most climbers rack the same way pitch after pitch, and you can too.
Start with this default layout on a standard harness with four gear loops (two front, two back). Put your most-used pieces upfront for quick right- or left-hand grabs. Stash bulky items in back to keep your hips balanced. Small nuts and cams go front left or right; big cams hide in back. Quickdraws stay accessible but out of the way.
Default harness layout: small to large, front to back
Picture your harness loops like this: front left for tiny stoppers, front right for small cams and draws, back left for midsize gear, back right for monsters and extras.
Here’s the logic in action. You reach cruxes with fingertips in thin cracks, so keep #0 to #1 cams and small nuts upfront. Larger pieces ( #2 and up) sit back; they weigh more and see less action early. Personal gear like a belay device or snacks goes rear to avoid snags.
Try this example rack for a 5.10 crack:
- Front left loop: 4 small nuts (#4-7), 2 micro cams (e.g., Black Diamond 00/0), 2 offset nuts.
- Front right loop: 4 small cams (#0.5-1), 4 quickdraws, 2 alpine draws.
- Back left loop: 4 medium cams (#1.5-2), 2 hexes (#4-5).
- Back right loop: 3 large cams (#3-4), extra slings, headlamp.
This setup mirrors setups many pros use. For visuals on similar racks, see How to Rack Trad Gear.
Do a quick pre-climb check before each pitch. Spin slowly in the belay. Scan loops left to right: count cams by size, nuts by set, draws by type. Touch each piece. Takes 10 seconds but spots missing #2s before you stem 20 feet up.
Pick a sorting rule and never break it (size, type, or side)
Choose one rule and lock it in. Mix them mid-route, and chaos hits. Climbers swear by these three:
- Size order: Smallest left, largest right. Grabs flow naturally as cracks widen.
- Type split: Cams left side, nuts and passive pro right. No hunting across hips.
- Brand or color: Match cams to carabiner colors (e.g., all BD C4s on red bins). Speeds ID when tired.
On multipitch, match your partner’s rule. Rack cams on your left if they do too. Swaps at belays stay smooth; no “wait, where’s your #3?” delays.
Commit to your pick. Practice at home on a hangboard. After 10 reps, it feels automatic.
Do a 30-second “reset” at every belay or stance
Belays wreck racks. Gear tumbles during swaps or lowers. Fix it with this routine every stance.
- Return each used piece to its home loop. That #1 cam goes front right, always.
- Re-stack cams lobes-in, triggers out for silent clips.
- Group nuts by size; bundle sets with a thin cord if needed.
- Count essentials: 8 draws? 12 cams? Verbalize to your partner.
This kills the mid-pitch panic of “where’s my purple cam?” Resets take 30 seconds max but keep you dialed. On single-pitch days, do it ground-side too. Repeat every pitch, and your rack stays battle-ready.
Stick here first. Tweak as you gain experience, but never drop the habit. Your sends will thank you.
Organize cams, nuts, and runners so you can grab them without looking
You reach for gear mid-crux, eyes locked on the crack. A clean grab saves the pitch. Messy stacking causes nesting cams, flipping nuts, and snagging runners. These trad rack organization tips fix that. Group like sizes together. Align pieces the same way each time. Rack on front loops for speed. Practice this setup, and you’ll pull pro blindfolded.
Common tangles kill flow. Cams nest lobes-deep if stacked wrong. Nuts flip gates shut when you fumble. Runners twist and spin off biners. Simple rules end these issues. Keep stacks low. Face pieces outward. Use one spot per size. Your hands find gear fast, every pitch.
Cams: one size per spot, and stack them the same way every time
Stack cams on one gear loop per size. Align handles tight. Point lobes the same direction, usually inward toward your body. This stops nesting and lets triggers pull free clean.
Put small cams forward on the loop. They see action first in thin cracks. Slide bigger cams to the back. Weight stays low, balance holds. Over-stack, and you’ll fight to unclip one without dumping the rest. Limit to four or five per spot.
Doubles demand consistency. Split them left loop for one set, right for the match. Or front half, back half. Pick one method and repeat. No swaps mid-route.
Here’s why it works. You know your #1 sits third from the front right. Grab, clip, go. For more on cam racking, check How to Organise Your Trad Rack.
Quick stacking steps:
- Clip the first cam handle-down, lobes in.
- Slide the next on top, same orientation.
- Repeat, but stop before the stack wobbles.
- Test pulls at home. Adjust if any bind.
This cuts seconds off placements. Less pump, more sends.
Nuts: split into small, medium, and large groups on 1-2 carabiners
Ditch the giant nut biner. One fat cluster turns quick grabs into time sinks. Split nuts into three groups: small (#3-5), medium (#6-8), large (#9+). Use one carabiner per group, or two for big sets.
Allow slight overlap between groups. Rack #5 with smalls and mediums. This covers those “in-between” cracks without hunting. Face all gates the same way, outward for thumb flips. Place the whole setup on a front loop. Right hand pulls easy.
Flipping nuts snag wires and waste energy. Aligned gates prevent that. A front spot beats back loops; you access mids without twisting.
Try this for a standard rack:
- Small biner (front left): #3-6, plus offsets.
- Medium biner (front right): #5-9.
- Large biner (back left, if needed): #8 and up.
One climber’s setup from Trail and Crag matches this flow. Count pieces quick during resets. You’ll spot gaps before they bite.
Quickdraws and alpine draws: reduce clutter and stop spinning
Rack quickdraws on front right, two to four per loop. They clip fast cracks and face holds. Stash alpine draws (six-inch or longer) on back loops or shoulders. Save them for wandering lines or roofs.
Start with six to eight total draws for most trad pitches. Four short ones lead, four extenders follow. Too many clutter hips and swing wild.
Spinning biners flip draws useless mid-clip. Fix with captive setups. Loop rubber bands on the rope-end biner. Or tape triggers parallel. Rubber keepers work best; they grip without bulk.
Clip in order: shortest first from the anchor. Keep two long alpine draws upfront. Reach them without pause for runouts.
Anti-spin tips:
- Rubber band: Stretch over both biners, twist once.
- Tape: Single wrap at the bend.
- Always test: Yank hard pre-climb.
Runners snag less when grouped. No more mid-pitch spins or lost draws. Your rack flows smooth, pitch after pitch.
Dial in carabiners, gates, and clip habits to prevent snags and mistakes
Small tweaks to your carabiners and clips make a big difference in trad climbing. You avoid snags that waste time or drop gear. These trad rack organization tips keep your rack safe and smooth. Focus on gate direction, loop crowding, and drop-proof habits. They cut mistakes on lead or when cleaning.
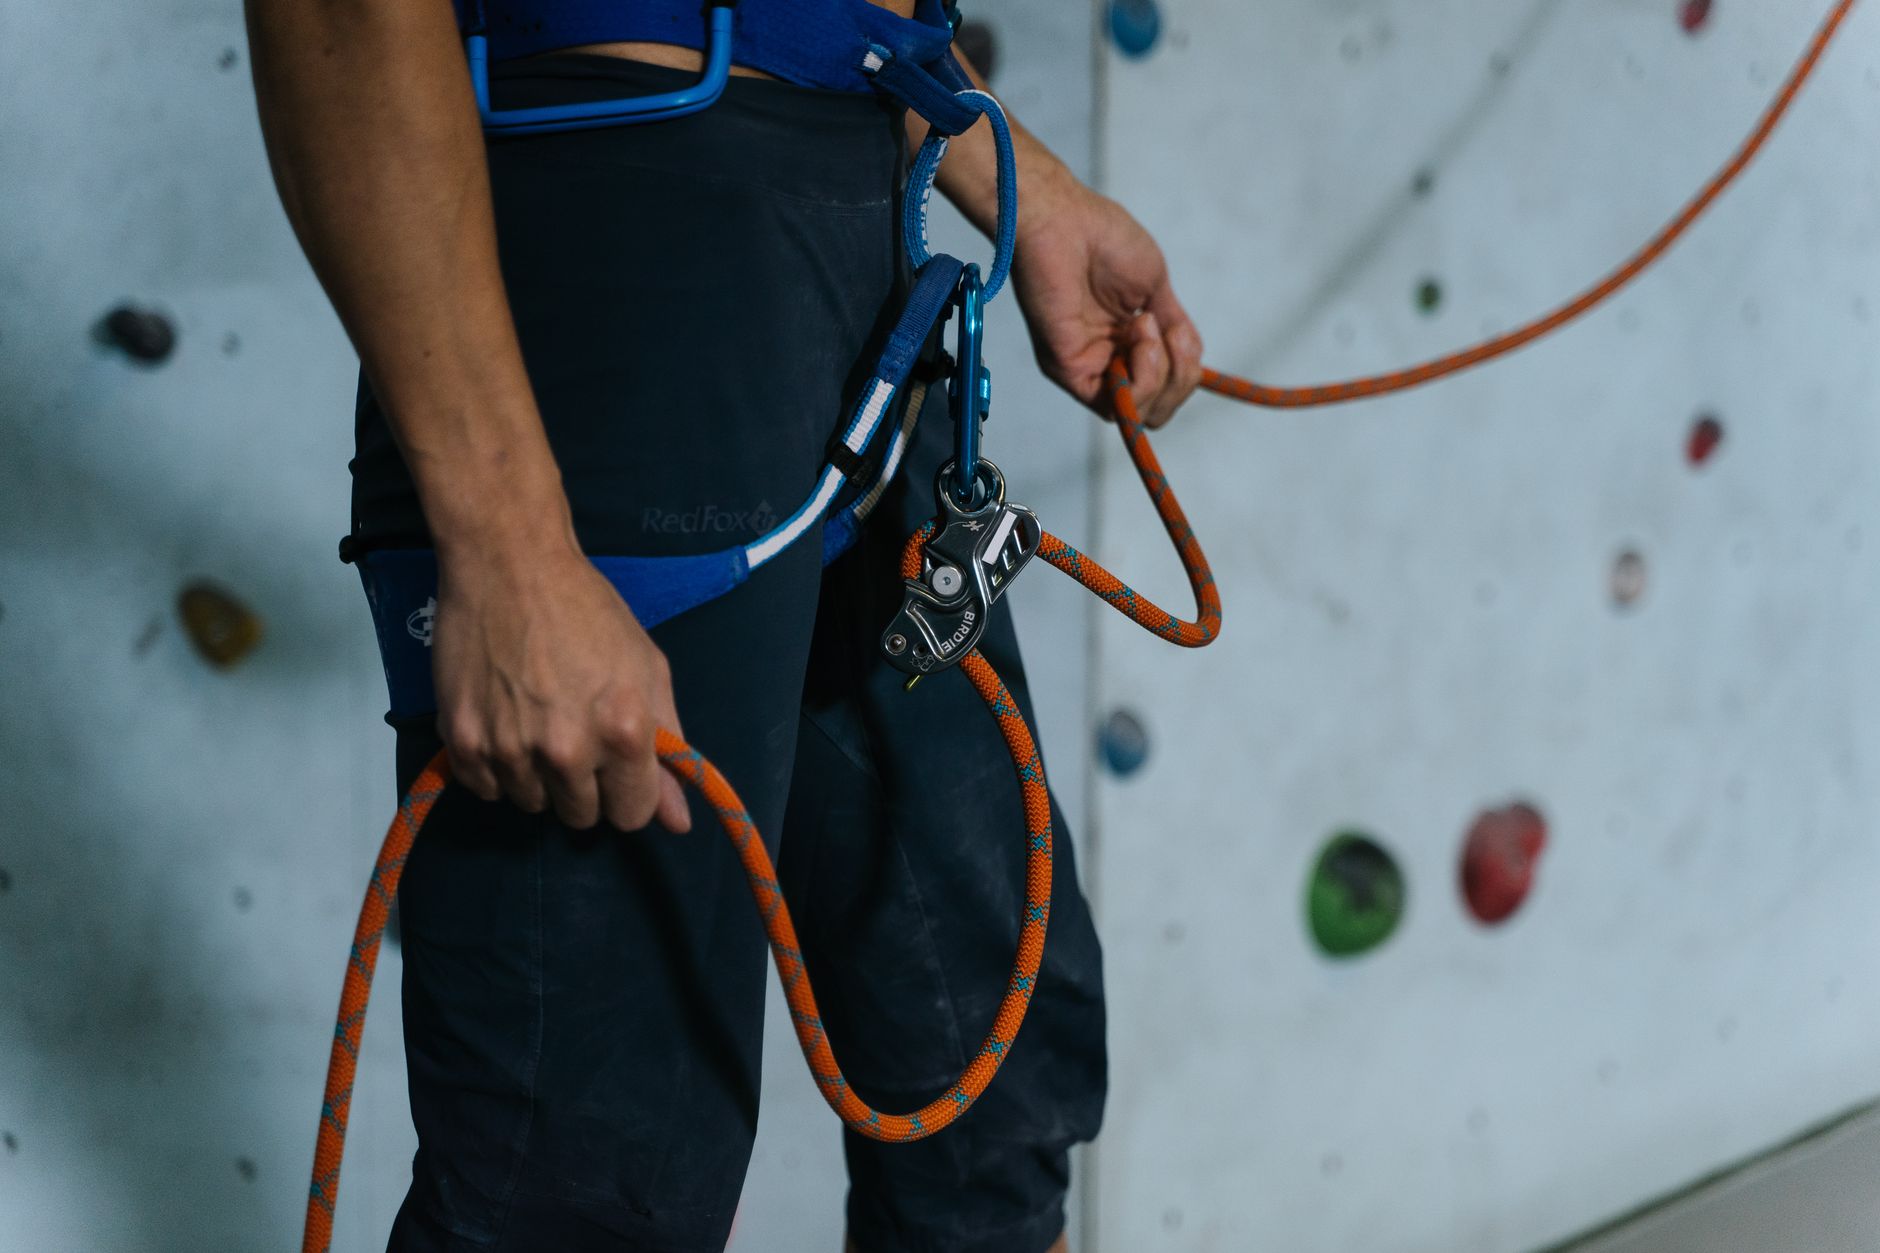
Photo by cottonbro studio
Face all gates the same way, and match your partner on multipitch
Point every gate in or out. Pick one direction and stick to it on all biners. This setup stops crossed clips that jam your draws or pro.
You grab gear faster without fumbling twisted gates. Handoffs at belays stay quick; no sorting mixed orientations. On multipitch, match your partner. If they face gates out, you do too. Gear swaps flow without mix-ups.
Rule of thumb: All gates in (toward your body) works for most. Or all out. The choice matters less than consistency. Test it on your next single-pitch day. You’ll feel the speed gain right away.
Avoid cross-loading and gate interference on crowded loops
Too much gear on one loop causes trouble. Gates push against each other. Biners twist under load. This leads to cross-loading, where force hits the carabiner spine instead of the strong basket. Strength drops fast; failure risks rise.
Picture this: You lead a 5.10 dihedral. Your front right loop holds four cams, nuts, and three draws. At the crux, a cam snags a gate. You yank hard. The biner cross-loads. It holds, but close call.
Fix it simple. Spread pieces across loops. Put bulky cams or slings in back. Never clip two big cams to one small biner; gates block and spines bend. Use larger biners for heavy loads.
For more on avoiding cross-loading, see this Mountain Project discussion. Check loops before you climb. Empty feels best.
Quick fixes:
- One loop, one main gear type.
- Bulky back, slim front.
- Limit to three items per small biner.
Balance stays even. Clips stay clean.
Build a “don’t drop it” routine for placing and cleaning gear
Gear drops kill ascents. Build habits that lock it in place every time. Keep one hand on the piece until you clip it. No tossing to free hands.
Re-clip cleaned gear right away. Sort at stances, then shut every gate. Distractions hit hard: wind whips slings, rope drag pulls biners, partners shout beta. Stay focused. Your routine blocks errors.
Why bother? One drop mid-pitch means downclimb or stuck. Practice saves seconds and stress. Do it every placement and pull.
Core habits:
- Hand on gear until snapped.
- Clip removes straight home.
- Gates closed post-sort.
Run this at the crag. Watch drops vanish. Your rack runs tight, pitch after pitch. Safety wins.
Adjust your rack for the route, the grade, and the day’s goals
Your base rack works most days, but smart tweaks match the pitch ahead. Start with that consistent setup from earlier sections. Then add or drop pieces based on rock features, route length, and your push level. This keeps trad rack organization tips sharp without mess. You stay light where speed counts, loaded where falls sting.
Build from your standard single-pitch kit: doubles from #0.3 to #3 cams, a nut set, eight draws. For multipitch, double cams in key sizes. Subtract for flash attempts; add for runouts. Test changes at home. Clip gear to your harness. Climb a few moves. Feel the balance shift.
Match the rack to the rock: cracks, corners, and wandering routes
Rock dictates pro. Sustained cracks demand hand-sized cams. You place #2s and #3s nonstop, so double or triple them. Drop micro cams; they sit unused. Corners mix sizes. Pack one extra offset nut or cam per size for flaring spots.
Featured faces favor passives. Add a full nut set plus offsets. Cams play backup, so single small-to-medium units. Wandering lines build rope drag. Clip more runners or alpine draws, six to ten total. Space them every 15 feet to keep the rope straight.
These shifts prevent shortages. Climbers discuss gear needs by rock type in this Mountain Project thread. Scan the topos first. Note crack widths or face features. Rack accordingly. Your hands find the right piece fast.
Quick terrain tweaks:
- Cracks: Triple #1-3 cams; minimal nuts.
- Faces: Double nuts #4-10; single cams.
- Wanders: Ten draws; extend roof pulls.
One rack fits all with these swaps. Chaos stays out.
Light and fast vs secure and steady: choose your trade-offs on purpose
Less gear speeds you up. You move quick on moderate grades, less weight drags your arms. But stress climbs; one bad placement bites hard. More gear offers options. You bomb thin sections or flares with backups. It slows you down and tires your core.
New leaders carry extra. Pack one more cam per size, full nut set. Focus on clean placements. Breathe deep for calm clips. As you gain miles, trim duplicates. That second #4 cam rarely pulls; leave it home. Check your logbook. Note unused pieces. Ditch them next time.
Single-pitch days lean light. Drop two cams for 5.9 cracks. Multipitch needs steady. Add doubles through #4 for 600-foot pushes. Weigh your pack pre-climb. Over five pounds feels grindy. Rack forum users share rack weights for pitches in this Mountain Project discussion.
Pick your style. Flash the redpoint? Go minimal. Safe onsight? Load up. Trade-offs sharpen your edge.
When a gear sling helps, and when it gets in the way
Harness loops handle most racks clean. They keep weight low on hips, no chest bounce on slabs. Add a gear sling for 20-plus pieces or big walls. It spreads load across shoulders, frees loops for quick grabs.
Low-angle rock favors harness-only. Slings flop and snag holds. Steep multipitch suits slings. Dump extra cams there; harness stays light. Test it: Load your loops full. Unclip a mid-cam. Jammed or slow? Shift five pieces to sling.
Keep the sling tidy. Twist it flat across your chest. Clip gear parallel, no nests. A messy sling catches cracks or flips under load. Safety first: Check it pre-pitch. Loose biners drop fast.
Many rack this way, as shared in REI’s rack guide. Harness for speed days. Sling for hauls. Your choice fits the route. Balance wins every time.
Conclusion
Master these trad rack organization tips, and your pitches run smooth under pump. Stick to a simple system with small-to-large placement front to back. Group nuts on dedicated biners, stack cams one size per spot, and face gates the same way every time. Quick 30-second resets at belays keep chaos out. Tweak for cracks or faces without losing your baseline flow.
The best setups hold up when stress hits. Practice builds that trust. You’ll grab gear blind, balance your hips right, and send with less fight.
Grab your harness now. Pick one layout from this post, like front left for tiny nuts and cams. Do a dry run at home: load up, unclip 20 times, feel the rhythm. Hit your next climb. Review after pitch one: count pieces, note snags, adjust once. Repeat it pitch after pitch.
Back to Trad Climbing Skills and Techniques
Recommended Products for Trad Climbing
These products match the equipment and gear topics covered in this article.
Affiliate disclosure: As an Amazon Associate, TradClimbers may earn from qualifying purchases at no additional cost to you.