
Trad Multi Pitch Transition Tips for Faster Routes
Picture this: you’re halfway up a sunny granite wall on a classic trad multi-pitch route. Your partner arrives at the belay, but tangled ropes and fumbling gear clips eat up precious daylight. You both waste energy, sweat builds, and the summit feels farther away.
Smooth transitions change that. They save time on long routes, cut down fatigue, and boost safety so you focus on the climb, not the hassle.
This post shares trad multi pitch transition tips that work for beginners to pros. You’ll get prep steps to stay organized from the start.
Learn swing lead basics for even teams, smart rope tricks like neat flaking and clove hitches, and team tips for clear calls. Cover safe descents, common pitfalls to dodge, and practice drills on short routes. Grab these now and speed up your next adventure.
Prep Your Belay Station for Quick Transitions
You clip into the belay ledge after a solid pitch, wind whipping past as your partner juggles the rope below. A sloppy setup here turns quick swaps into time sinks. Smart prep flips that script. These trad multi pitch transition tips start with a rock-solid station. You build anchors that hold any direction, stack ropes tangle-free, and keep chatter crisp. Picture calm hands passing the rack while you fuel up, all clipped in tight. Efficiency flows from habits like these.
Build Anchors That Won’t Fail You
Strong anchors form the backbone of every belay switch. Aim for equalized, bombproof setups that share loads evenly across pieces. Place two or three nuts, cams, or bolts in solid rock. Nuts work great in cracks; cams grip flares. Add a bolt if available for extra hold.
Use a cordelette or sling to tie them together. Create a power point where all strands meet. This equalizes the load, so no single piece takes the full hit. For redundancy, back it up with a second sling or extra piece. Check each link: solid placements, no sharp edges rubbing gear.
Clip into the anchor first with locking carabiners, or screwgates. Keep them on both sides of your harness tie-in loops. Never untie from the rope until you’re secure. This guards against slips during the handoff.
Trad routes demand multi-directional anchors. Leader falls or swings can yank sideways or outward. Build in that strength. Place pieces to resist those pulls: one facing up for direct falls, others angled for traverses. Follow guidelines like SERENE for bombproof trad anchors or equalizing with slings. Test by bouncing on it lightly. It holds like a vice.
On routes like the Gunks’ classic High Exposure, these steps shine. You arrive, clip quick, and focus on the next lead.
Stack Ropes and Communicate Clearly
Rope snarls kill momentum. Stack it right to pull clean every time. Use lap coils for small stances. Drape the rope over your head or a sling off the anchor. Start with long loops if your partner leads next; they feed small coils from the top first. Flip the stack if you lead.
No ledge? Clip coils to a sling draw looped through the anchor. This keeps your space clear. Avoid figure-eights; they twist on pull. Check proper lap coil techniques to master the flow.
Yell clear calls: “Off belay!” when you take them off, then “On belay!” to confirm. Pass the rack smoothly. Unclip draws from their harness, hand them over one by one. Double-check belay devices and knots.
Grab a quick energy bar while tied in. Stuff it in your cheek, chew slow. Stay clipped the whole time. Partners sync with nods or “Rack ready?” These habits paint efficiency high on the cliff, like clockwork on Squamish granite.
Swing Lead Your Way to Faster Pitches
You’ve nailed the anchor and rope stack. Now swing lead to shave minutes off each transition. This trad multi pitch transition tip lets the second leapfrog into the lead role fast. You alternate pitches without both climbers lingering at the belay. On a 5-10 pitch route like those in the Gunks or Tuolumne Meadows, it saves 20-30 minutes per swap. Safety stays first; keep light tension on the rope at all times. Picture the rope flowing smooth as you tag-team the wall.
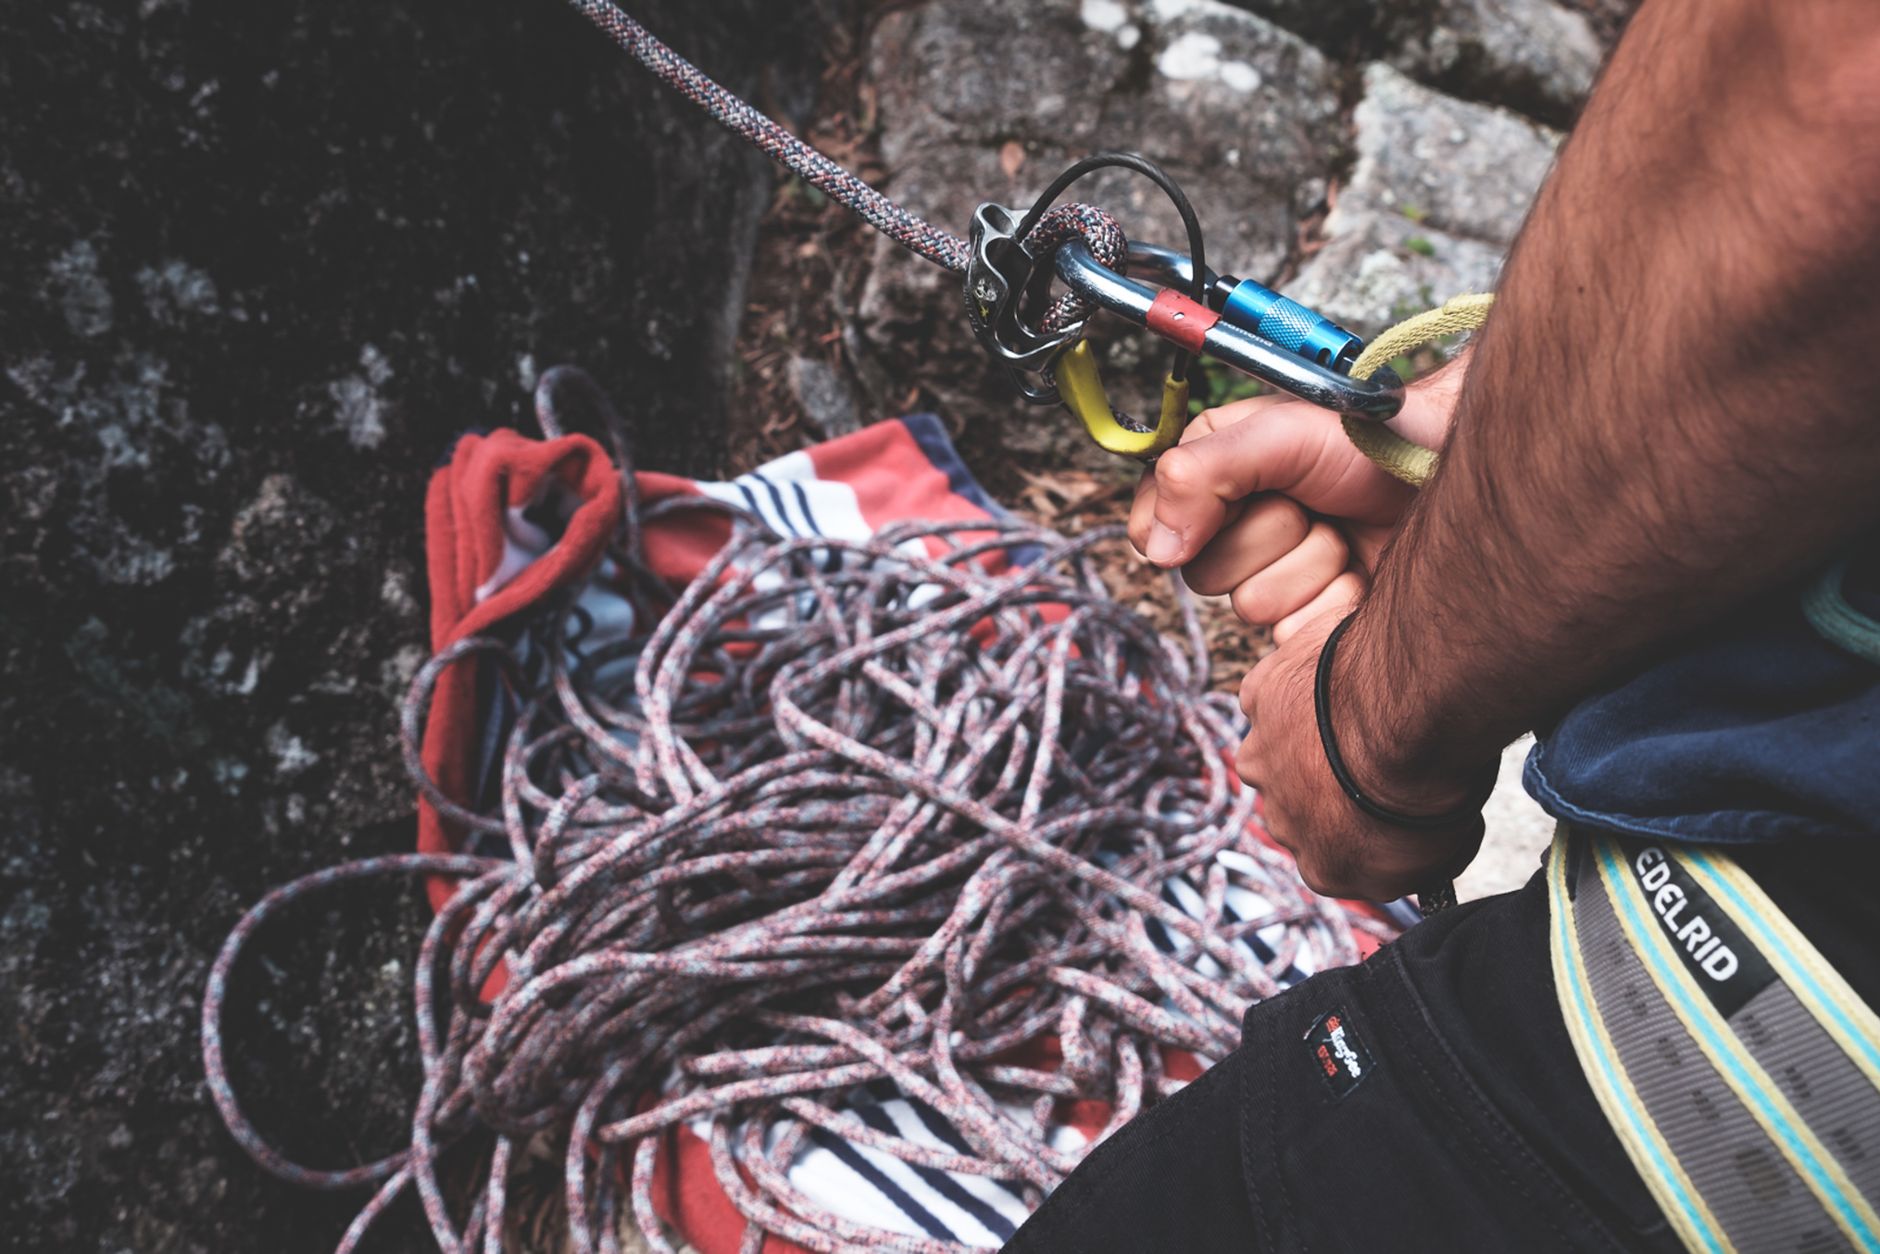
Photo by Lachlan Ross
Step-by-Step Swing for Two Climbers
Swing lead shines for pairs. The leader reaches the next anchor first and sets the stage. Follow these steps for a fluid handoff.
- Clip and belay from anchor. You build the anchor, clip in with two screwgates through your tie-in loops. Put your second on belay directly from the anchor using a hands-free setup. Tie off your GriGri or thread the rope through a screwgate carabiner on the power point. Keep slight tension; yell “On belay from anchor!” They confirm and climb up.
- Second unties safely. Your partner arrives, clips into the anchor with their own screwgates. Double-check all clips. You stay tied in until they do. Now untie your figure-eight knot. Shake out the rope ends. Hand over the rack draw by draw. They stay clipped tight.
- Stack and lead next pitch. Your partner unties their knot, stacks the rope in lap coils on their belay loop or a slung draw. Flake it neat over the back. They clip the belay device to the anchor, take you off belay (“Off belay!”), and confirm you’re on (“On belay!”). Rack up, lead out strong. You untie fully, clean the lower pitch gear as they pull rope, then follow on self-belay or lowered tension.
Visualize it: rope snakes clean through the draws, no tangles. You clip past their old pro on the way up. Check swing lead details in this multi-pitch guide for visuals.
Practice on short routes. Tension prevents slips; speed follows skill.
Adapt for Three Climbers Smoothly
Add a third climber? Rotate leads to keep pace. The middle person belays the new leader from the anchor while the last cleans the pitch below. You cycle roles: leader, middle belayer, trailer.
Start with the strongest on lead. At belay, leader clips in, hands-free belays middle up. Trailer follows last. Once all arrive, leader unties, passes rack to middle (next leader). Middle stacks rope, belays leader off the old pitch while cleaning. Trailer stays belayed by middle until clipped in.
Benefits stack up. Less rope drag since you shorten stacks between climbers. In emergencies, like a stuck rope or injury, the middle belayer handles pulls fast. Spacing keeps the team compact on ledges.
On routes like the Nose approach pitches, this cuts chaos. Assign roles upfront: “I’ll lead odd pitches.” Light tension rules all swaps. Teams hit summits fresher, safer.
Smart Rope and Gear Tricks for Clean Transitions
You’ve mastered swing leads and anchors. Now add smart rope and gear tricks to keep transitions crisp. These trad multi pitch transition tips cut drag and clutter so you flow up the rock like water over stone. Less tug means faster pulls and safer moves. Focus on straight lines and quick handoffs to shave time on long routes.
Minimize Rope Drag on Long Routes
Rope drag sneaks up on wandering pitches. It yanks your stance sideways and slows every pull. Fight it with placements that run the rope straight.
Place gear to match your path. Skip zigzags; aim pro where the line stays direct. On dihedrals or slabs, space pieces farther apart. This keeps the rope smooth from belay to top.
Extend your draws for big wins. Use alpine draws or double up slings on cams and nuts. They pull the rope away from rock edges and reduce friction. Check Petzl’s quick tips on reducing drag for spot-on technique. Place extended pieces on roofs or offsets; short draws work for tight cracks.
Flip rope ends mid-route. The fatter end drags more over pro. Swap at belays by pulling until the thin end feeds first. Yell “Flipping the rope!” to sync.
Practice these on short multi-pitch routes. Lead a three-pitch test climb. Note drag spots, then tweak placements next run. Soon, rope snakes clean, and you cruise pitches without pause.
Rack and Pass Gear Without Hassle
Heavy racks kill speed. Pack light for each pitch: six cams in key sizes, a dozen nuts, five slings, and draws. Ditch extras; clean gear stays with the second.
Organize by size on your harness. Cams clip gear loops left to right, small to large. Nuts go on shoulder slings, sorted the same way. Colors match quick grabs. See how to rack trad gear efficiently for harness setups that stick.
Pass gear mid-transition at belays. Leader clips in first, then hands pieces one by one: “Here’s the .4 cam.” Second sorts them while stacking rope. No full unclipping; momentum rolls. Practice on single-pitch leads. Carry half-rack up, simulate handoffs at top. Builds muscle memory fast.
These habits turn belays into pit stops. You rack up, lead out, and chase the summit with energy to spare.
Nail Descents and Dodge Transition Traps
You top out on a multi-pitch trad route, sun dipping low. Now the descent tests your team. Poor rappels strand you or tangle lines; sloppy belay switches drain energy. These trad multi pitch transition tips cover safe descents and key errors to avoid. Nail the rappel setup and stay sharp at swaps. You drop fast without drama.
Rappel and Lower Safely After the Top
Rappels demand precision. Use double ropes for full-pitch drops. Tie a flat overhand or double fisherman’s knot, 18 inches apart. Place the knot at half-length; pull the thin end to retrieve.
Lower the first person for speed. Clip them to the anchor. Thread both strands through your device. Brake with a prusik backup on the rope below your harness. Yell “Lowering!” and “Off rappel!” Confirm each step.
Second rappels next. Add stopper knots at ends to block strands. Check anchors twice: equalized, multi-directional. Know escape routes upfront. Study topos for walk-offs; scout them on approach.
Here is a quick step-by-step for double-rope rappels:
- Build a solid anchor with redundant pieces.
- Thread both ropes through locking carabiners at the power point.
- Tie the knot off to one side, away from sharp edges.
- Flake ropes fully; yell “Ropes ready!”
- Rappel with autoblock backup; weight it lightly.
- Pull the retrieval strand smooth; watch for snags.
Stuck ropes kill days. Twist the knot to align; bounce the pull side. Plan walk-offs to skip rappels altogether. Treat every trad route as an adventure. Watch the clock; start descents early.
Common pitfalls hit hard. Poor anchors fail under weight; fix with SERENE checks and backups. Rope tangles jam mid-drop; flake neatly and communicate pulls. Skipped comms lead to free falls; use “Tension off!” and “Safe!” every time. See steps for safer rappelling to lock in habits.
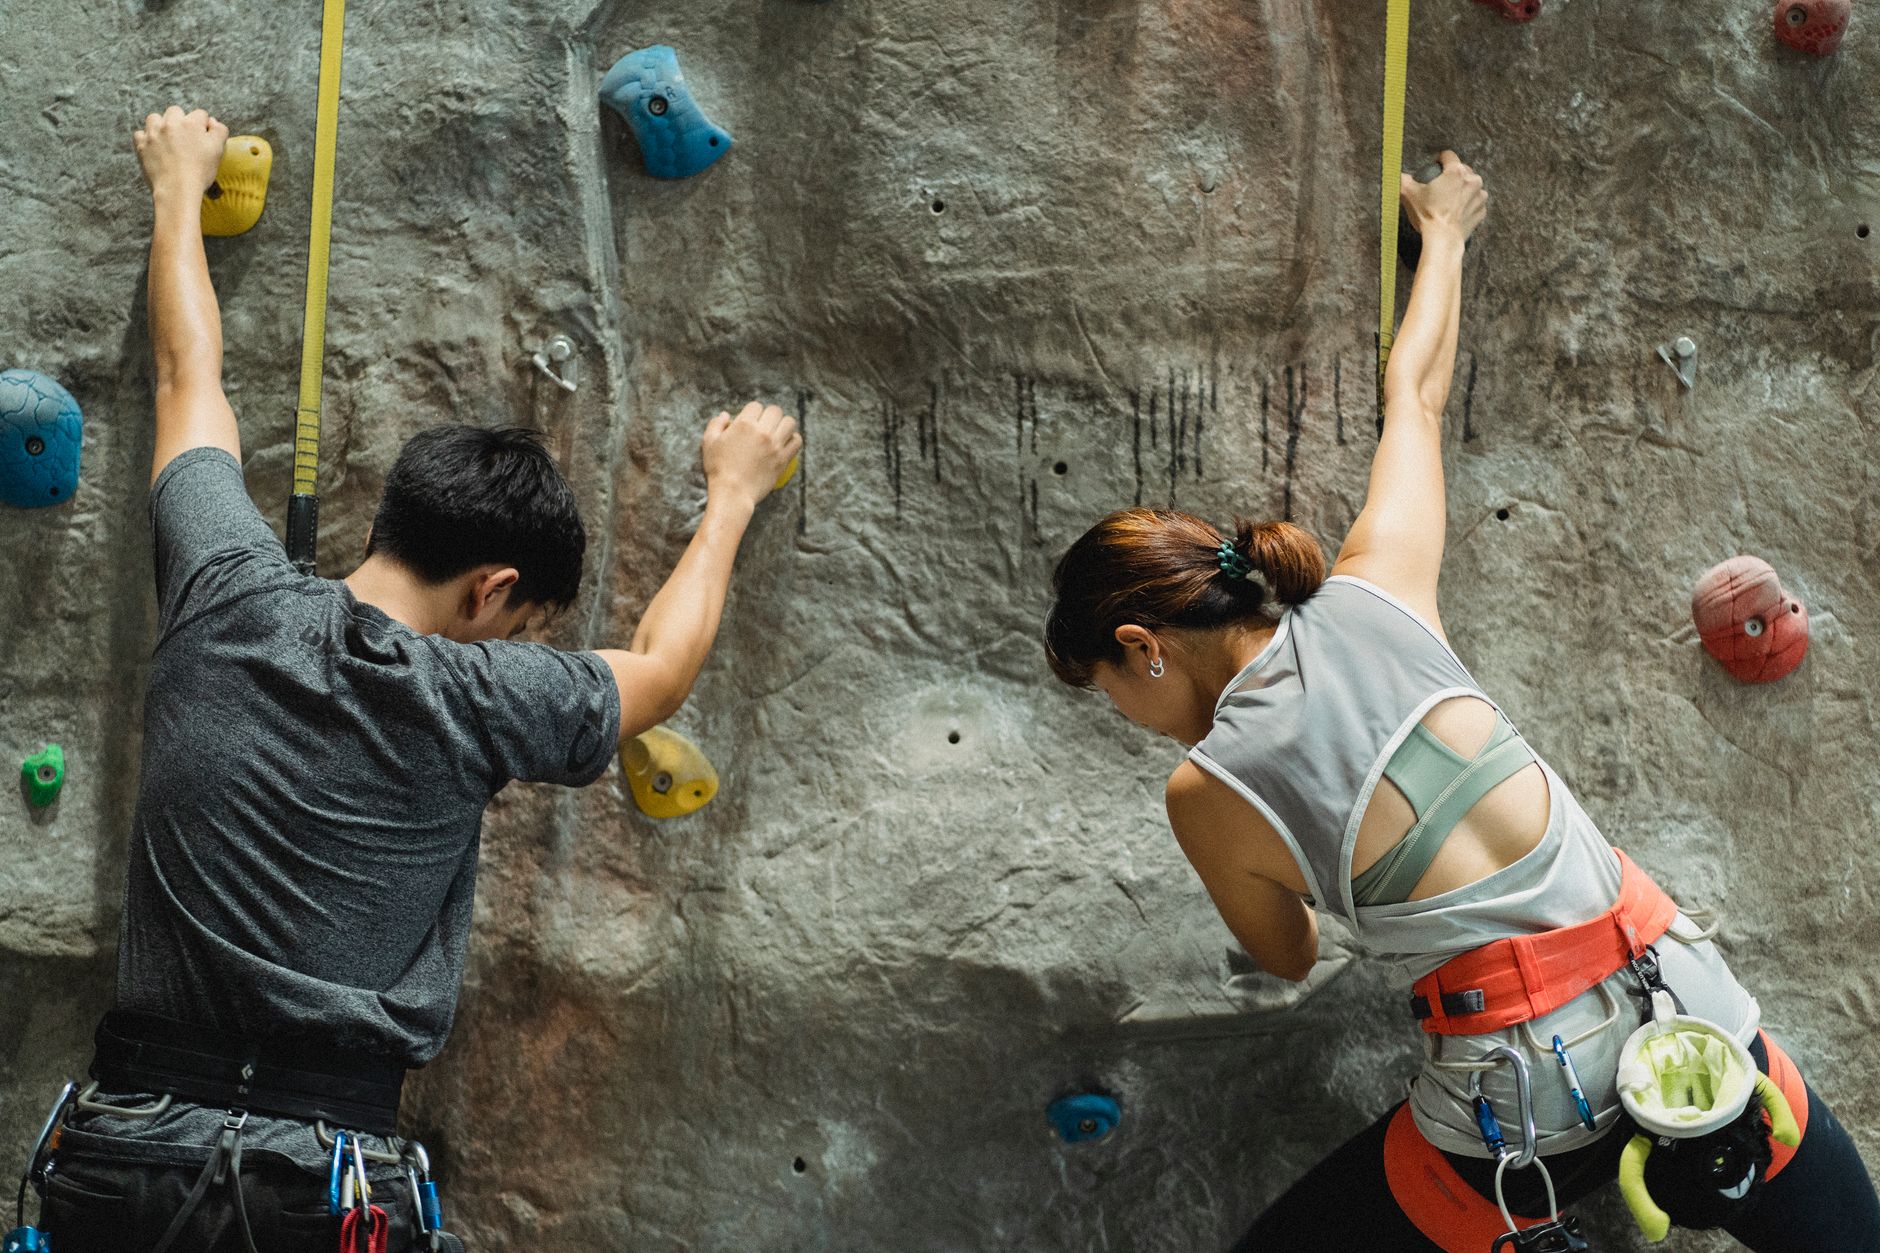
Photo by Allan Mas
Top Mistakes to Skip in Belay Switches
Belay switches snag even strong teams. Don’t fumble untying without backup. Clip into the anchor with screwgates first. Stay tied in until your partner confirms. One slip drops gear or worse.
Messy coils cause hangs. Stack lap coils neat on a slung draw. Avoid figure-eights; they twist on pull. Shake strands before leading out.
Ignore fatigue at your peril. Sweaty hands slip knots; tired eyes miss checks. Pause for water, stretch shoulders. Swap leads to share load.
Real stories show the fix. I watched a Gunks team drop a cam 100 feet. Leader untied early, no clip. They recovered with practice: simulate swaps on single pitches. Another pair tangled mid-pitch from wild coils. Neat stacks saved their next run on Seneca.
Spot these traps:
- Untying too soon: Always double-clip first.
- Chaos coils: Use lap method; clip extras.
- Fatigue blinders: Rotate roles; eat on belay.
Dodge them with routines. Your transitions stay crisp. Teams flow up and down routes like pros. Check multi-pitch belay errors to avoid for more tales turned right.
Conclusion
Solid anchors, smart swing leads, clean rope stacks, and sharp descent plans form the core of trad multi pitch transition tips. You prep stations that hold firm, pass racks without pause, and pull ropes tangle-free. Teams flow from pitch to pitch, energy high and risks low.
Practice these on short routes first. Pack anchor kits with extra slings and carabiners. Bring plenty of water to stay sharp through repeats. Ground drills build habits; soon they stick on big walls.
Master them, and epic days unfold. Picture crisp granite under sun, summit beers shared with grins. No more lost light or drained arms. You climb faster, safer, bolder.
Back to Trad Climbing Skills and Techniques
Recommended Products for Trad Climbing
These products can support safer climbing, belaying, rappelling, and emergency readiness.
Affiliate disclosure: As an Amazon Associate, TradClimbers may earn from qualifying purchases at no additional cost to you.