
How to Rack Cams and Nuts: Step-by-Step Guide
Picture yourself leading a steep trad crack, 50 feet off the deck. Your hands shake as you hunt for the right cam in a tangle of gear. Seconds drag into panic; one slip, and it’s all over.
Poor racking turns smooth leads into disasters. Racking cams and nuts means sorting your climbing protection on your harness or sling loops. It sets up fast grabs when you need them most.
This setup boosts safety first. No fumbling mid-route means less pump and fewer mistakes. You’ll clip quicker, climb smoother, and build confidence on any trad pitch.
Trad climbers know the drill: organized gear saves runs. In this guide on how to rack cams and nuts, you’ll master the basics and pro tips.
We’ll cover gear loops and common setups, step-by-step cam racking with stems in the fall line, nut organization by size, key safety checks like avoiding cross-loading, and fixes for frequent errors. By the end, your rack will feel like an extension of your body. Ready to gear up right?
Understand Cams and Nuts Before You Rack Them
You can’t rack cams and nuts well until you know their core parts and jobs. Cams act as spring-loaded devices that grip parallel-sided cracks. Nuts serve as passive wedges that hold in tapering cracks or constrictions. Balance your rack with a mix of sizes and types. This covers most cracks you face. Proper setup prevents snags on gear slings too. Let’s break down the essentials.
Key Features of Climbing Cams
Cams expand to lock into rock with cam lobes. Most models have four lobes for better grip, but three-lobe designs save weight in micros. Pull the trigger bar to retract the lobes and fit the unit. The stem connects lobes to the sling; rigid stems work for precise placements, while flexible wire stems suit tight spots.
Offsets shine in flaring cracks. They have lobes set at different sizes for snug holds where rock widens. Always pick the largest snug fit to boost holding power.
Sizes run from micro units (0.1 to 0.3) for finger cracks to big cams (#4 to #6+) for fists or wide features. Check Black Diamond’s Camalot C4 for a trusted range.
Brands like Black Diamond, Metolius, and Wild Country use color codes for quick size grabs. Black Diamond sticks to yellow for #1, green for #2, and so on. Match colors across sets for smooth racking.
Why Nuts Complement Your Cam Rack
Nuts fill gaps cams miss. Standard nuts taper evenly for parallel or slight flares. Offset nuts handle pin scars or wide-narrow cracks with angled shapes. Hexes offer bigger sizes and hexagonal forms for bomber holds in larger spots.
They excel in narrowings or constrictions for full rock contact. Skip crumbly rock though; they need solid edges. Lighter and cheaper than cams, nuts let you carry more pieces.
Brands follow color codes too. Black Diamond sizes #4 gold to #11 purple; Metolius matches cams with anodized heads. Rack a set from #5-11 for starters. Nuts pair with cams to match any crack shape on your leads.
Choose the Right Gear for Racking Cams and Nuts
Your rack setup starts with the right foundation. Harness gear loops offer quick access right at your hips. Gear slings give more space and keep weight balanced. Pick based on your climb style and comfort. Both help you rack cams and nuts without hassle.
Harness Loops or Gear Sling: Which Wins?
Harness loops sit close to your body. They keep gear stable and easy to grab mid-move. You feel balanced since nothing swings around. Access stays fast; just reach down and clip. Most modern harnesses hold 20-30 pieces with padded loops that mold to cams and nuts.
Gear slings shine for bigger racks. They hold 40+ pieces across padded shoulders. Weight spreads evenly, so your hips stay free. Swing happens less with proper sizing, but it beats harness clutter on long routes. Check Black Diamond’s gear sling myths for real tests on comfort and speed.
Loops win for short pitches and pumpy leads. Slings take over for alpine or multi-pitch hauls. Test both on easy climbs. Comfort rules your choice.
Must-Have Accessories for Easy Racking
Accessories make racking smooth and safe. Start with carabiners. Non-locking ones work for most nuts and cams; they spin free to avoid twists. Locking biners secure slings or heavy pieces.
Quickdraws, or extenders, extend reach by 4-12 inches. They stop gear from walking down the sling during swings. Longer alpine draws prevent drag on wandering routes, as noted in this Mojo Gear guide.
Slings organize draws and big cams. Clip large cams (#4+) inside your pack until needed; they weigh you down less.
For a starter rack to learn how to rack cams and nuts, grab doubles of small cams (#0.3-#2) and nuts (#5-#9), singles for larges. See DMM’s first trad rack tips for sizes that fit most cracks. These tools keep your setup simple and reliable.
Step-by-Step: How to Rack Cams for Quick Placement
You’ve picked your harness loops or sling and built a solid starter rack. Now rack cams the right way to grab them fast mid-climb. Good organization cuts fumbling time and keeps you focused on the rock. Follow these steps to set up how to rack cams and nuts like a pro.
Sort and Group Your Cams by Size
Start with sorting. Lay out all cams on a flat surface. Group them by size from smallest to largest, left to right. Most brands use color codes for this: Black Diamond’s #0.1 is blue, #0.3 pink, up to #6 red; Metolius and Wild Country follow similar schemes.
Carry doubles of small cams (#0.3 to #2) since cracks often pinch thin. Use singles for big cams (#3 to #6) to save weight. Place small groups at hip level for quick reaches in finger cracks. Shift larges lower on your loops to avoid snags.
This setup matches crack progression on most routes. Check Trail and Crag’s trad racking guide for visual examples of sorted racks.
Rack Each Cam the Right Way
Clip each cam with lobes fully retracted and closed. Pull the trigger bar to close them before racking. Point the trigger bar outward or downward for easy grabs; it lets you yank without twisting.
Attach via the main sling with a non-locking carabiner. Keep biners perpendicular to the stem so they spin free and avoid cross-loading. Rack stems in the fall line, parallel to your spine. This stops “walking” during swings.
Here’s a quick checklist:
- Lobes closed: No expansion mid-rack.
- Trigger accessible: Thumb slips under it fast.
- Biner orientation: Perpendicular, gate out.
Tug each piece after clipping. It should hold firm without shifting. Practice this dry at home until it feels natural.
Handle Special Cams Like Offsets and Micros
Offsets need extra care. Rack them with smaller lobes facing forward. This matches flaring cracks where the narrow end goes in first. Clip the smaller lobe’s carabiner lower for intuitive pulls.
Micros from Black Diamond, Metolius, or Wild Country demand gentle handling. Use their soft, flexible stems to fit tips and pockets. Rack lobes closed tight; their small size tangles easy. Group all micros together on one loop, triggers down.
For any special cam, test the tug: pull side to side. Solid holds mean you’re set. See Gripped’s beginner racking tips for offset visuals.
Rack cams this way, and placements happen in seconds. Your harness turns into a smooth toolset.
Master Racking Nuts: Simple Steps for Solid Pro
Nuts demand their own racking system to complement your cams. Place them right, and you’ll grab the perfect size fast in tapering cracks or pin scars. This setup fits into your overall approach on how to rack cams and nuts. Keep nuts grouped by pairs and sizes for balance and speed. Follow these steps to make your rack pro-level.
Rack Nuts in Pairs for Balance
Pair nuts to stay balanced on your harness loops or sling. Clip two similar sizes together on one carabiner. Put the active side (narrow end) of one nut facing the passive side (wide end) of the other. This setup mimics crack shapes you meet on routes.
Point all wires down to prevent snags on gear or rock. Curl them under the carabiner so they hang straight. Orient cables the same way across pairs; it lets you grab without twists.
Here’s how to do it:
- Select matching nuts, like two #6 Stoppers.
- Clip the narrow end out on one, wide end out on the other.
- Add a non-locking carabiner through both wires; gate faces out.
- Tug to check: no spin or slip.
This method saves space and keeps weight even. Pairs also help you place one, then the other if the first blows. Check Andy Kirkpatrick’s nut racking tips for photos of paired setups.
Organize Sizes and Shapes Efficiently
Sort nuts from small to large, left to right on your loops. Start with #4 or #5 micros on the left, end with #11 or hexes on the right. This matches crack flow as you climb up. Alternate ascending on one side, descending on the other for quick access both ways.
Offsets go with standards; rack narrow side forward for pin scars. Peckers, those thin blades, pair in small groups; their flat profiles fit shallow slots with full contact. Lay hexes flat on bigger loops to avoid rolls.
Mix nuts with cams on shared loops. Place small nuts near small cams, larges near larges. Use a nut tool clipped nearby; it matches nut shapes for clean removal.
Quick organization tips:
- Small sets: #4-7 on one biner, wires tucked.
- Offsets and peckers: Separate loop, active sides alternated.
- Hexes: Flat, single carabiner per pair.
Test your rack with practice pulls. Solid organization means no hunt mid-pitch. Your nuts now work as smooth as your cams.
Top Tips to Build the Perfect Rack and Avoid Mistakes
You have your cams and nuts sorted and racked. Now fine-tune the setup to match any route. A perfect rack balances pieces for crack types and fixes goofs that slow you down. These tips make how to rack cams and nuts second nature.
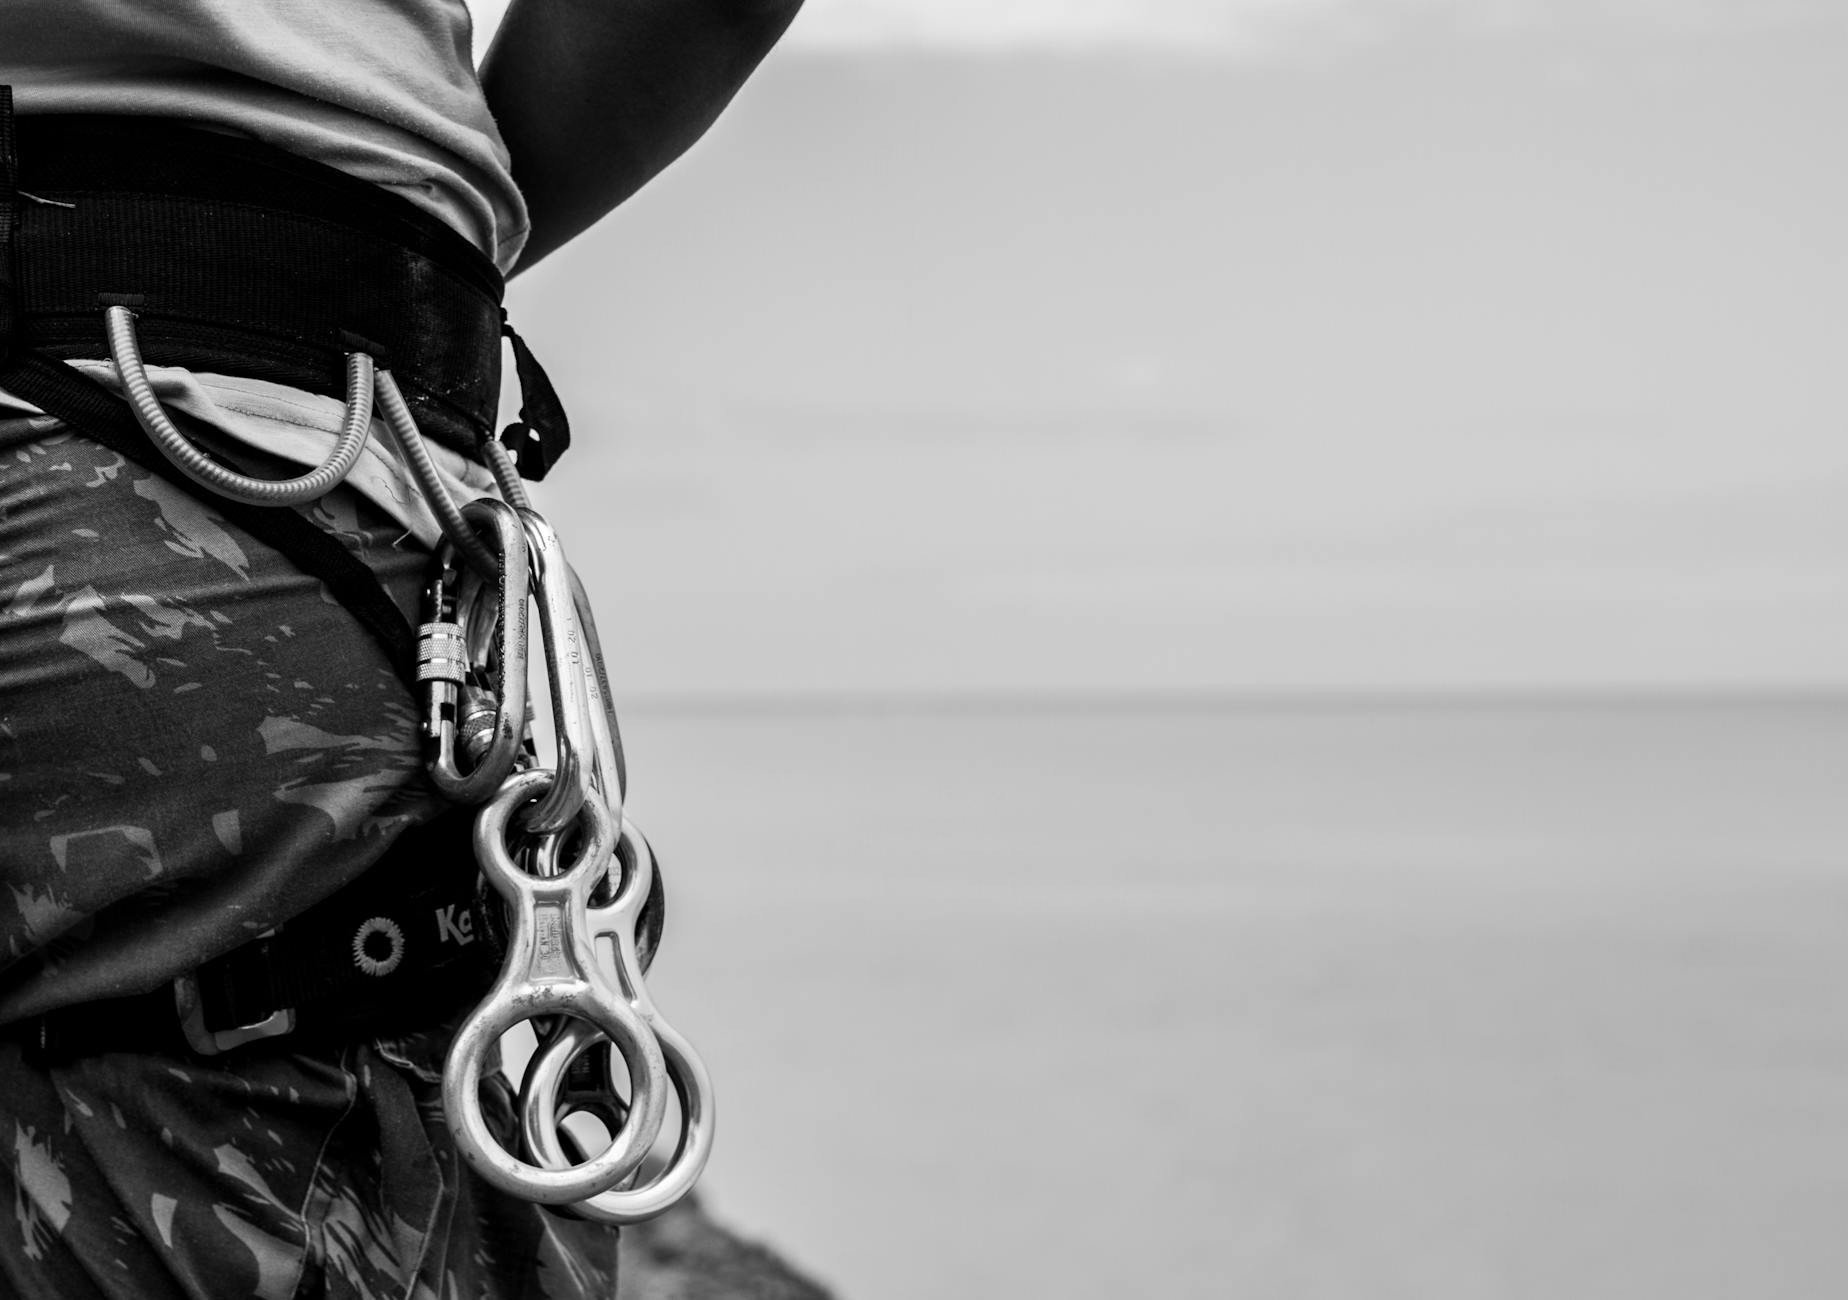
Photo by alexandre saraiva carniato
Balance Your Rack for Any Route
Match your rack to crack shapes you expect. Thin finger cracks need doubles of small cams (#0.3 to #1) and micro nuts (#4-6). Hand cracks call for #2 to #4 cams with medium nuts (#7-9). Wide offwidths take #5+ cams and hexes. Mix 60% cams for parallels, 40% nuts for tapers.
Practice judging sizes at home. Hold a cam or nut next to crack photos. Ask yourself: does it fit snug without wobble? This builds speed on real rock. See REI’s guide on placing trad gear for rack ideas per crack type.
Distribute weight evenly. Put small sets high on hips for reach. Drop larges low or in your pack. You’ll stay comfy on long leads.
Fix Common Racking Goofs
Uneven weight pulls you off balance. Spread pieces across loops; test by walking around. No pump mid-route.
Tangled gear wastes time. Tuck nut wires down and space cams apart. Straight pulls every time.
Snags happen with loose wires or stems. Point triggers out and stems parallel to your spine. Gear stays put on swings.
Access issues kill flow. Place most-used sizes at hip height. Skip burying pieces deep.
Forget extenders? Clip quickdraws to big cams and nuts. They cut rope drag and boost reach.
Test your full rack at home. Swing your hips, reach fast, tug hard. Fix weak spots before the cliff. Rack smart: stash extra big pieces until needed. Clean setup means solid leads.
Conclusion
You now know how to rack cams and nuts like a pro. Sort cams by size from small to large, clip lobes closed with triggers out, and align stems parallel to your spine. Rack nuts in pairs with active sides alternated, wires tucked down, and sizes left to right across loops. Place small cams and nuts up front for quick grabs, big pieces in back. Add extenders to cut drag and test every clip for solid holds.
Practice turns these steps into instinct. Dry-run at home: swing your hips, reach fast, tug hard. Speed comes with reps, and it keeps you calm mid-pitch. Head to easy routes first. Build your rack for the crack types there, like extra small cams for fingers or mediums for hands.
A solid rack saves lives. Fumbling costs seconds you can’t spare off the deck.
Back to Trad Climbing Skills and Techniques
Recommended Products for Trad Climbing
These products match the equipment and gear topics covered in this article.
Affiliate disclosure: As an Amazon Associate, TradClimbers may earn from qualifying purchases at no additional cost to you.