

Arete rock climbing is all about ascending the sharp, outward-facing corner of a rock formation. Imagine climbing the spine of a book or the corner of a building—that’s the essence of it. It’s a beautiful discipline that demands incredible balance, creative movement, and constant body tension.
What Defines an Arete in Rock Climbing
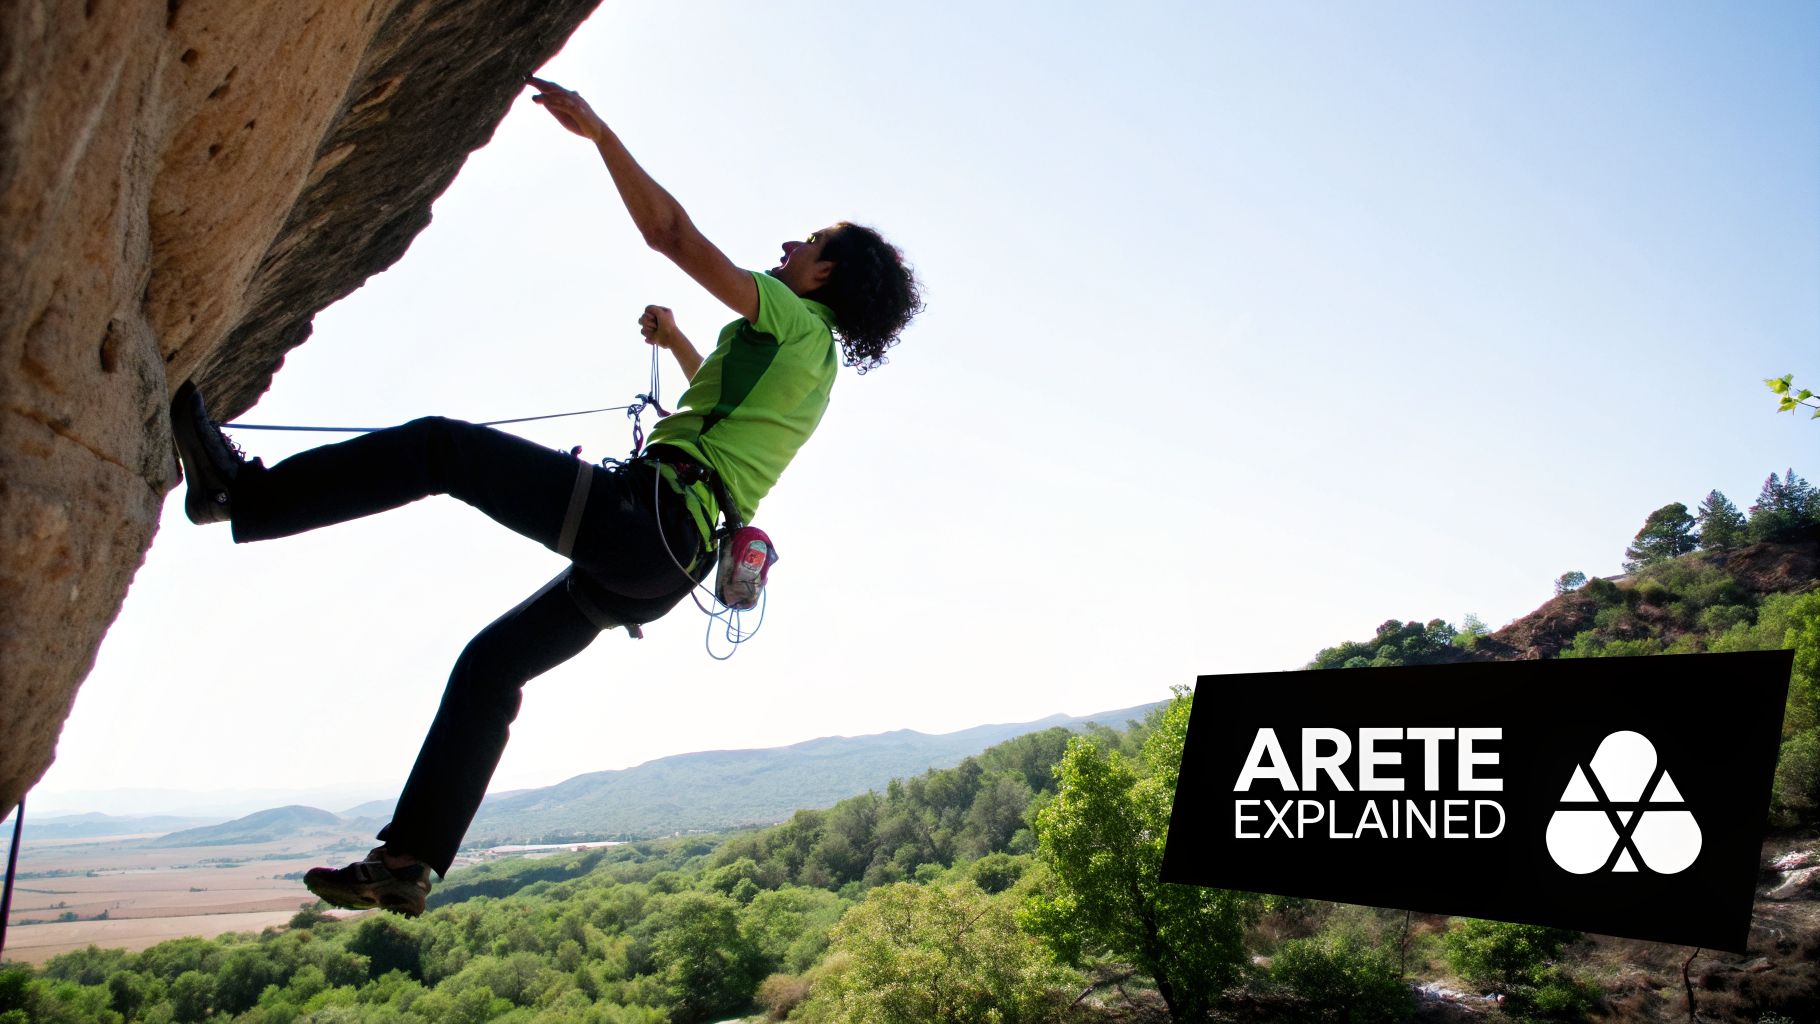
When you’re on an arete, you're not just climbing up; you're climbing around it. It’s a three-dimensional puzzle that forces you to use opposing forces just to stay on the wall. Unlike a flat face where holds are more or less in front of you, aretes often require you to create your own stability through pure technique.
This is precisely what makes arete rock climbing so captivating. It’s far less about raw power and much more about subtle, sophisticated body positioning. Success comes down to your ability to push with one side of your body while pulling with the other, creating a stable platform to make the next move.
The Different Personalities of Aretes
You'll quickly learn that no two aretes are the same. Their specific character completely dictates the climbing experience, from the moves you’ll be pulling to the gear you might place. Learning to read these differences from the ground is your first step toward sending the route.
- Sharp, Featured Aretes: These are a great introduction. They offer up distinct edges, small crimps, or even little pockets you can get your fingers on, which provides a welcome sense of security.
- Rounded or Sloping Aretes: Often called "slopers," these are the smooth, featureless monsters that you can’t really grip at all. Climbing them is all about maximizing friction, maintaining full-body tension, and making committed "slapping" moves to gain ground.
- Blank Aretes: The ultimate test of faith in your feet and balance. With no real holds, you’re forced to smear your feet on the adjacent rock faces and generate compression by literally squeezing the arete between your hands and feet.
Think about trying to hold a big, slippery book closed by squeezing it between your palms. That’s the exact feeling of compression you’re trying to replicate on the rock to keep yourself from peeling off.
This delicate balance of forces is what defines the movement. You might find yourself in a layback, pulling hard against the edge with your hands while you walk your feet up the opposing face. In another moment, you could be flagging a leg far out to one side just to keep your center of gravity from swinging you into open space.
Getting a feel for an arete's personality before you even leave the ground helps you mentally prepare for the style of climbing ahead. To help with that, here’s a quick guide to what you can expect from different types of aretes.
Arete Types and How to Approach Them
This table gives you a quick summary of the main arete types you'll encounter and the climbing style they typically demand.
| Arete Type | Key Characteristic | Primary Climbing Style |
|---|---|---|
| Sharp & Edgy | Defined, positive edges | Static, controlled pinching and crimping |
| Rounded & Sloping | Smooth, featureless surface | Dynamic slapping and compression |
| Blank & Featureless | No distinct holds | Balance-intensive smearing and flagging |
Recognizing these features from the ground will give you a huge advantage, allowing you to anticipate the flow and challenge of the climb before you even tie in.
Essential Body Mechanics for Climbing Aretes
Climbing an arete well feels less like a brute-force exercise and more like a delicate dance. It's a full-body physics puzzle where you learn to balance, create tension, and shift your weight in incredibly subtle ways. The goal is to transform what feels awkward and insecure into a fluid, confident sequence up the edge.
The whole game boils down to one core principle: opposition. You’re constantly pushing and pulling in opposite directions to stay stuck to the rock. Think about how you lean against a doorway—you push into the frame to stay upright. On an arete, you're just doing a vertical, highly dynamic version of that, using your hands, feet, and core to generate the compression and friction you need to move.
Mastering Your Center of Gravity
Your ability to manage your body’s center of gravity is everything on an arete. If all your limbs are on one side of the feature, your body will naturally try to swing out and away from the rock, like a barn door blowing open in the wind. This is where a few key techniques become your best friends.
The layback is the classic arete move. You grab the edge with your hands and pull horizontally while pushing your feet against an adjacent face. The trick is to keep your arms almost straight, letting your skeleton take the load instead of torching your biceps. Getting your feet up high makes a layback way more efficient, as it helps you stand up more and pull out less.
Another non-negotiable skill is flagging. When your holds are stacked up on one side of the arete, you need a counterbalance to stay stable. By extending your free leg out to the side—"flagging" it—you shift your center of gravity back over your feet. This is what stops that dreaded barn-door swing right in its tracks. You can learn more about how to refine this critical balancing act by exploring our in-depth guide on flagging in climbing.
The Art of Hand and Footwork on an Edge
On an arete, your hands and feet have to work in perfect concert. They each have a specific job to do, and knowing how to use them will open up a whole new world of movement.
Hand Techniques for Aretes:
- Pinching: When an arete is sharp or has little bumps, you can squeeze it with your thumb on one side and fingers on the other. This gives you fantastic stability for slow, controlled moves.
- Slapping: For those rounded, featureless aretes (we call them slopers), a static grip just isn't going to happen. Slapping is a dynamic pop where you use momentum and friction to quickly smack your hand to a better position higher up.
- Compression: This is all about squeezing the arete between your hands, often with one on each side. It's a powerful but very pumpy way to get through blank sections.
Of course, beyond specific techniques, having a solid foundation helps immensely. The ability to increase grip strength, for example, is what will get you through long layback sections or powerful pinch moves without flaming out.
Think of it this way: your hands are your anchors, but your feet are your engine. Good footwork is what actually drives you upward and saves precious arm strength.
Essential Foot Techniques:
- Smearing: You won't always find nice, clean footholds next to an arete. Smearing is the art of pressing as much of your shoe's rubber as you can onto the blank rock, relying purely on friction. The key is to keep your heel low to maximize rubber contact and actively drive your foot into the wall.
- Heel Hooks: A good heel hook can completely change the game. By hooking your heel over the edge or a tiny feature, you can engage your powerful hamstrings and glutes to pull your body in and up. This takes a massive amount of weight off your tired arms.
Building Your Arete Movement Library
The best arete climbers have a deep bag of tricks they can pull from. They flow seamlessly between laybacking, flagging, pinching, and smearing without even thinking about it. These days, climbing gyms have become incredible training grounds for exactly this kind of skill.
The growth has been wild. In the US alone, the number of indoor climbing gyms saw a 12% increase from 2021 to 2022, and the global climbing gym market was valued at $5.76 billion in 2022. These modern gyms feature perfectly set aretes where you can drill these body mechanics in a safe environment. By getting the reps in, you build the muscle memory needed to execute these moves flawlessly on real rock. A feature that once seemed intimidating can become the most exciting and fun part of a climb.
5. How To Place Protection On Trad Aretes
Plugging gear on an arete is a whole different ballgame. Forget everything you know about straightforward crack climbing, where gravity is your main concern. On an arete, you're dealing with forces pulling sideways, outwards, and upwards—directions that can pop a poorly-placed piece in a heartbeat.
Success here demands a three-dimensional mindset. As you dance from one side of the edge to the other, your rope's path changes constantly. A cam that felt bomber from below can be "walked" right out of its placement by the rope tugging it sideways as you climb past. This is the crux of protecting aretes: your gear has to stay put, no matter what weird angles the rope throws at it.
Analyzing Fall Trajectories And Direction Of Pull
The first rule of placing gear on an arete is to think ahead. Before you slot that nut, look up and visualize where you'll be in the next ten or fifteen feet. If you fall, the rope will pull your gear in a direct line toward your body, and on an arete, that line is almost never straight down.
Ask yourself these critical questions before you trust a piece:
- Where will my rope actually run as I move past this placement?
- If I fall from above, will the force be downwards, or will it be sideways or even upwards?
- Could that force pry my gear out or lift it from its spot?
A classic blunder is placing a cam in a horizontal crack right on the edge. As you climb higher, your rope can pull directly up on the cam's stem, causing the lobes to over-cam or "umbrella," potentially unseating it completely. This isn't just a fine point of technique; it's a fundamental safety check.
The way you move dictates the forces on your gear. Techniques like laybacking and flagging constantly shift your center of gravity, which in turn changes the direction of pull on your protection.
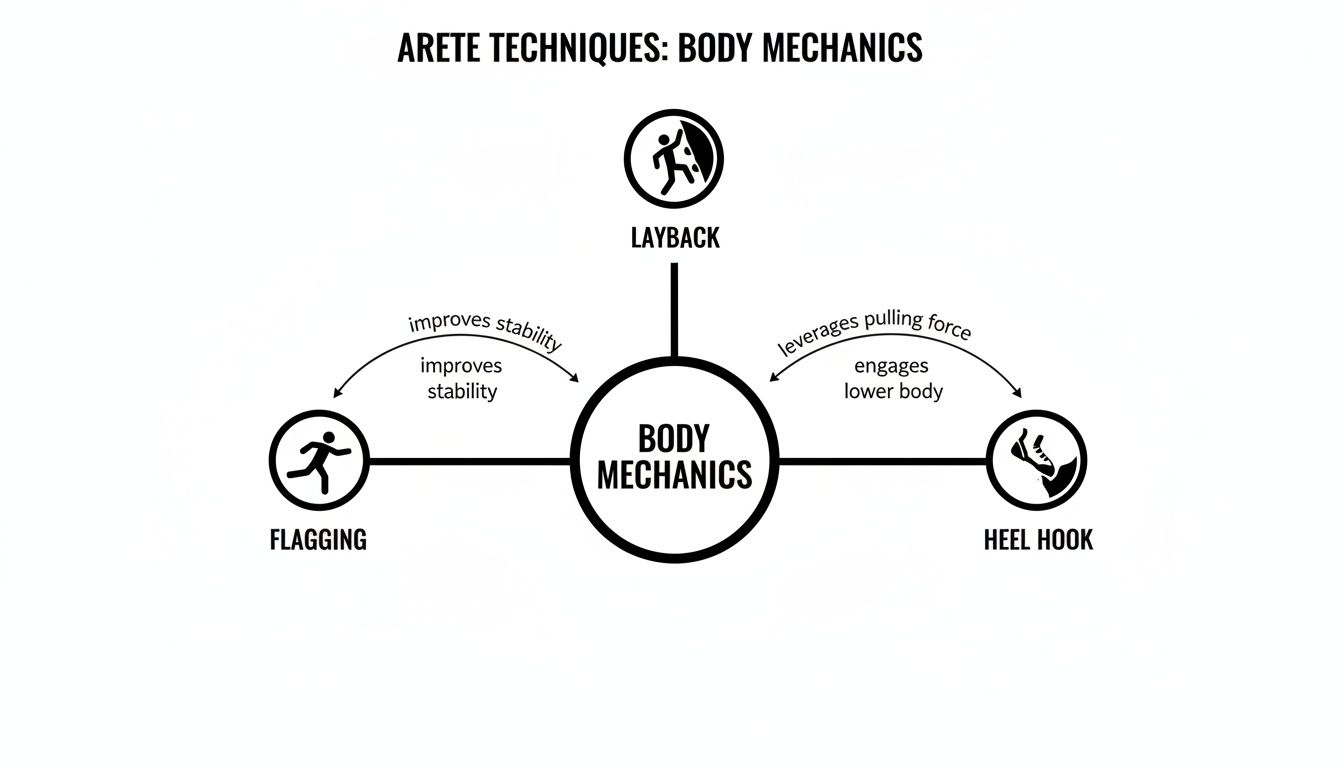
Understanding how these moves affect your position is key to predicting what your gear will have to endure.
Your Best Friends: Micro Cams And Offset Nuts
Let's be real: aretes rarely serve up perfect, hand-sized cracks right where you need them. You're far more likely to be wrestling with shallow seams, flared pods, and funky pin scars. This is where having the right tools for the job becomes non-negotiable.
Micro-cams are absolute lifesavers. Their tiny heads and flexible stems let you protect the awkward, shallow features that litter the faces on either side of an arete. Often, they're the only thing that will work. For a refresher on the basics, our guide on how to place cams securely is a great starting point.
Offset nuts and offset micro-cams are just as vital. Aretes are notorious for flared cracks that are wider at the opening than they are deep inside. Standard gear just won't sit right, but offsets—with their tapered shape—are designed specifically for these tricky, non-parallel-sided placements.
Choosing the right piece of gear is a puzzle, matching the unique challenges of arete placements with the best possible solution.
Gear Solutions For Common Arete Challenges
| Arete Challenge | Primary Gear Solution | Key Placement Tip |
|---|---|---|
| Flared, shallow crack | Offset nuts or offset cams | Ensure the offset shape matches the flare. Seat it deeply to prevent it from wiggling out. |
| Thin seam on the face | Micro-cams | Look for slight constrictions or pods where the cam can get maximum surface contact. |
| Horizontal crack on the edge | A small nut or tricam | A nut is less likely to be lifted out than a cam. Extend it with a long sling. |
| Deep, parallel-sided crack | Standard cam | Place it far enough back that rope movement won't walk it out, and always extend it. |
This isn't an exhaustive list, but it highlights how specialized gear directly addresses the most common protection problems you'll find on an arete.
The Non-Negotiable: Long Sling Extension
Even a perfect placement is useless if your rope yanks it out of position. The single most important technique to prevent this is to extend your placements with long slings, often called "alpine draws."
A standard quickdraw is almost never enough. Clipping your rope to a 24-inch (60 cm) or even a 48-inch (120 cm) sling gives it a much wider range of motion. This allows the rope to move freely as you navigate around the arete, dramatically reducing the sideways or upward pull on your protection and preventing dangerous rope drag. Think of it as creating a smooth, low-friction path for your lifeline.
Reading the Route and Planning Your Sequence
The real work on a tricky arete often happens before you even leave the ground. The most difficult moves are usually solved with your brain, not just your muscles. This mental shift is what separates climbers who flail their way up from those who look like they're dancing on the edge. Learning to read the line is like getting a sneak peek at the answer key—it shows you the path of least resistance and where you can catch your breath.
An arete is a full-body, three-dimensional puzzle. Your ability to see the solution before you start climbing is everything. First, stand back and take in the big picture. Does the route stick to one face of the arete, or does it weave back and forth? Chalk marks left by other climbers can be a great starting point, giving you a rough draft of the intended hand and foot sequence.
Deconstructing the Puzzle from the Ground
Once you have a feel for the overall flow, step up close and start hunting for the details. This is where you break the route down into manageable sections. The tiniest changes in the rock's angle or texture can make or break your entire strategy for the arete rock climbing sequence, so pay attention.
Spot the Crux: Scan for the section that looks the hardest. It's usually where the rock gets steeper, the holds disappear, or the moves seem incredibly awkward. Try to imagine the exact body position needed to pull through. Is it a powerful layback, or will you need to rely on delicate compression and balance?
Identify the Rests: Aretes are notoriously pumpy. Finding rest stances is non-negotiable. Look for ledges, big jugs you can hang from with a straight arm, or any position where you can get your weight off your hands and shake out. A good rest is often the difference between sending and taking a whip.
Plan Your Gear: This is absolutely critical for trad climbers. Scan both faces of the arete for cracks, seams, or pods. Figure out where you might slot in a micro-cam or an offset nut. Just as important, pinpoint the blank sections with no gear. Knowing where the runouts are ahead of time lets you mentally prepare for them.
Visualizing Your Beta
With the key features mapped out, it's time to put it all together in your mind. Rehearse the entire climb, move by move. This mental walkthrough builds a ton of confidence and solidifies your plan, which means less time-wasting hesitation when you're on the sharp end.
Imagine the sequence like a choreographed dance. You need to know not just where your hands go, but where your feet will be, how your hips will turn, and which side of the arete your body needs to be on to maintain balance. This foresight is your most powerful tool.
As you "climb" the route in your head, focus on the transitions. When do you need to swap feet on a tiny edge? At what point should you commit to a dynamic slap instead of a static pinch? Every move involves a quick calculation: which side of the arete offers the better holds and foot placements right now? This kind of strategic thinking helps you climb smarter, saving precious energy for that final push to the anchors.
Practical Training Drills for Arete Mastery
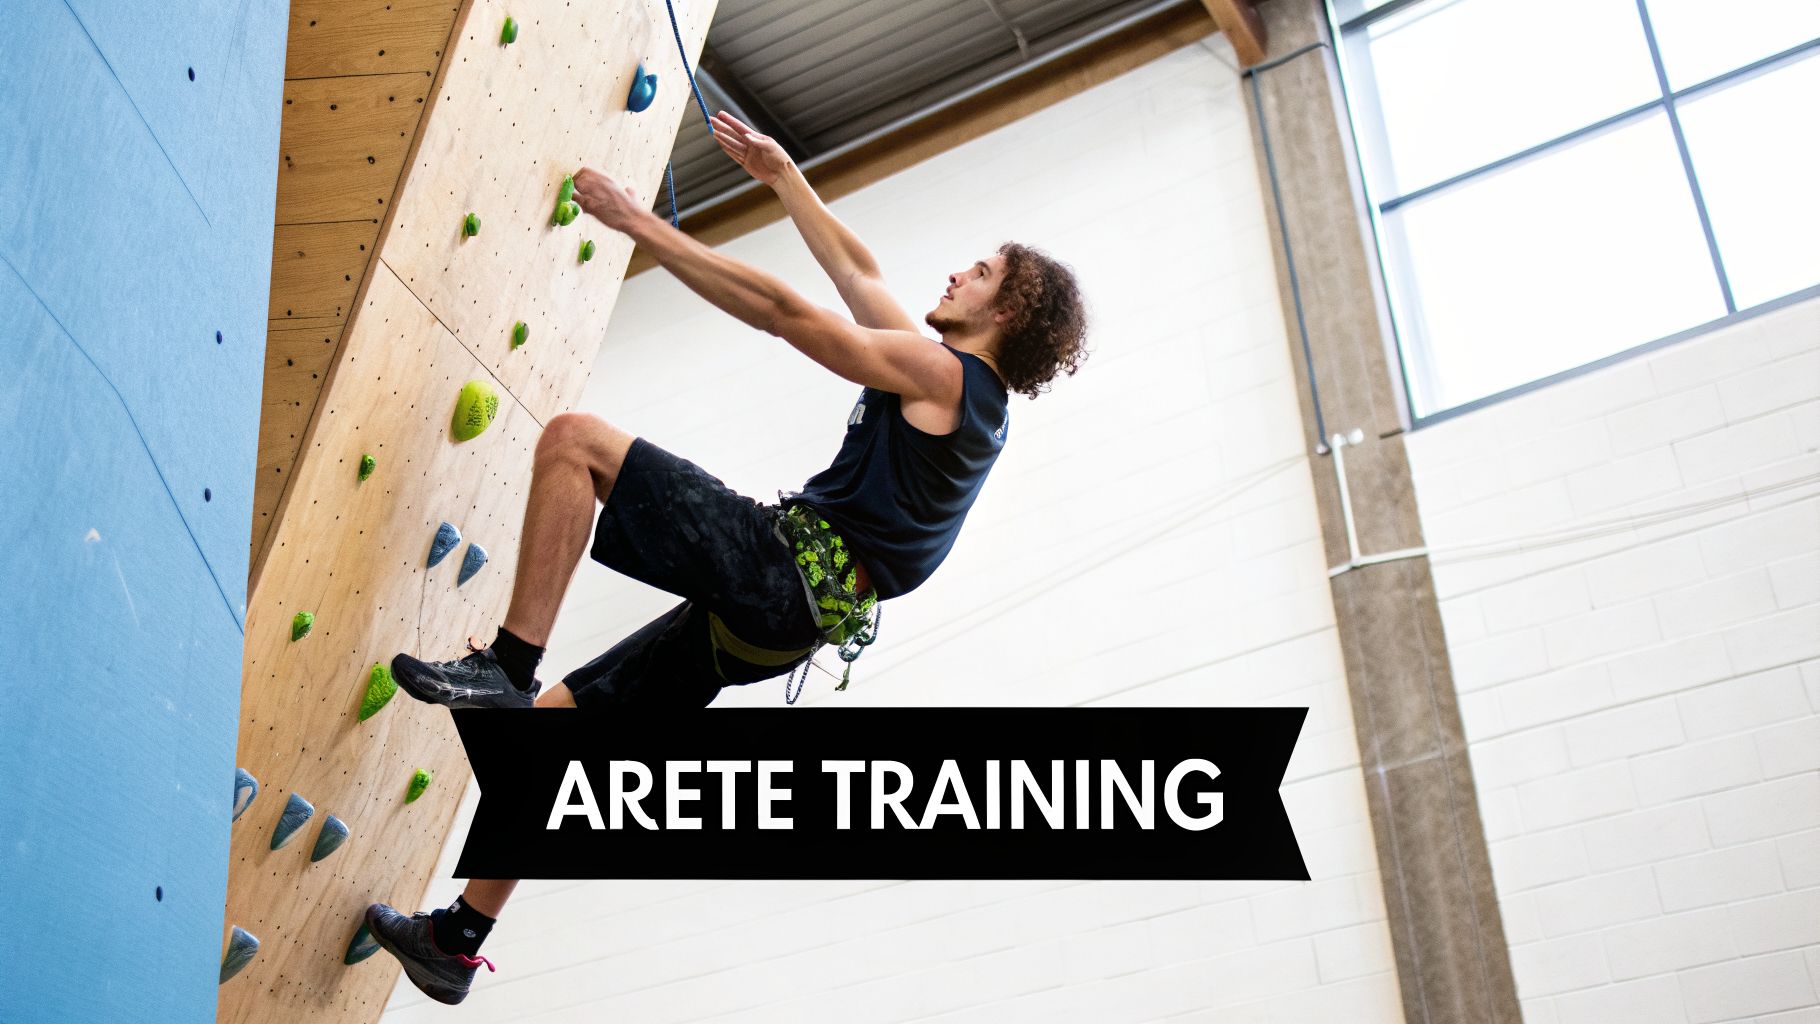
Reading about how to climb an arete is one thing, but actually developing a feel for it happens on the wall. You can't just hope to figure it out when you're pumped and run-out on your project. The best way to get good at climbing these features is through focused, deliberate practice.
Your local gym is the perfect training ground. With clearly marked holds and safe falls, you can rack up tons of mileage and build the muscle memory you need. The goal is to make arete movement feel second nature so you can flow up any edge you encounter outside.
Foundational Footwork and Balance Drills
The first order of business is to get your feet and core dialed in. These drills are designed to take your upper body out of the equation, forcing you to rely on balance, tension, and precise footwork—the absolute bedrock of good arete technique.
No-Hands Arete Traverse: Find a vertical or slightly slabby arete in the gym. Your mission is to traverse it without using your hands for anything more than a light touch for balance. This drill will immediately highlight any weaknesses in your footwork, making you smear, edge, and flag with intention.
Sticky Feet on the Arete: Pick an easy arete problem and climb it with one simple rule: once you place your foot, you can't move it. No more scuttering or readjusting. This exercise forces you to be incredibly precise from the get-go, teaching you to find the exact right spot on the first try.
The goal is to build unwavering trust in your feet. On a blank arete, your shoe rubber is the hold. These drills teach your brain to believe it, transforming fear into confident execution.
Building Arete-Specific Technique and Strength
With your footwork feeling more intuitive, it’s time to bring your hands back into the mix. These drills focus on the unique push-pull mechanics and strength required for climbing on an edge.
1. Forced Arete Climbing: Find an easy to moderate route that runs parallel to an arete. The challenge? You can only use the holds on the face with one hand, while your other hand is restricted to only using the arete itself. This forces you to constantly switch between slapping, pinching, and laybacking, teaching you to recognize when to use each technique.
2. Layback Laps: Isolate a section of an arete that's perfect for laybacking. Climb up and down this section repeatedly. Concentrate on keeping your arms as straight as you can and driving the movement with your feet. This is a killer for building the specific endurance you'll need for those long, pumpy layback cruxes.
As you get stronger, remember that consistent training is part of a bigger picture. For a complete look at physical preparation, check out our full guide on how to train for trad climbing.
These sessions can be intense. With more than 9.5 million climbers in the US as of 2022, training smart is more important than ever. To keep making progress and avoid injury, prioritizing muscle recovery after a workout is non-negotiable.
Iconic Arete Climbs to Inspire Your Next Trip
All the gym sessions and technique drills are great, but let's be honest—the real reason we learn to climb an arete is to take those skills to actual stone. The true magic happens when you're out there, putting it all together on a classic line.
To get you fired up for your next trip, we've picked out a couple of legendary aretes that are more than just climbs; they're rites of passage. Think of them as the ultimate real-world classrooms, perfect for testing your balance, body tension, and nerve.
Ament Arête, Yosemite Valley USA
Yosemite might be famous for its colossal walls, but its bouldering is just as iconic. Case in point: the Ament Arête (V4). First climbed way back in 1968, this problem is a masterclass in the demanding, friction-based style of Yosemite granite. You’ll find it conveniently located near the Yosemite Falls Trail.
This isn't about pulling on big jugs. It's a pure test of balance, forcing you to use delicate footwork on a stunning, clean edge. The holds are nearly non-existent, so you have no choice but to trust your shoes, keep your body perfectly centered, and fight to keep from swinging away from the rock.
Gear Notes: This is a boulder problem. Your best friends will be a good crash pad (or two, for good measure) and a spotter who has your back. The landing is pretty good, but having that padding gives you the confidence to go for the final moves.
Rail and Arete, Little Almscliff UK
For a completely different flavor of arete climbing, head across the pond to the world of British gritstone. Rail and Arete (4) at Little Almscliff is a quintessential grit experience that feels a whole lot tougher than its grade suggests.
The challenge here lies in the notoriously rounded nature of the arete. There are no sharp edges to grab. Instead, you'll find yourself slapping the rock for momentum and using full-body compression to stay on. It's the perfect place to learn how to create friction where no real holds exist.
Gear Notes: Just like Ament Arête, this is a bouldering problem where crash pads are essential. The top-out can feel a bit spicy, so a solid pad setup on the ground is key to committing with confidence. You might also appreciate a stiffer shoe to help you stand on the tiny, gritty nubbins.
Common Arete Climbing Questions Answered
Alright, we've covered the theory, but what happens when you're actually staring up at a tricky arete rock climbing challenge? Let's dive into some of the most common questions that pop up at the crag, with straightforward answers to get you climbing smarter.
My Feet Keep Slipping on Blank Aretes. What Am I Doing Wrong?
Ah, the classic "skating off the arete" problem. We've all been there. Nine times out of ten, this isn't about a lack of footholds—it's about your body position and a lack of deliberate foot pressure.
When your shoe starts to slide on what looks like blank rock, it's a huge sign that you're not actively driving force through your toes. The key is to get your hips sucked into the wall and keep your center of gravity low. This simple shift maximizes the amount of sticky rubber you have in contact with the rock, which is what creates friction. Go to the gym and practice smearing on a slab; you have to learn to trust that your feet will hold.
Remember, on a blank arete, your shoe rubber is the foothold. The more pressure and surface area you can create, the more secure that "hold" will become. This is as much a head game as it is a physical one.
How Do I Avoid Getting Pumped While Laybacking?
A long layback can feel like a wrestling match with the rock, and it's one of the quickest ways to get pumped silly. The trick to surviving is all about efficiency and snatching every rest you can get.
- Keep Arms Straight: Whenever you can, hang from a straight arm. This lets your skeleton bear the weight instead of torching your biceps and forearms.
- Get Your Feet High: The higher you can walk your feet up, the more vertical your body becomes. This puts more of your weight onto your powerful leg muscles and takes the strain off your hands.
- Look for Rests: Always be scanning for an escape. Can you find a small edge to switch to a sidepull, even for a second? Just moving out of the layback to shake out one arm can be the difference between sending and taking a fall.
Is It Better to Pinch an Arete or Slap It?
This totally depends on the shape of the arete and what you need to do next. You have to read the rock and choose the right tool for the job.
Pinching is your go-to for sharper, more defined aretes. When you can get your thumb firmly on one side and your fingers on the other, you create an incredibly stable, controlled grip for static moves.
Slapping, on the other hand, is a more dynamic, desperate move for rounded or featureless aretes. You’re not really "gripping" anything. Instead, you're using friction and momentum to quickly move your hand to a better hold or position. Think of it as a high-friction hand smear. The simple rule is: if it has an edge you can squeeze, pinch it. If it’s smooth and you just need to move past it, slap it.
Recommended Climbing Products
These products can support safer climbing, belaying, rappelling, and emergency readiness.
Affiliate disclosure: As an Amazon Associate, TradClimbers may earn from qualifying purchases at no additional cost to you.
Keep exploring helpful trad climbing, gear, safety, and technique resources.
- A Climber’s Guide to Rock Climbing in Thailand
- A Trad Climber’s Guide to the Isle of Skye Ridge
- Hueco Tanks Rock Climbing: hueco tanks rock climbing Essentials
- A Climber’s Guide to The Nose of El Capitan
- The Top 8 Unforgettable Climbing Routes El Capitan Has to Offer in 2026
- Yoga for Climbers: Boost Strength, Flexibility, and Recovery | yoga for climbers